OLD KEEL BOLTS

If you prefer watching videos, click here: https://youtu.be/uqBt0HUBuLw

Old Guy With Issues

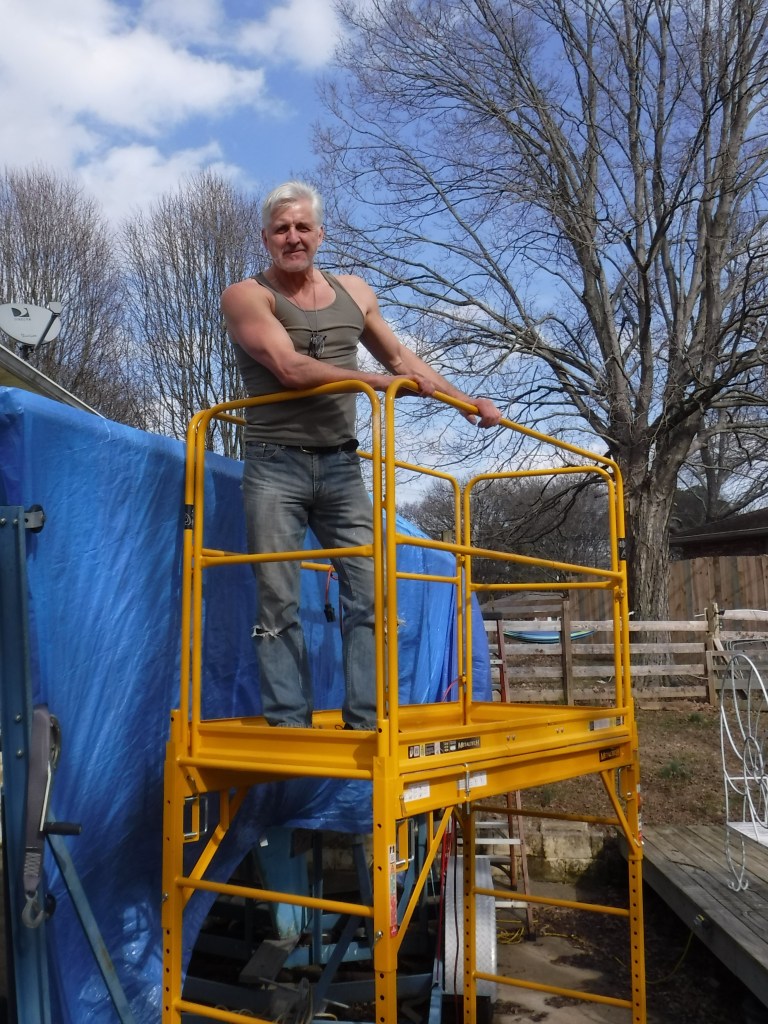
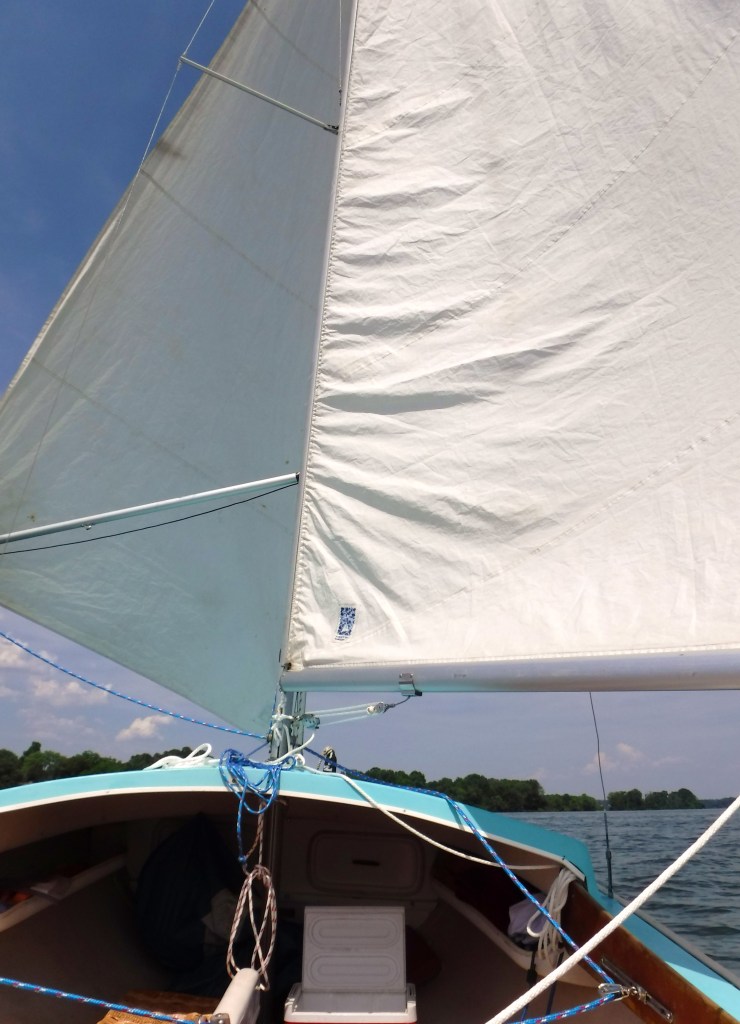
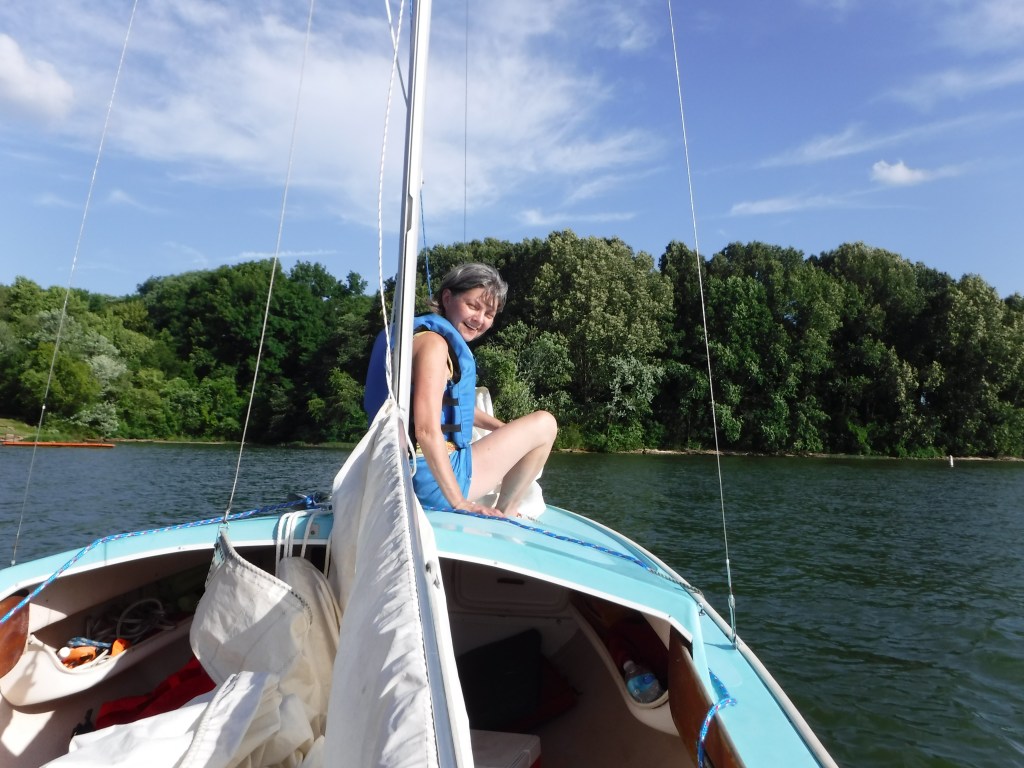
As I mentioned before, when our sailboat arrived at the back door, she didn’t have a name. However, Felicity certainly had her fair share of issues. But let’s be honest, as my photo implies, maybe we all have one or two!

Now, repairing a sailboat, though challenging, can also be a whole lot of fun. And it is perhaps for that reason so many other things seem more important. So, despite the best intentions and meticulous plans fixing Felicity often gets pushed to one side.

While most of her issues are minor, a few are significantly important. And if it weren’t for the internet’s sailing community, Rhonda and I wouldn’t have known where to start. We appreciate your videos and posts very much. They help us keep moving down through our to-do list and closer to sailing Felicity. So, a massive great thank you to all of you!

In my last post, I told you how I went about fixing Felicity’s Catalina Smile. Now, with the keel joint sealed and the surface faired out, she looks and feels great. But all of that work would have been pointless without addressing her corroded keel bolts.

Now, a disclaimer as every situation is different. This post is not meant to be a recommendation. I based my work on the research I did and my assessment of the keel bolts’ condition. I’ll leave you a few links to some interesting reading at the end of this post. It’s helpful to do some research.

I approached this project in three stages. First, I wanted to preserve the existing keel bolts. Second, re-enforce the wooden core of the keel stub.
And finally, sister some new stainless steel bolts into the cast iron keel.
What follows are the thoughts I had about my situation and the work that I did to prevent the old keel bolts from getting worse.

Old Keel Bolts with Issues

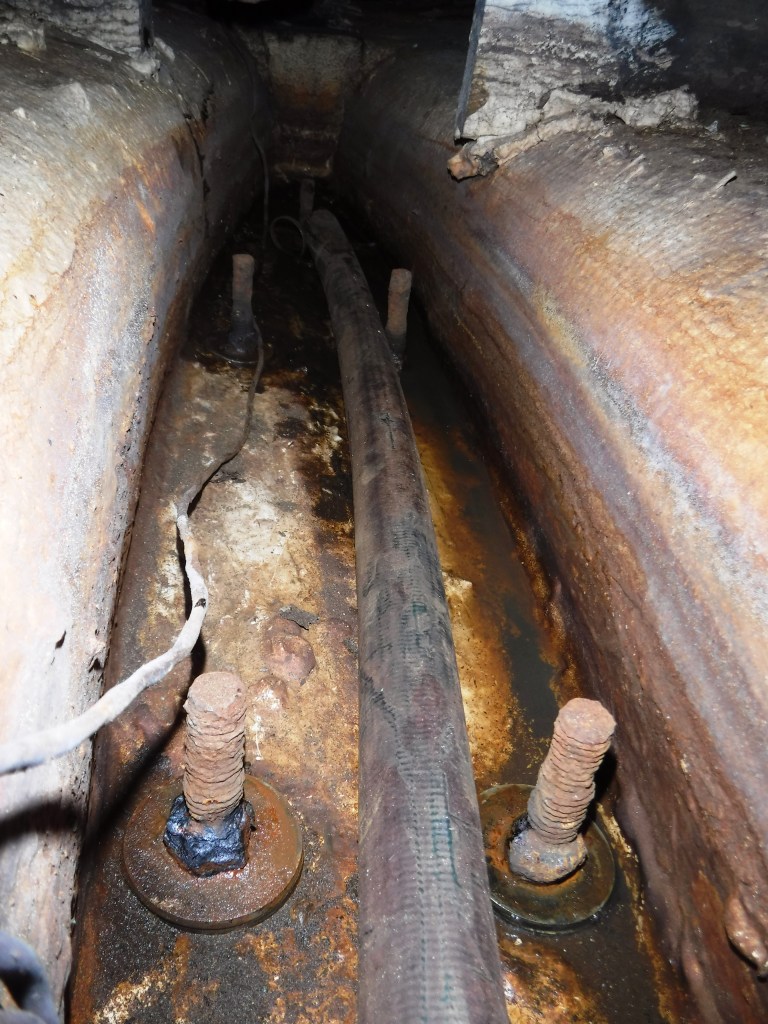
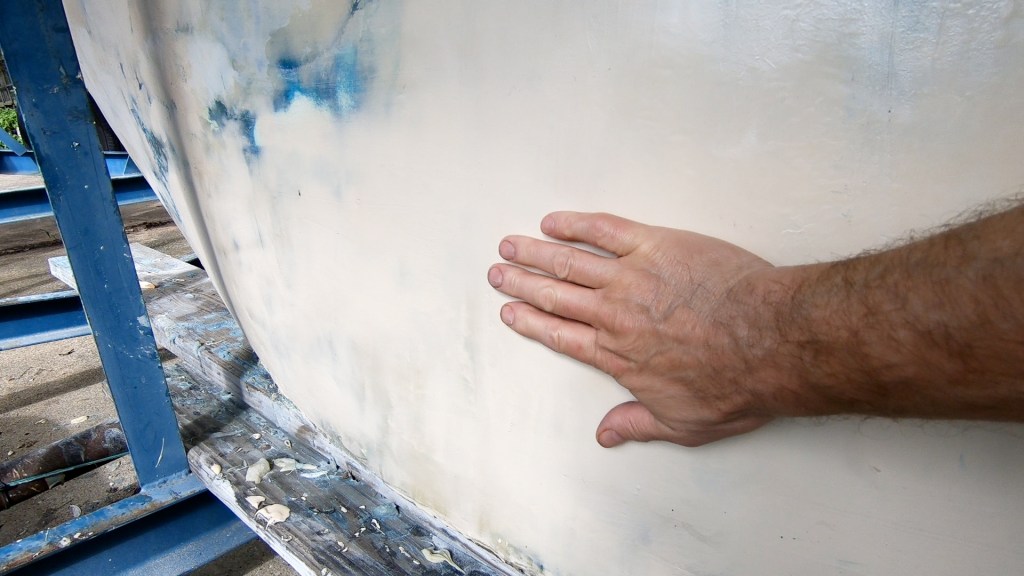
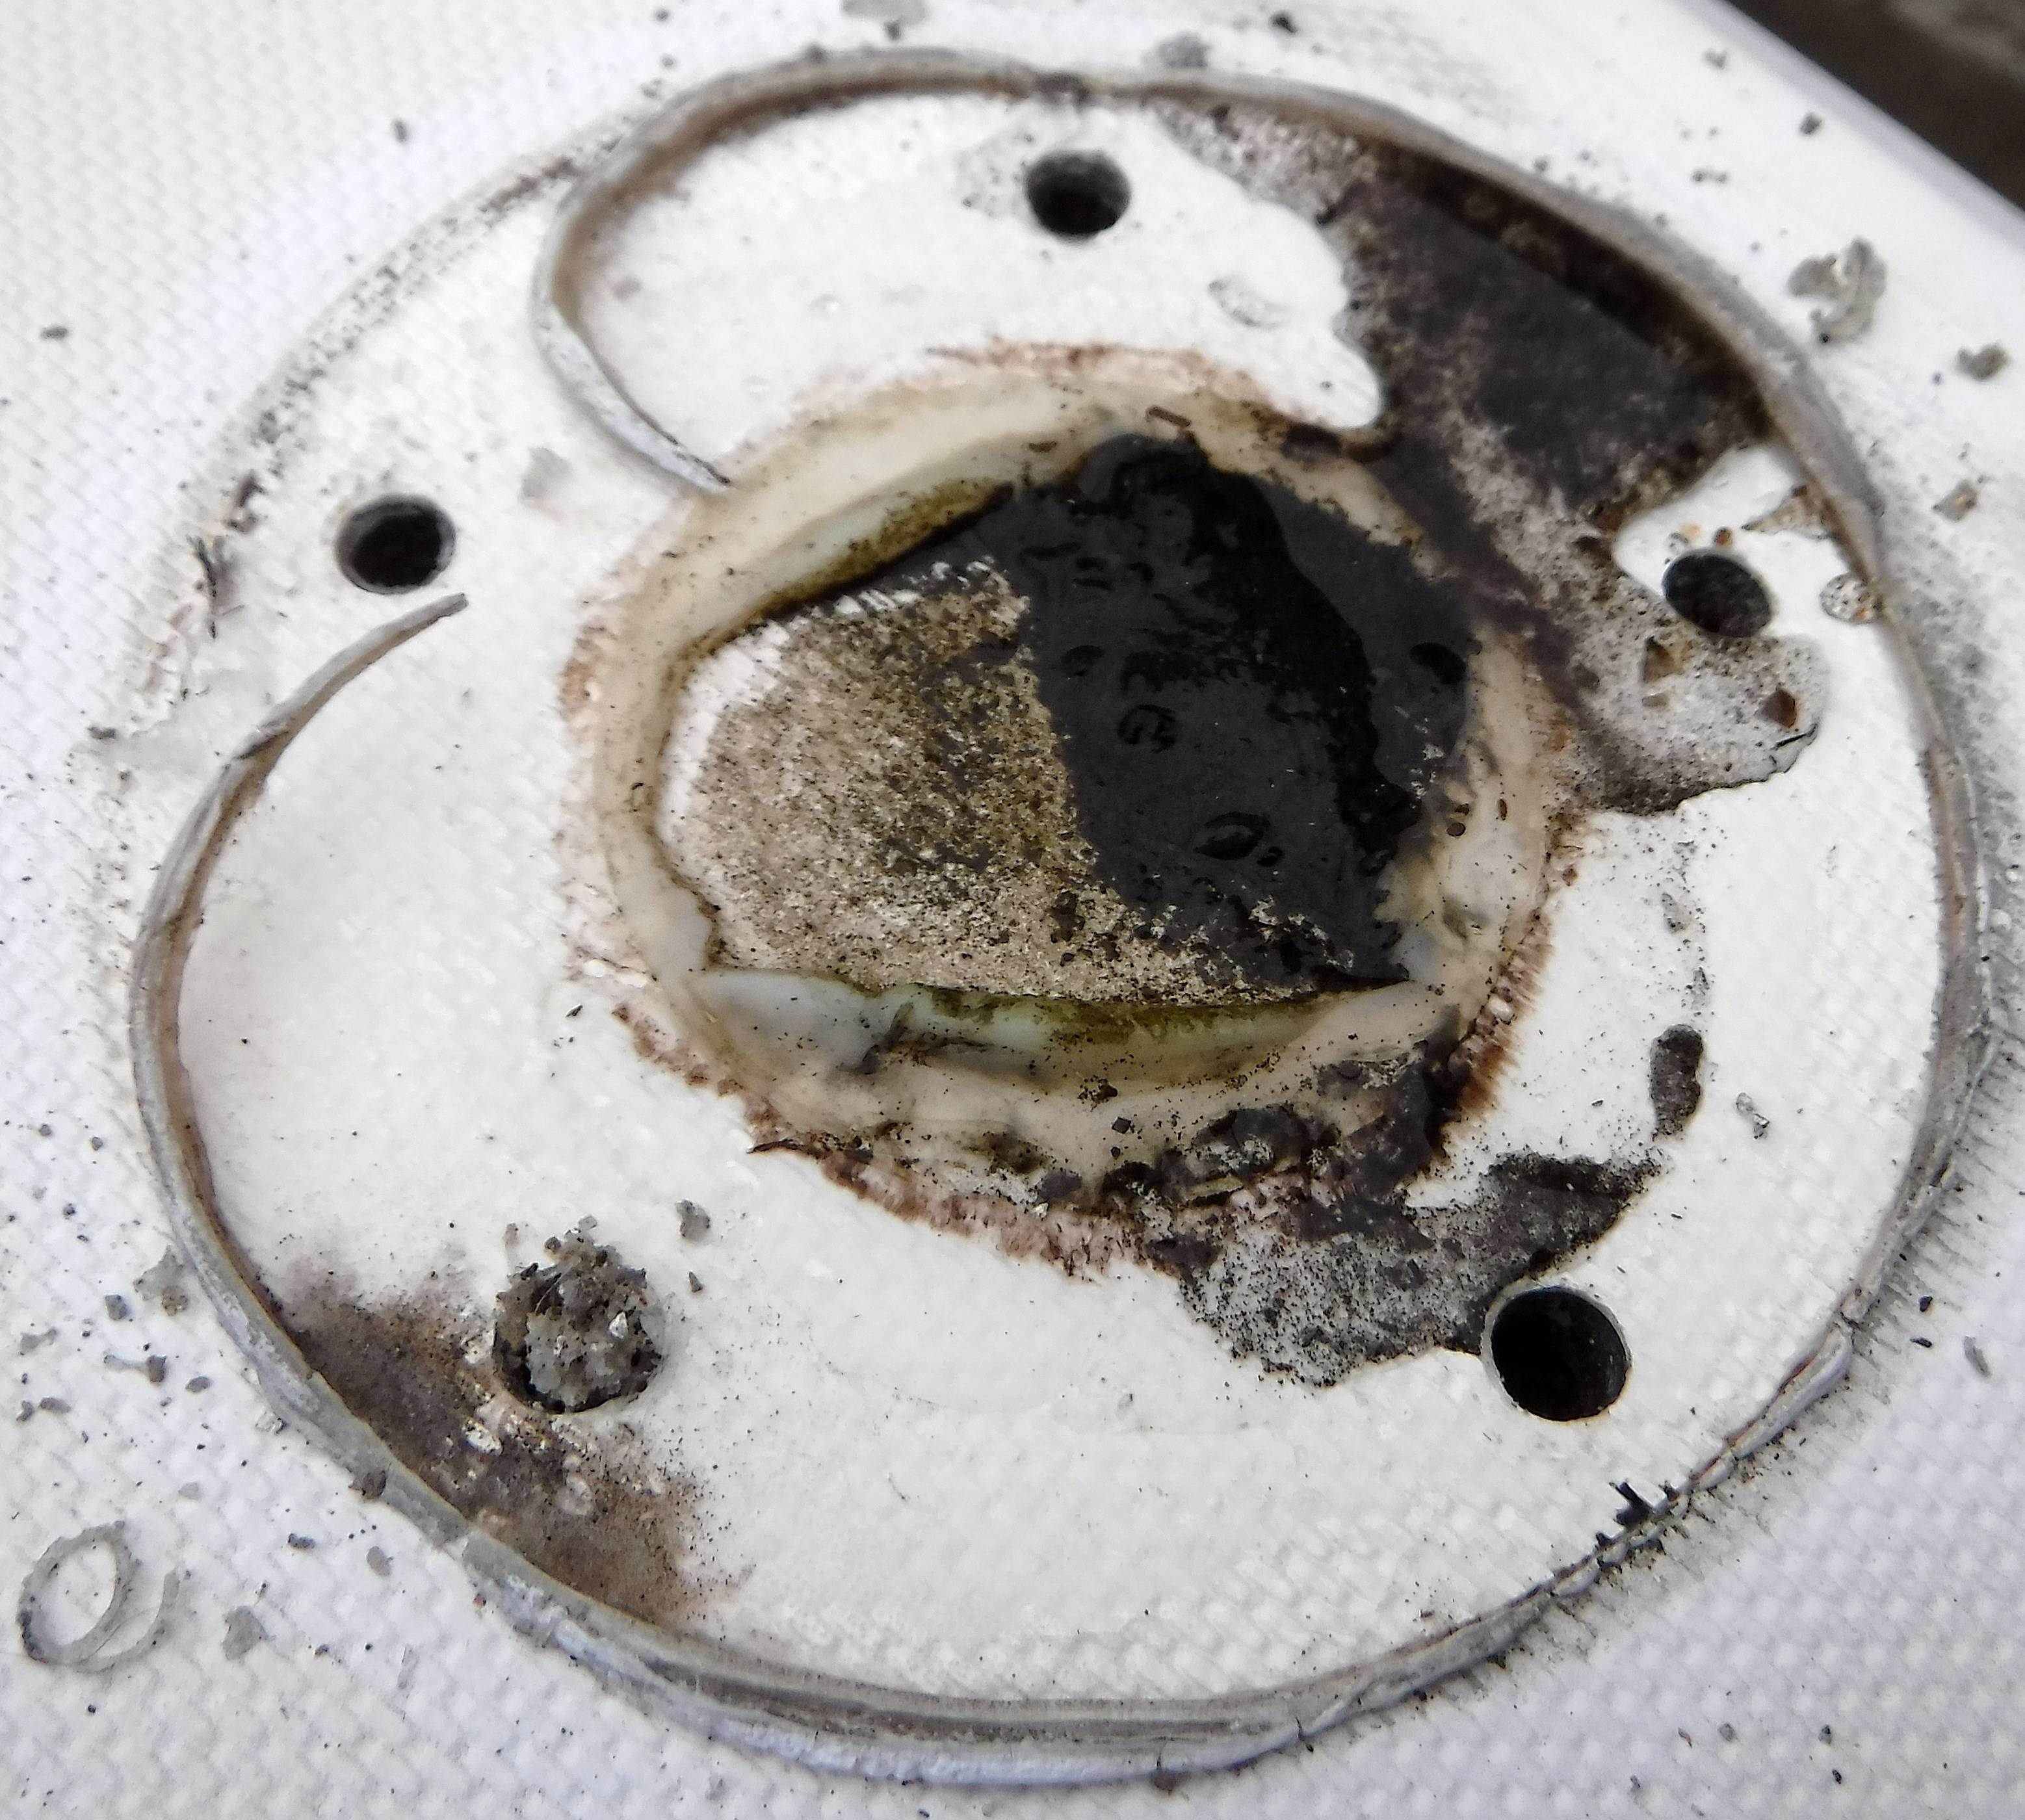
From the outside, the keel joint seemed primarily intact. When I ground back the damaged gel coat, I only found tiny little holes in the seal. And from all that I had read, there was a good chance the bond between the keel joint and the hull was still quite sound. On the inside, the nuts appeared to be fused to the bolts, so removing them wasn’t going to be easy. And with all the activity in our backyard, I couldn’t imagine lifting Felicity off her keel to take a better look at it.

To the best of my knowledge, Catalina’s can have either mild or stainless steel keel bolts. It’s easy to find out since mild steel is magnetic.
But wondering about the bolts’ integrity kept me awake at night. My thoughts seemed to wander, drifting from sensible to ridiculous and back again.

I thought about calling a marine surveyor, and probably will, before we get out on the lake. I also thought about tapping the bolts with a hammer to see if anything broke off. Even taking the “check-out-the-tires-on-a used-car” approach and give the bolts a jolly good kicking. But like I said, the mind tends to wander in the middle of the night.

Eventually, I ground off the end of a bolt to see what lay under the rust. It revealed the bright shiny steel of a healthy-looking keel bolt which I found reassuring. Looking at the shape of the corrosion on the bolt, I guessed they spent a lot of time sitting in a bilge full of water.

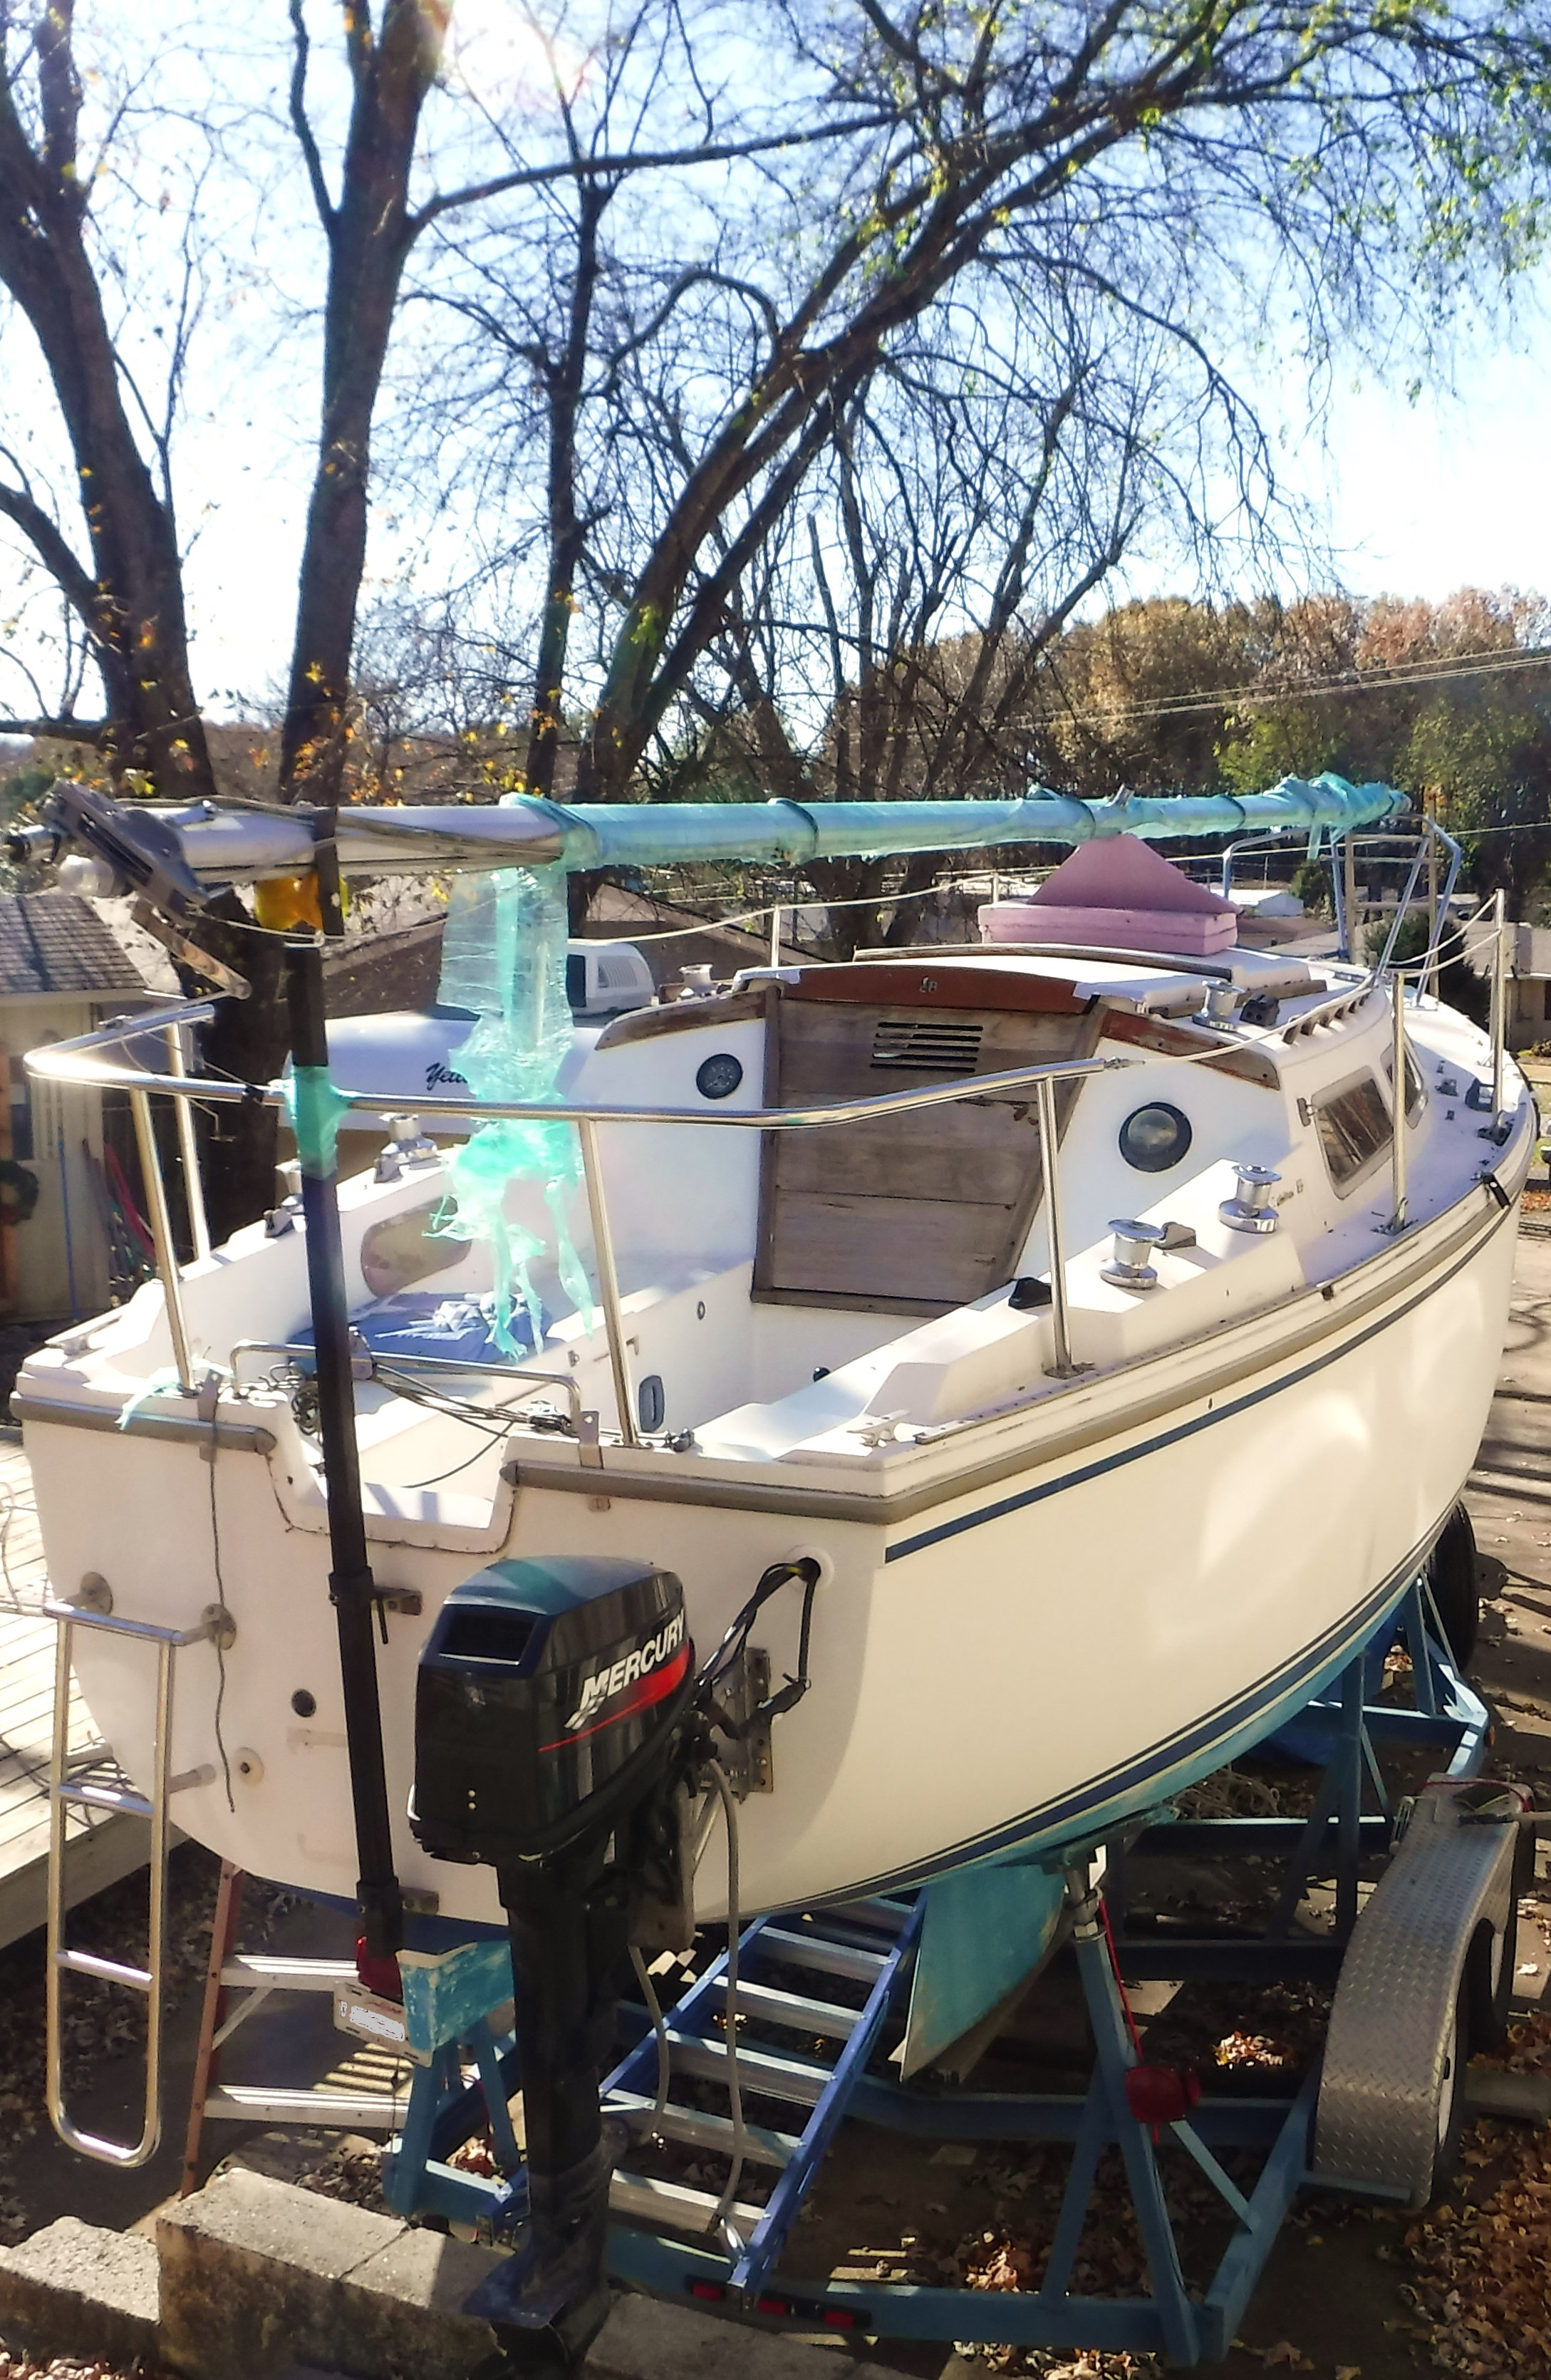
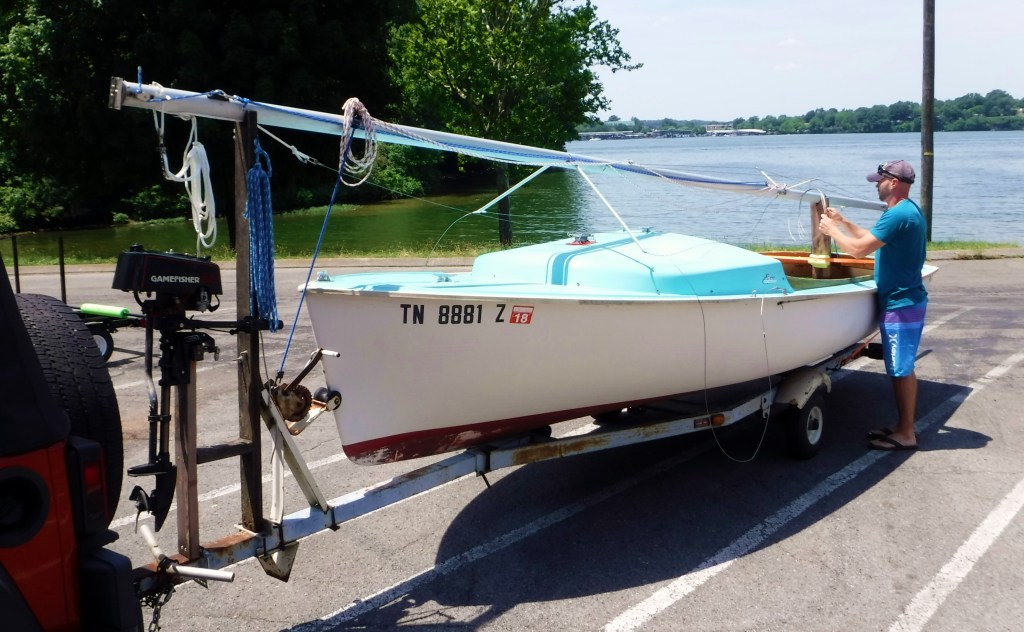
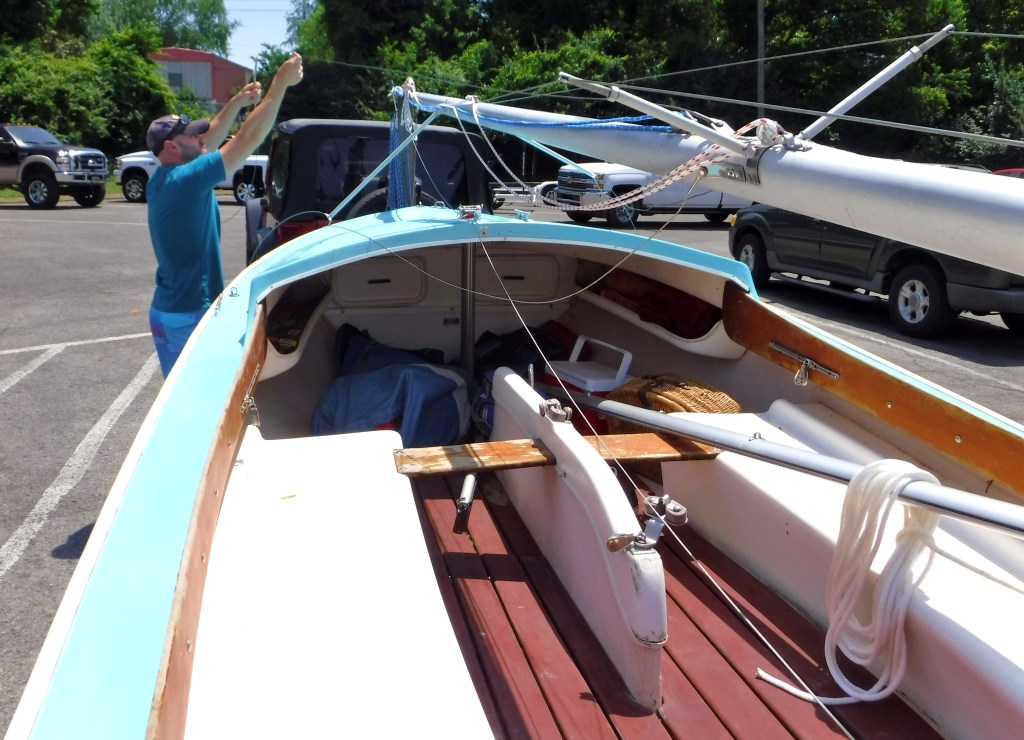
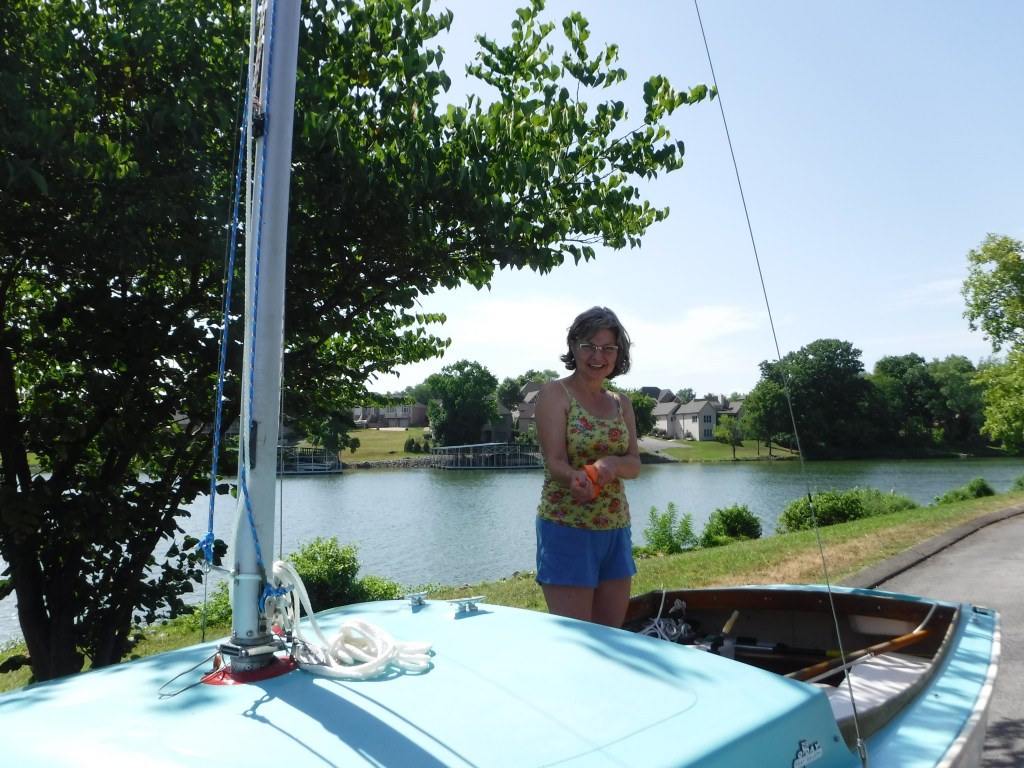
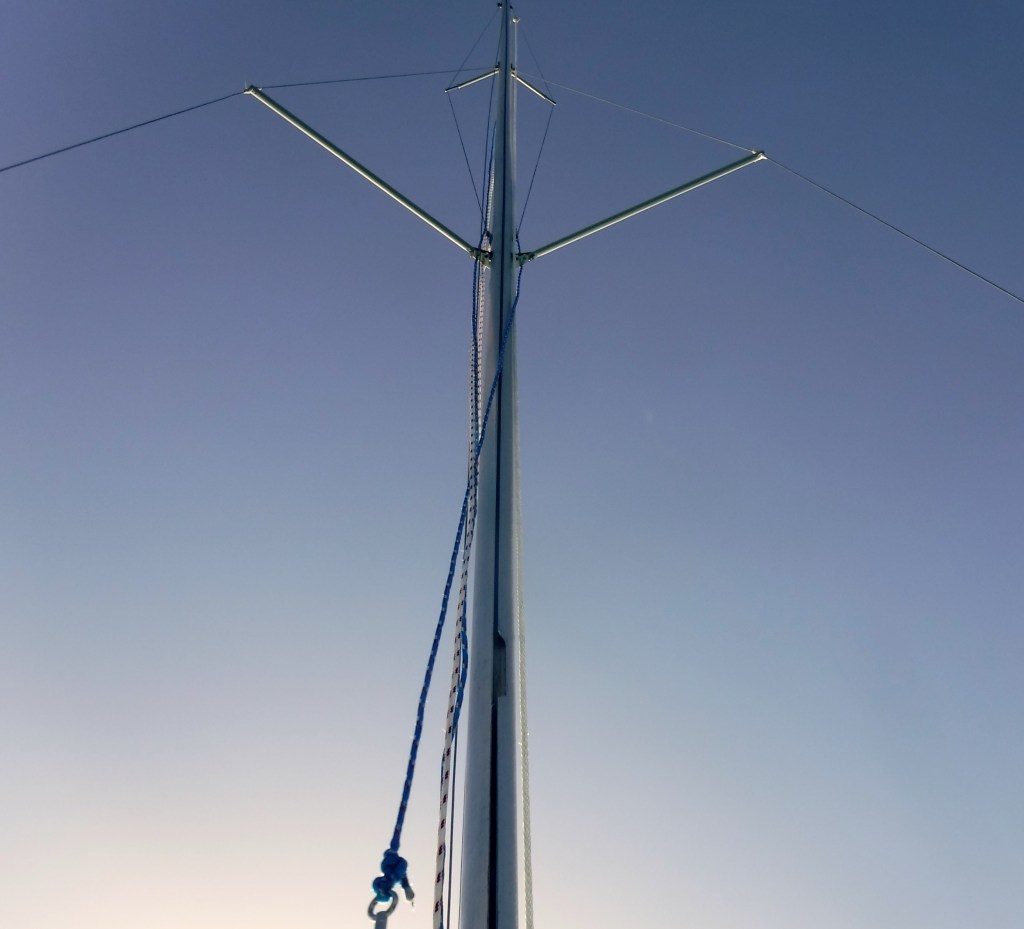
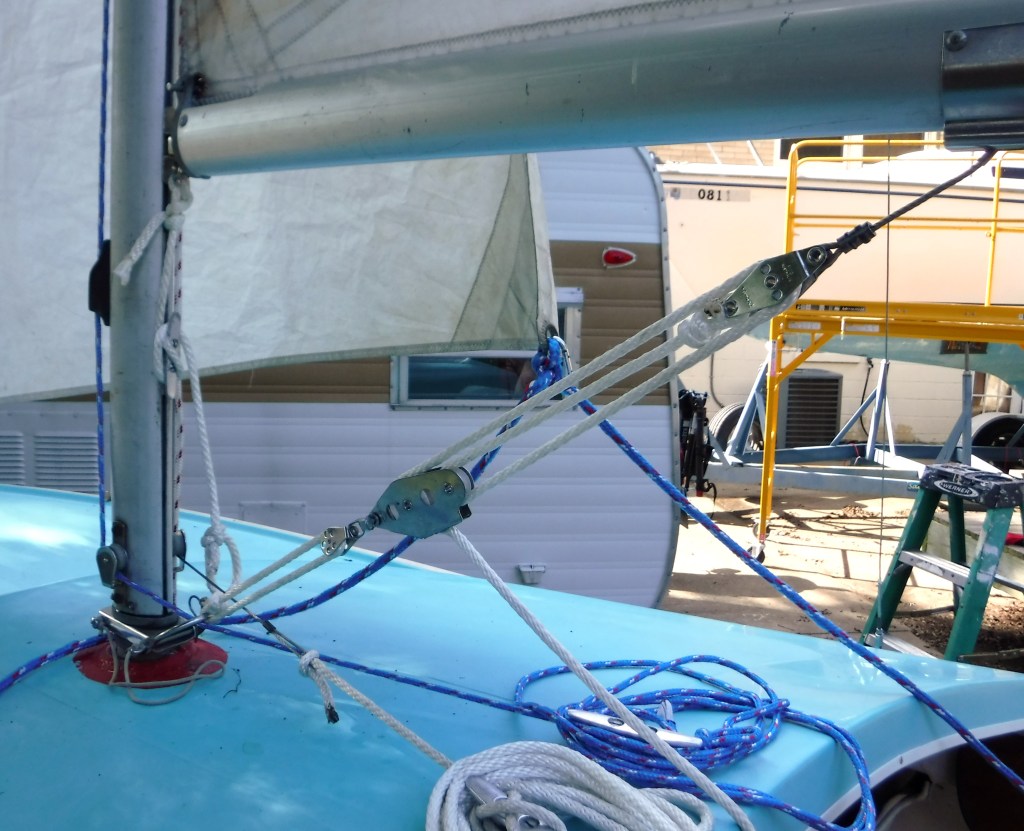
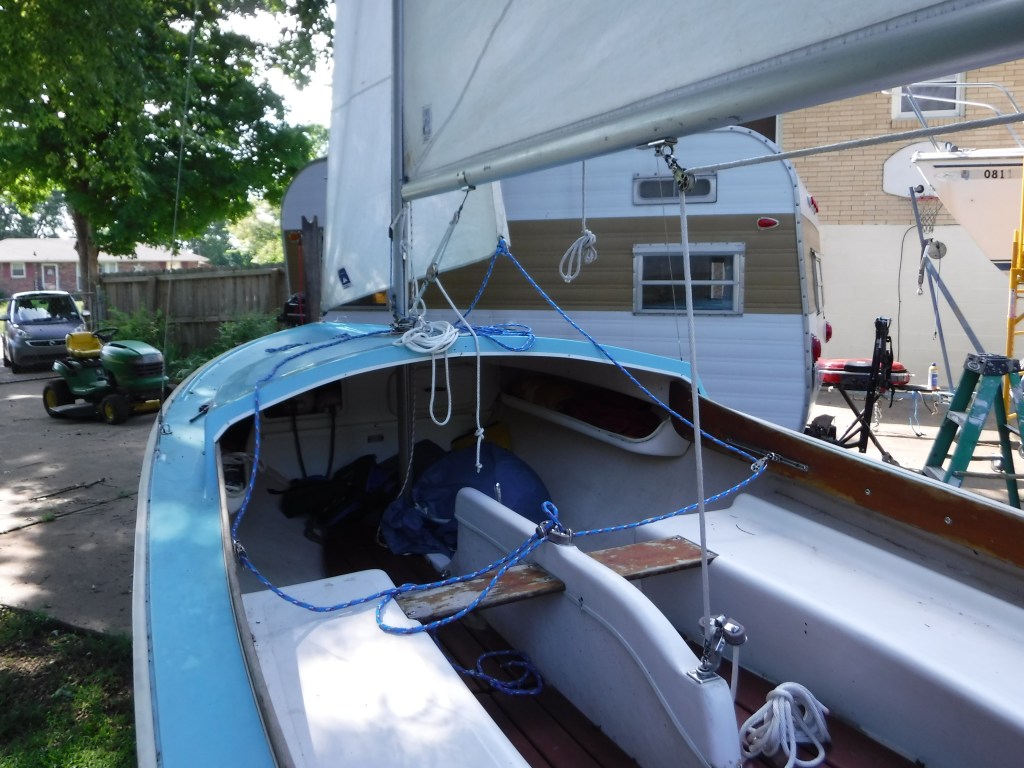
To preserve the bolts’ condition, I had to keep out the rain. Leaky deck fittings and portlights allowed water to seep into Felicity’s bilge. Since I still needed access to Felicity’s deck, I put up a makeshift mast, ran a line fore and aft then covered her with a tarp.

To stop the corrosion, I used a rust inhibitor that, according to the manufacturer, works well on rusty surfaces. Fortunately, I didn’t have to grind the bolt back to the shiny mild steel underneath.

I cleaned up the bolts with a wire brush and soapy water, then applied three coats of inhibitor. Each coat took about twenty minutes to dry, changing color from white to black. Once ready, I painted the bolts with galvanizing paint.

Now a bilge full of water, salt, fresh or otherwise, will not only corrode the keel bolts but over time may saturate the wooden core of the keel stub. So in my next post, I’ll tell you how I reinforced the keel stub to prepare for the new stainless steel keel bolts.
Again, if you’d like to see the video, click here, https://youtu.be/uqBt0HUBuLw.

Feel free to leave a comment or ask any questions below.
Thank you so much for visiting my blog, and until next time, jibe on y’all!

Q. Is the water in my bilge from the rain or from the sea

A. https://www.amazon.com/AquaChek-561140A-Water-Swimming-Strips/dp/B0036UNV8E/ref=cm_cr_arp_d_product_top?ie=UTF8

Q. Where can I read about keel bolts?

A. https://www.sailmagazine.com/diy/how-secure-is-your-keel

Advertisement

FELICITY THE CAT

It’s Great to Be Back!

Me and my pandemic lockdown home-gym solution.

Hi, everyone. I am back on the blog. Sorry, it has been so long. Life happens, as I am sure you can appreciate, and blogging got shoved down the list. While the work on Felicity continues to progress, writing about it fell by the wayside.

Still, I am pleased to be back and announce that I’ve become passionate about making short videos. Not only about boat work but also about everyday life. 

Like so many other sailors, Rhonda and I want to sail Felicity for as many years as possible. But it goes without saying that sailing a boat and keeping her ship shape is mentally and physically demanding. So, naturally, as we approached sixty years of age, our interest in our physical fitness and nutritional health grew because we’ll have to stay in shape too.

For that reason, I certified as a Personal Trainer, specializing in senior fitness, and became a credentialed advocate for Exercise is Medicine. Rhonda gained certification as a Holistic Nutritionist to complete our arsenal of weaponry in defense of the furrows and sags of aging.

We call this time in our life our second act. We’ll be launching our new YouTube channel, “Act 2 For Life,” and a new page on Facebook very soon. So we hope you enjoy following our adventure, and I promise to do better at maintaining a regular post in the future. Now, enjoy reading about our keel work project below OR, if you prefer watching videos click here.

Felicity the Cat EP1Keel Work

Miss Rhonda helping me out.

Hi, Everyone.

You know, while fixing Felicity has been a whole lot of fun, especially for one of us in particular (Miss Rhonda) it hasn’t been without frustration. Because at times, the to-do list seems to get longer instead of shorter, and prioritizing the repairs is a challenge in itself. Nevertheless, we want to ensure that we are safe on the water to relax and enjoy our family adventures.

Of course, we would all much rather be sailing. So one year, we bought a nineteen-sixties O’Day, Daysailer, off Craigslist just so that we could get out on the lake for a sail. We named her Dolly after her dolphin-like bow and had an absolute blast. Unfortunately, Dolly also needed some work done. So a conflict of interest developed between her and Felicity. We couldn’t find the time for both of them.

Happily, we sold Dolly on to a guy who taught sailing skills to young people. . She was a dream to sail, and many of these vessels come equipped with a boom tent for overnight stays. If you’d like to see pictures of Dolly the Daysailer, click on the following link and visit the ‘Dolly the Daysailer’ gallery.

And although we are unable to sail Felicity just yet, we can still take in a sunset over her port bow while she languishes here in the yard.

Now, when it comes to fixing up a sailboat, I am definitely not an expert. Together, Rhonda & I have learned many new skills from the Youtube sailing community and other internet-based groups. 

It’s just amazing how many folks are willing to chip in with ideas and suggestions. And as challenging as fixing Felicity can be, it is the sailing adventure and boat project videos that keep our eyes on the horizon. So a massive great thank you to all!

Felcity after grinding out the damage.

And now, back to business. In this post, I’ll show you how I went about fixing Felicity’s Catalina Smile and sprucing up her neglected keel.

First, I had to find out just how badly the keel joint was damaged. Much of the gel coat was still intact, but the fore and aft sections definitely needed attention. So too did the keel. Blisters had formed and compromised the fairing, exposing the cast-iron keel to the elements.

It took a lot of courage to grind out the damage, but I knew it had to be done. So, I wrapped the trailer in plastic to limit the dust and suited up with the appropriate fashionwear. I can’t emphasize enough how vital wearing protective gear is while working on a fiberglass boat. 

Grinding the hull really isn’t nice work. So, if you try this at home, make sure you have the right gear and that you are covered from head to toe.

On one occasion, I didn’t have the filters installed on my respirator. Fortunately, I noticed the smell of the gel coat and realized something was wrong.

I scarfed or feathered the damaged areas of the keel and used a wire brush to remove any rust. By the time I ground out the damaged joint and stripped back the surface of the keel, I couldn’t wait to get out of that suit and into the shower.

Before I applied any sealant, I used an evaporative solvent to clean the exposed keel joint. It’s essential to make sure the area is clean and, in particular, nice and dry. Then, to seal the joint, I used 3M’s 5200 and then let it cure for a couple of days.

Smooth as can be and probably swift in the water.

I used a combination of epoxy and chopped strand matting (CSM) on the keel’s larger areas, followed by a mix of epoxy and West System 410 microlite filler. It sands down quickly and makes for a super smooth finish.

Now Felicity’s keel is beginning to look like a professional job, and I’m really pleased with it so far.

You know, apart from having to dodge the weather, I probably spent more time thinking about doing the keel work than it took to actually do it. 

So, here’s a little tip from a novice. If you’re still thinking about doing that project on your beloved boat, just get on, and ruddy well do it!

And remember, if you’d still like to watch my first boat video, just click on this link, “Felicity the Cat EP1. Keel Work.”

Thank you for reading about Felicity the Cat. How is your boat project going? We’d love to hear from you, so please leave a comment, like, subscribe, and share it with someone you love. 

Until next time, dear readers, Jibe on y’all!

C-25 Anchor Locker

DSCF1952
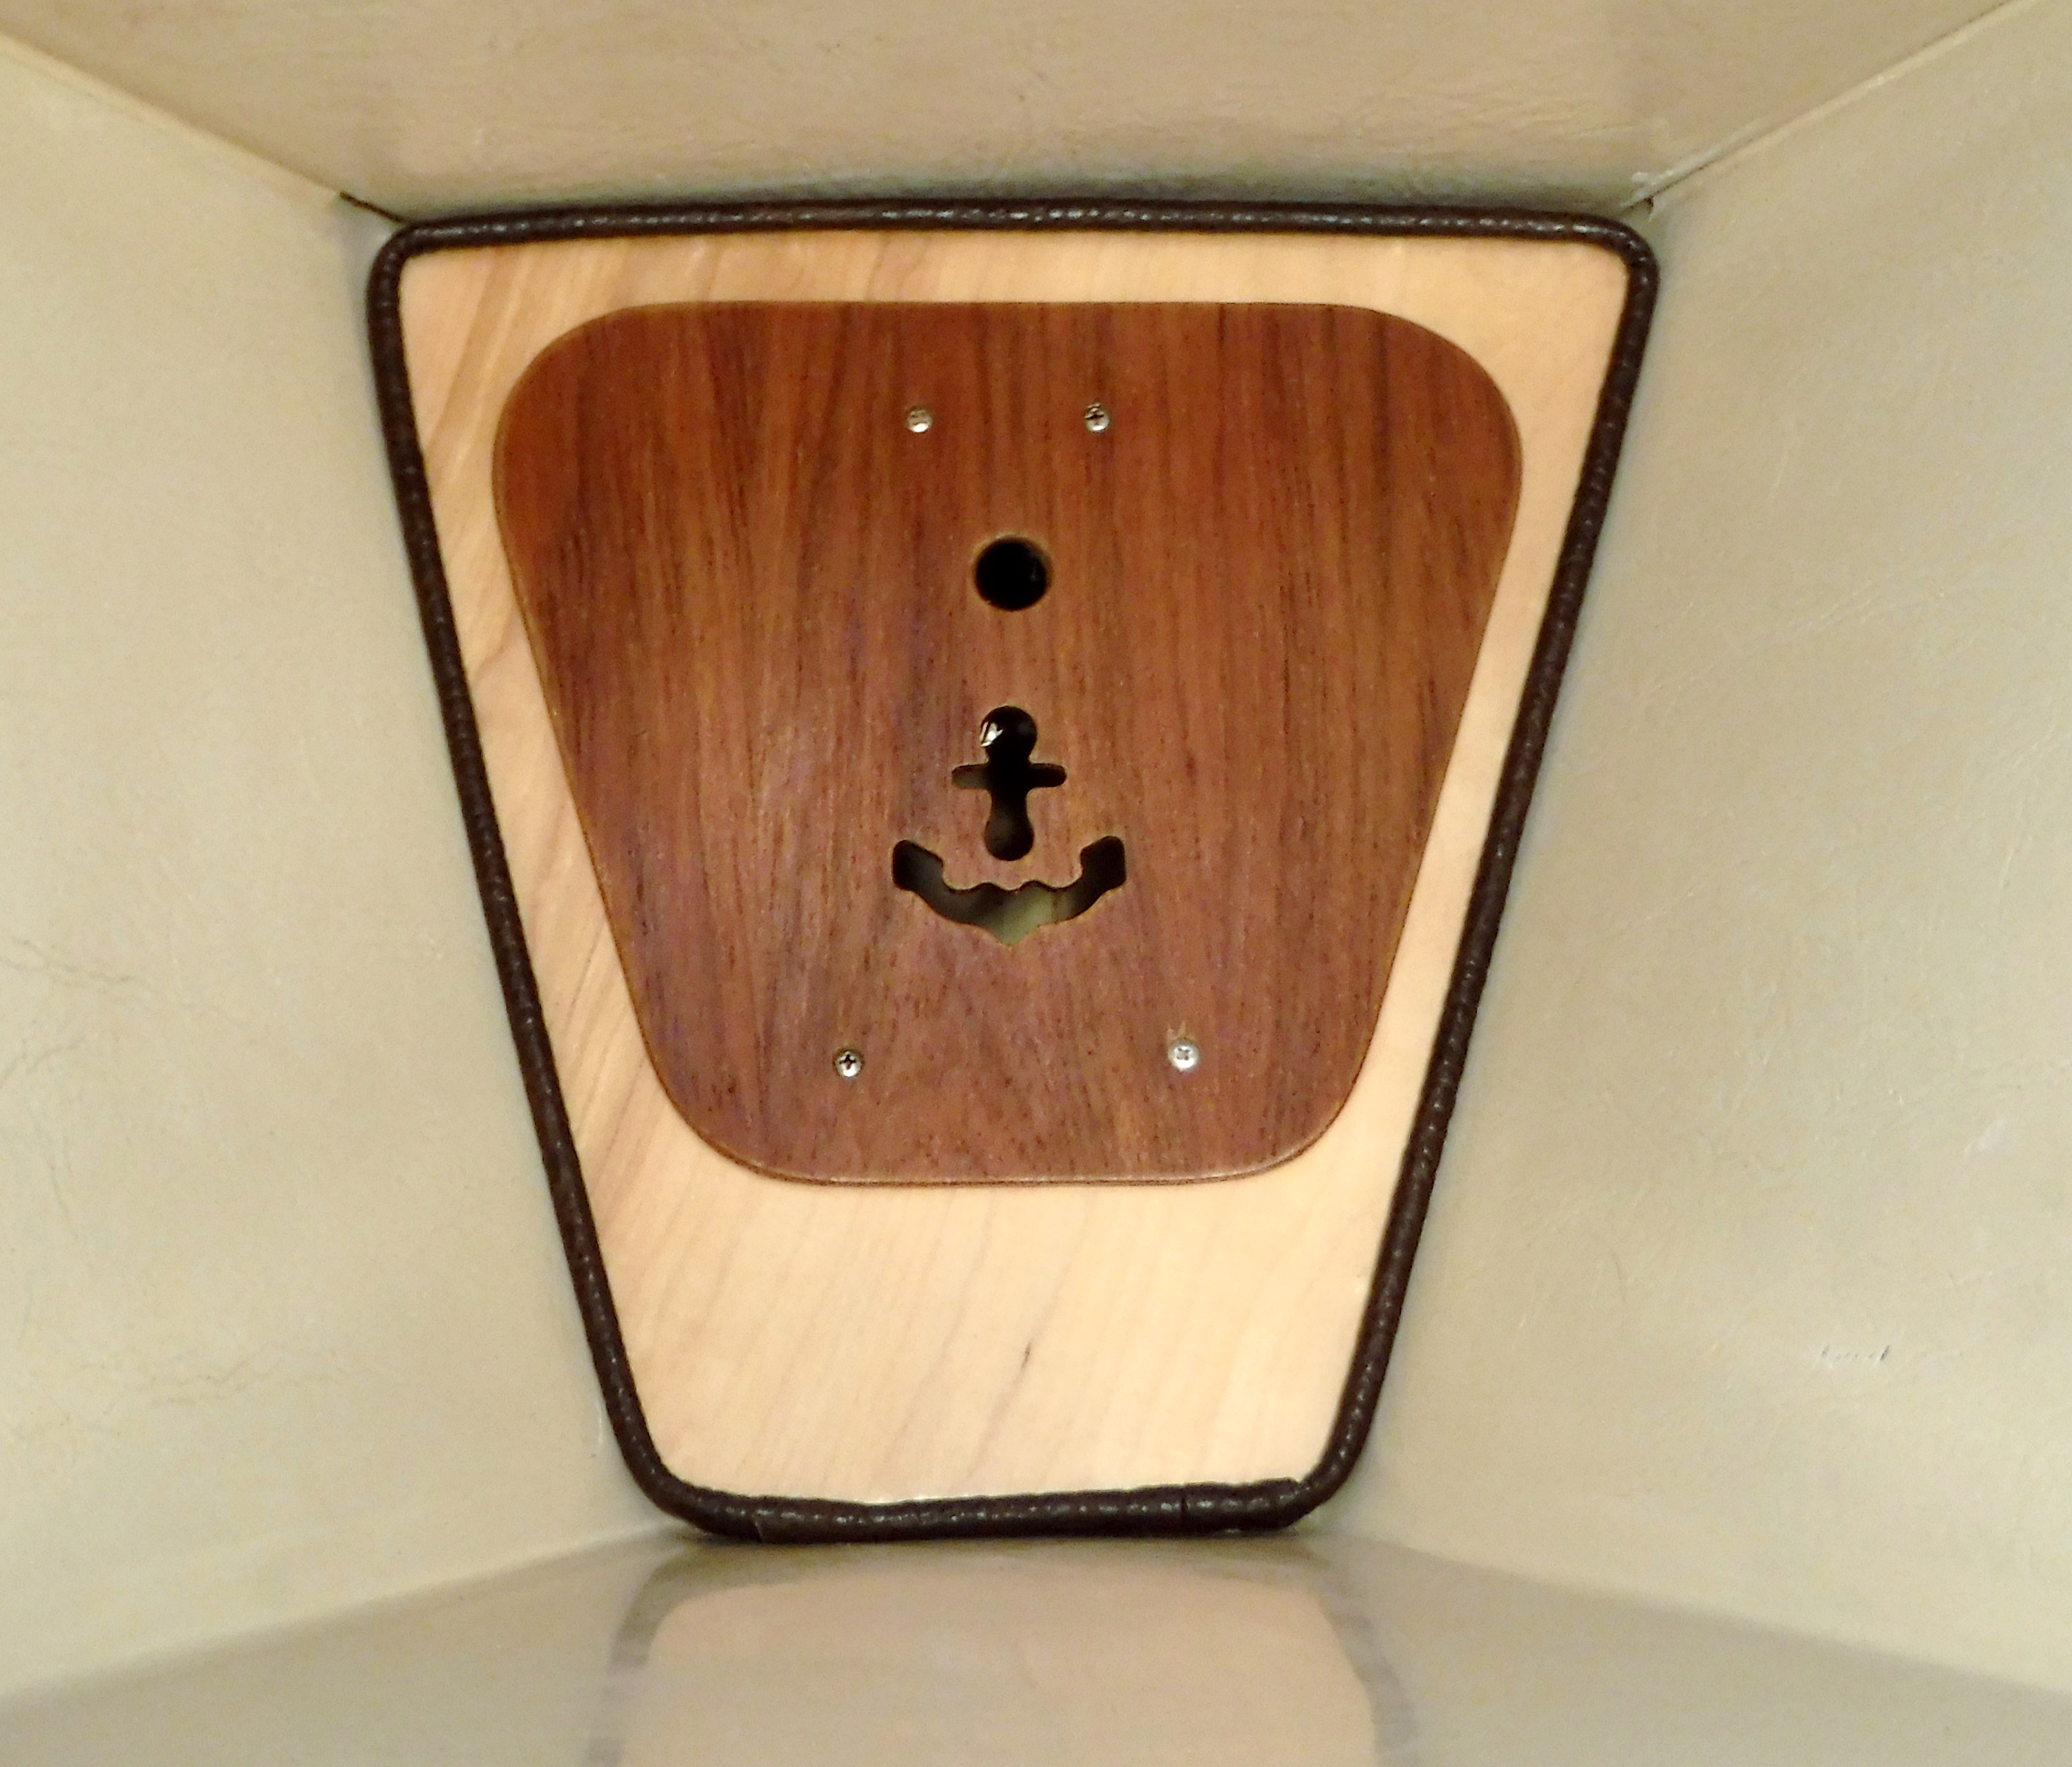
Hello again, readers. I just couldn’t wait to post the story of my anchor locker. I know, it’s exciting for you too isn’t it, that dirty old triangular box at the bow where sailboats store the parking brake.

First I should thank Tomas Kruska who posted his project details on the Catalina International Association forum.  After years of home ownership, impatience and irritation where temperamental tantrums became integral to repairing anything, Tomas’s anchor locker project encouraged my efforts, and today the result astounds me.

My boat’s anchor locker had a number of flaws requiring attention if I wanted the forward sleeping quarters below the locker, or V-berth, to become the habitable space it once was. Rainwater collected via the anchor rode notch and seeped down into the V-berth through a bolt hole that once secured the bow eye. Also, the bow navigation lights’ box-shaped covers allowed water into the back of the fittings along with the fittings on the fore-deck. Unless the light covers protected them from a restless anchor under way, I don’t understand the purpose of them either since their shape doesn’t follow the hull’s.

The ceiling of the locker, or underside of the fore-deck serves as an attachment point for the pulpit, fore-stay stem and a couple of other fittings. Many of the bolts leaked and the underside paint had peeled, exposing the fiberglass and/or wood to adverse weather conditions. The anchor locker was, by far, one of the worst places on the boat. This challenging repair was irresistible, and my creative genius unleashed.

Once all of the fittings were out of the way, I scraped off the old paint and gave the locker a jolly good clean. I sanded a lot of the rougher edges down and decided to glass over the light fittings’ inserts and cut out a new hole for them later.

Although I couldn’t find any soft spots on the fore deck the underside looked a little worse for wear. I wanted to improve its integrity by adding some strength from the underside. Using a cardboard mock up, I shaped some plywood to the curve of the deck. This technique I learned from Brian Gilbert’s book “Fix it and Sail.”  If you don’t have the book yet, it’s still stands up and you’ll find self-explanatory pictures in my gallery on how I molded the ply.

DSCF2692I mapped the deck’s curve on a piece of 1 x 6 pine and cut along the line, producing a matching curved edge.  After making slits in the top layer of ply, I screwed it down to the template. Once the ply was in place I glassed it with alternate layers of fiberglass cloth and matting. Once it had cured, I removed it from the template and glassed the whole thing. I had a perfectly shaped, very solid composite board which I glued to the underside of the fore-deck. Handyman’s tip: those annoying loan offers that come in the mail supply free construction glue applicators. People are so generous. Anyway, I made sure that I jacked and clamped the board tightly. It became an excellent reinforcement for stainless steel backing plates, washers, nuts and bolts.

For the next step of the project, I wanted to improve the overall appearance of the locker and simultaneously, channel any runoff from the deck. I bored out a hole in the forward end of the locker and installed a thru-hull to the V-berth below. Then, I glassed out the anchor locker, sanded it and painted it with two coats of Rustoleum primer. The final coat of topside paint and a replacement weather-seal finished the job well. My Catalina had a brand new look.

DSCF2946

So what about the drain that now  led to the V-berth? I had a cunning idea.

I thought about running a tube down to the bilge, but that would mean puncturing a hole in the V-berth bunk floor. I couldn’t find much about anchor locker drains on the internet but I knew it made sense to have one.

Soon I had devised an arrangement of tubing, hose clamps and a couple of thru-hulls. The water now drains out through the bow as it does on much larger vessels. In fact, the whole thing is a great water feature and I’ve posted a video of it here, Water Feature 2. 

The most difficult stage of the anchor locker drain was deciding on compatible sizes of tubing. I didn’t know much about plastic tubing and its complex terminology. I still don’t really know how I figured it out but the components I used are listed below.

2 feet of reinforced plastic tubing: 1″ O/D, 3/4″ ID. (Garden hose is less expensive.)

3 ea. Perko 5/8″ Thru-hulls

1 ea. 5/8″ Nylon hose barb/ Tee joint 5/8″

6 ea. Hose clamps/ Jubilee Clips

Before and After:

V-berth 8

DSCF2952

Behind the V-berth locker, you should end up with something that looks a lot like the picture above. Behind my new drainage system, you can see where I painted over the stain caused by the rusty bow eye bolt. Also, water intrusion, over time, had rotted out the V-berth locker panel. Here is a before and after of that!

DSCF2953

DSCF3685

So hey, fix up the anchor locker. It doesn’t cost much in materials and makes for a more comfortable V- Berth snooze!!

For more pics on “how-to” click here. 

Please leave any questions in the comment sections below and I’ll do my very best to help you out. If you’d like to listen to some of my music you could start with this beautifully emotive trumpet piece: Adios

Fair winds!!


Thank you for reading.

Catalina Winches

DSCF3221

Contrary to hearsay and internet rants, people are incredibly kind, especially here in America. While governments flit between leaders and losers, this amazing country’s  constitutional values remain intact. I benefit from them every day. So, thank you Americans for being so kind, and I hope you all have a happy 4th of July.

Although several months have passed since my last blog submission, the work on the Catalina continued. I have a lot to tell you about. So, lets’ pick up from where I left off.

In my last post, “She has Issues”  I promised news of my winch repair project. The subject of repairing sailboat winches, while useful, lacked excitement and struck me with writer’s block. Who wants to know about winches? Is anyone reading my stuff?

Then one day and out of the blue, a package arrived from a family friend in Memphis. Discovering my interest in boat renovation, she hand-crafted a boat shop sign. I choked up as I tore off the wrapping paper. It was a wonderfully useful surprise. Although I called her and thanked her with as many words as I could, even now, it still doesn’t seem like enough.

In fact, generosity went viral with the advent of social media. In an earlier post, “We Call Her She”  I conveyed how much I enjoyed YouTube, describing it as a place, “where an increasing number of master craftsmen inspire humanity for zero dollars down, thus, usurping traditional education.” The statement shocked me at first because not too long ago, I really despised the internet site and others whose subscribers broadcast intellectual property without compensating the creator. Sure, free music was great but not for those who created it.  In my view, a lifetime of work went down the tube.

At that time, I considered my musical career valueless and frequently questioned my existence. What was the use of writing music anymore? I sold off my studio, bought my Catalina and started to write this blog. While I don’t claim the status of craftsman or expert, sharing my journey expands my sense of purpose, and I hope that you find it inspiring.

DSCF2476
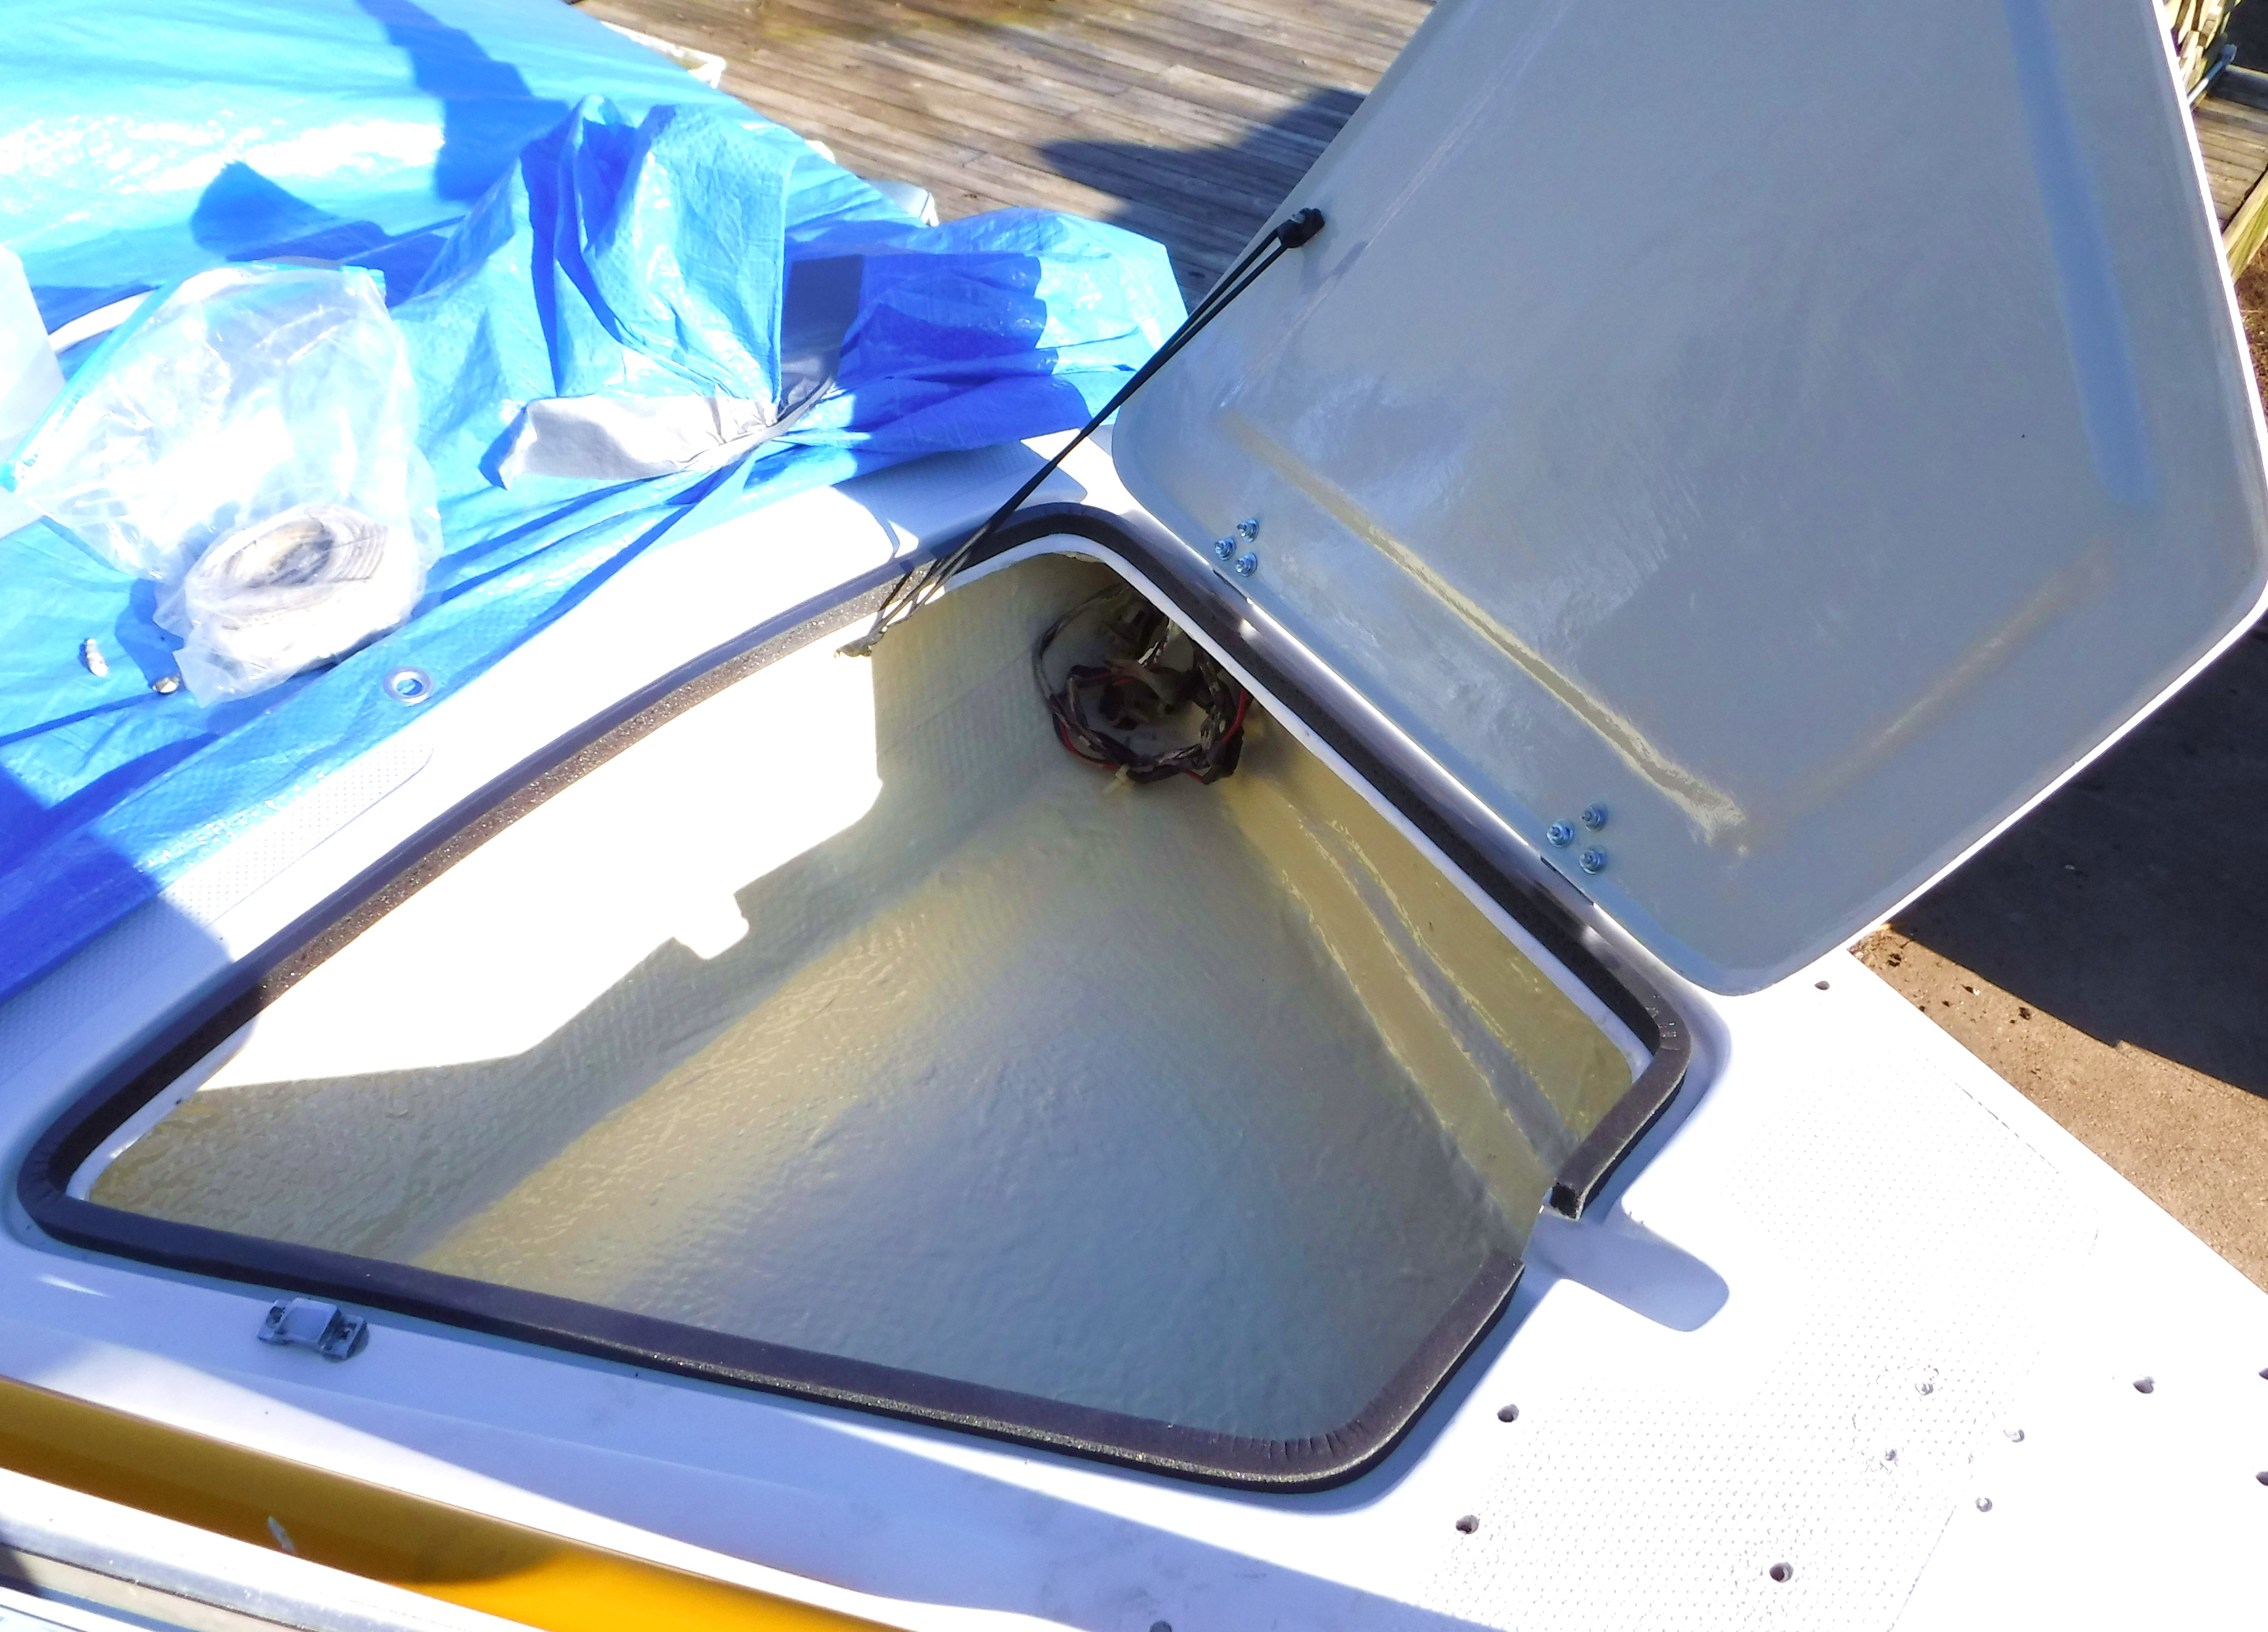
Buying my sailboat changed me. Now I view YouTube as an excellent source for learning. I dread to think how much it would have cost to have an expert refurbish all six of the Lewmar winches. When I pulled them from the deck, I didn’t know how to repair them and even contemplated purchasing replacements. Without YouTube, my renovation would either be sunk or I would be out of pocket.

Once I removed the winches and other fittings, I realized why the boat took on water each time the rain fell from the gloom that had stalled for weeks overhead. Nearly every piece of equipment leaked. As you can see from the  picture, most of the sealant from under this winch had washed out some time ago. Although it would take me several weeks of work, making the Catalina watertight again became my next priority.

Dodging the raindrops and marbles of hail, I removed all the deck fittings, plugged the holes with butyl putty and covered them all up with gaffer tape. Then, in the comfort of my propane heated garden shed workshop, I cleaned, polished and lubricated where necessary (silicone spray). You can see the project gallery here.

I also discovered this video tutorial by the Stingy Sailor.  He presents a comprehensive demonstration using a winch from a 1981 Catalina 22′. I learned a lot from the Stingy Sailor whose website is also a treasure trove of generous work. I can’t wait to dive in and try out some of those inspiring projects.

As many of you know, YouTube also hosts countless sailing videos. I follow a handful of other tale-telling sailors who broadcast their adventures for free. Sail Life, Christian Williamson, Jamie Bowen, and the salty “Old Sea Dog” Barry Perrins all produce colorful videos that keep my sailing dreams alive. Another project run by the Sampson Boat Co. helps balance my perspective when the Catalina work becomes too tedious. Truly, it sometimes overwhelms. That is, until I watch the “Rebuilding Tally Ho!” episodes. Leo Sampson Goolden, to whom my wife wants to send a hairbrush, is a fellow expatriate from Bristol in England whose mission it is to rebuild the 1910 Albert Strange gaff cutter, and sail it back home to the U.K. In comparison to Leo’s much loftier scheme, fixing up a Catalina 25′ is a cinch!

DSCF2497

Finally, the subject of naming our Catalina came up. Though we have a few thoughts, I wondered what you would suggest. Please leave a comment if you have any ideas.

My apologies for leaving you out there, readers. I hope you’ll forgive and continue to visit my site. As a tease for the next post, I should mention that I re-worked my Catalina 25’s anchor locker and installed a neat little drain. I am excited about sharing the gallery for this and will post it here very soon.

In the meantime, check out some extra shots of the Lewmar winches by visiting my galleries page. I hope they are useful to someone. My winches were in a shocking state. Some of them wouldn’t even turn. Now they’re all shiny and spin around like new. I enjoyed the intricate work. Again, thank you, Stingy Sailor for being so generous. Until next time…


She Has Issues

DSCF2725
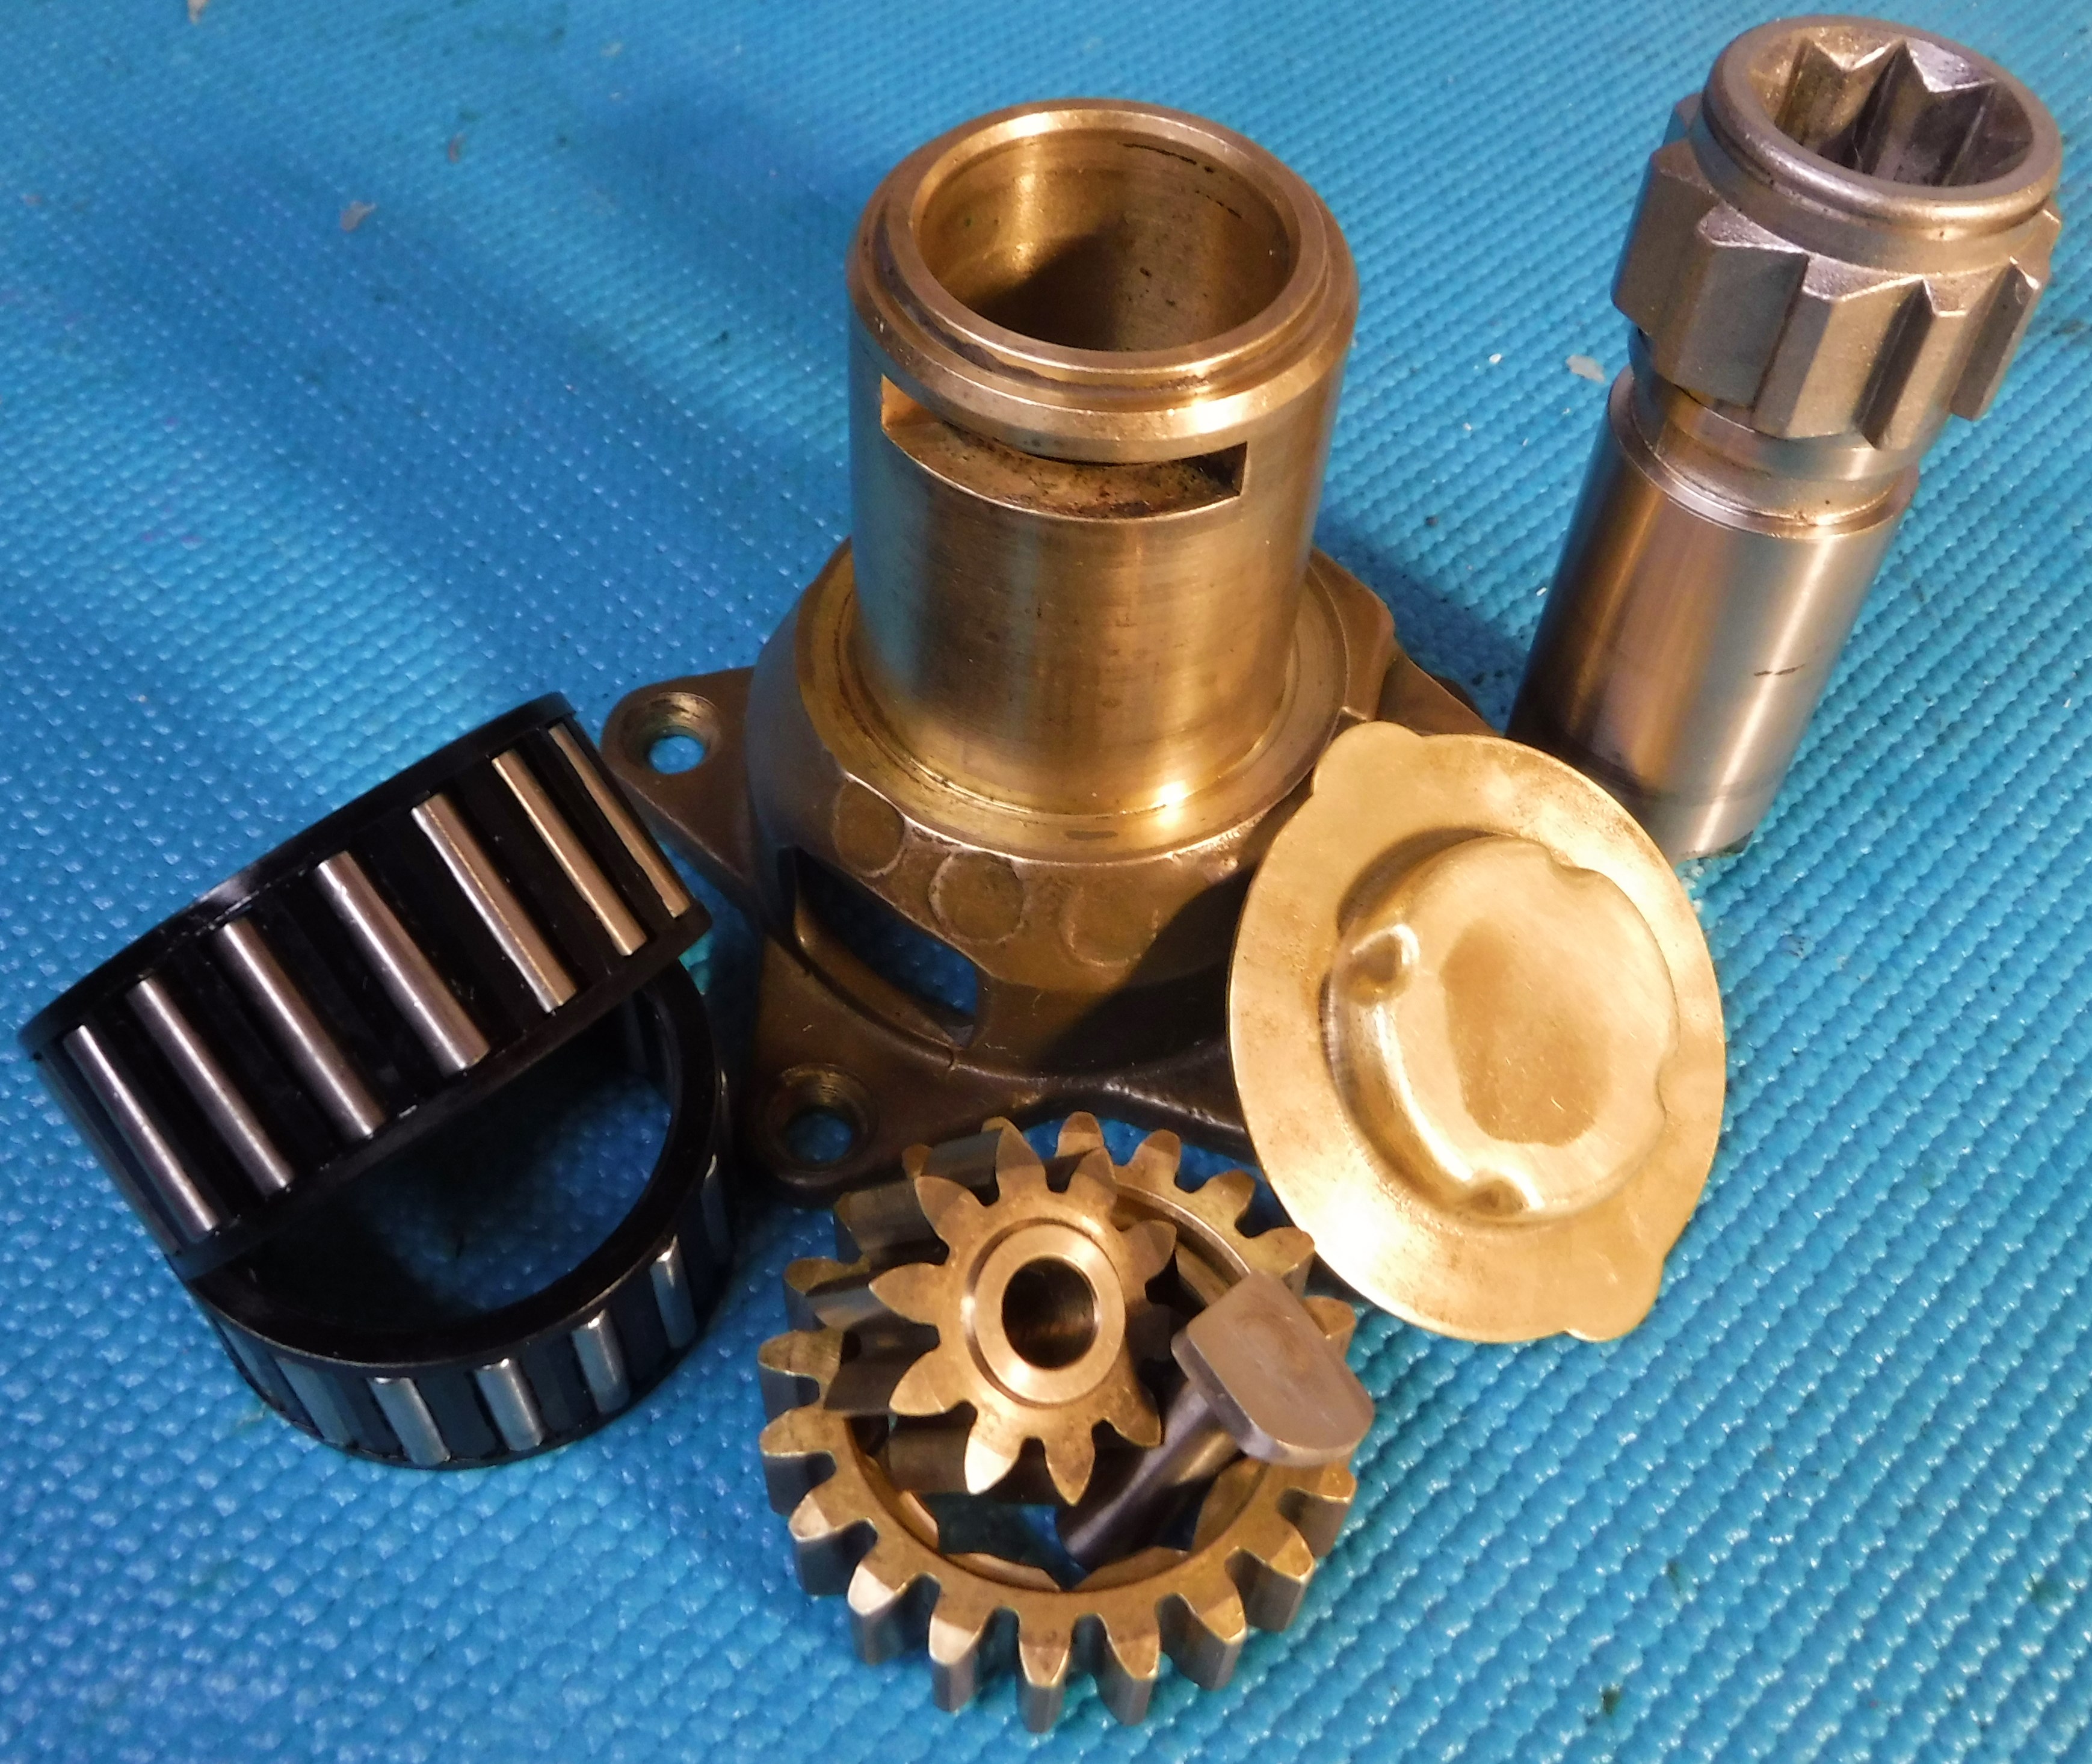
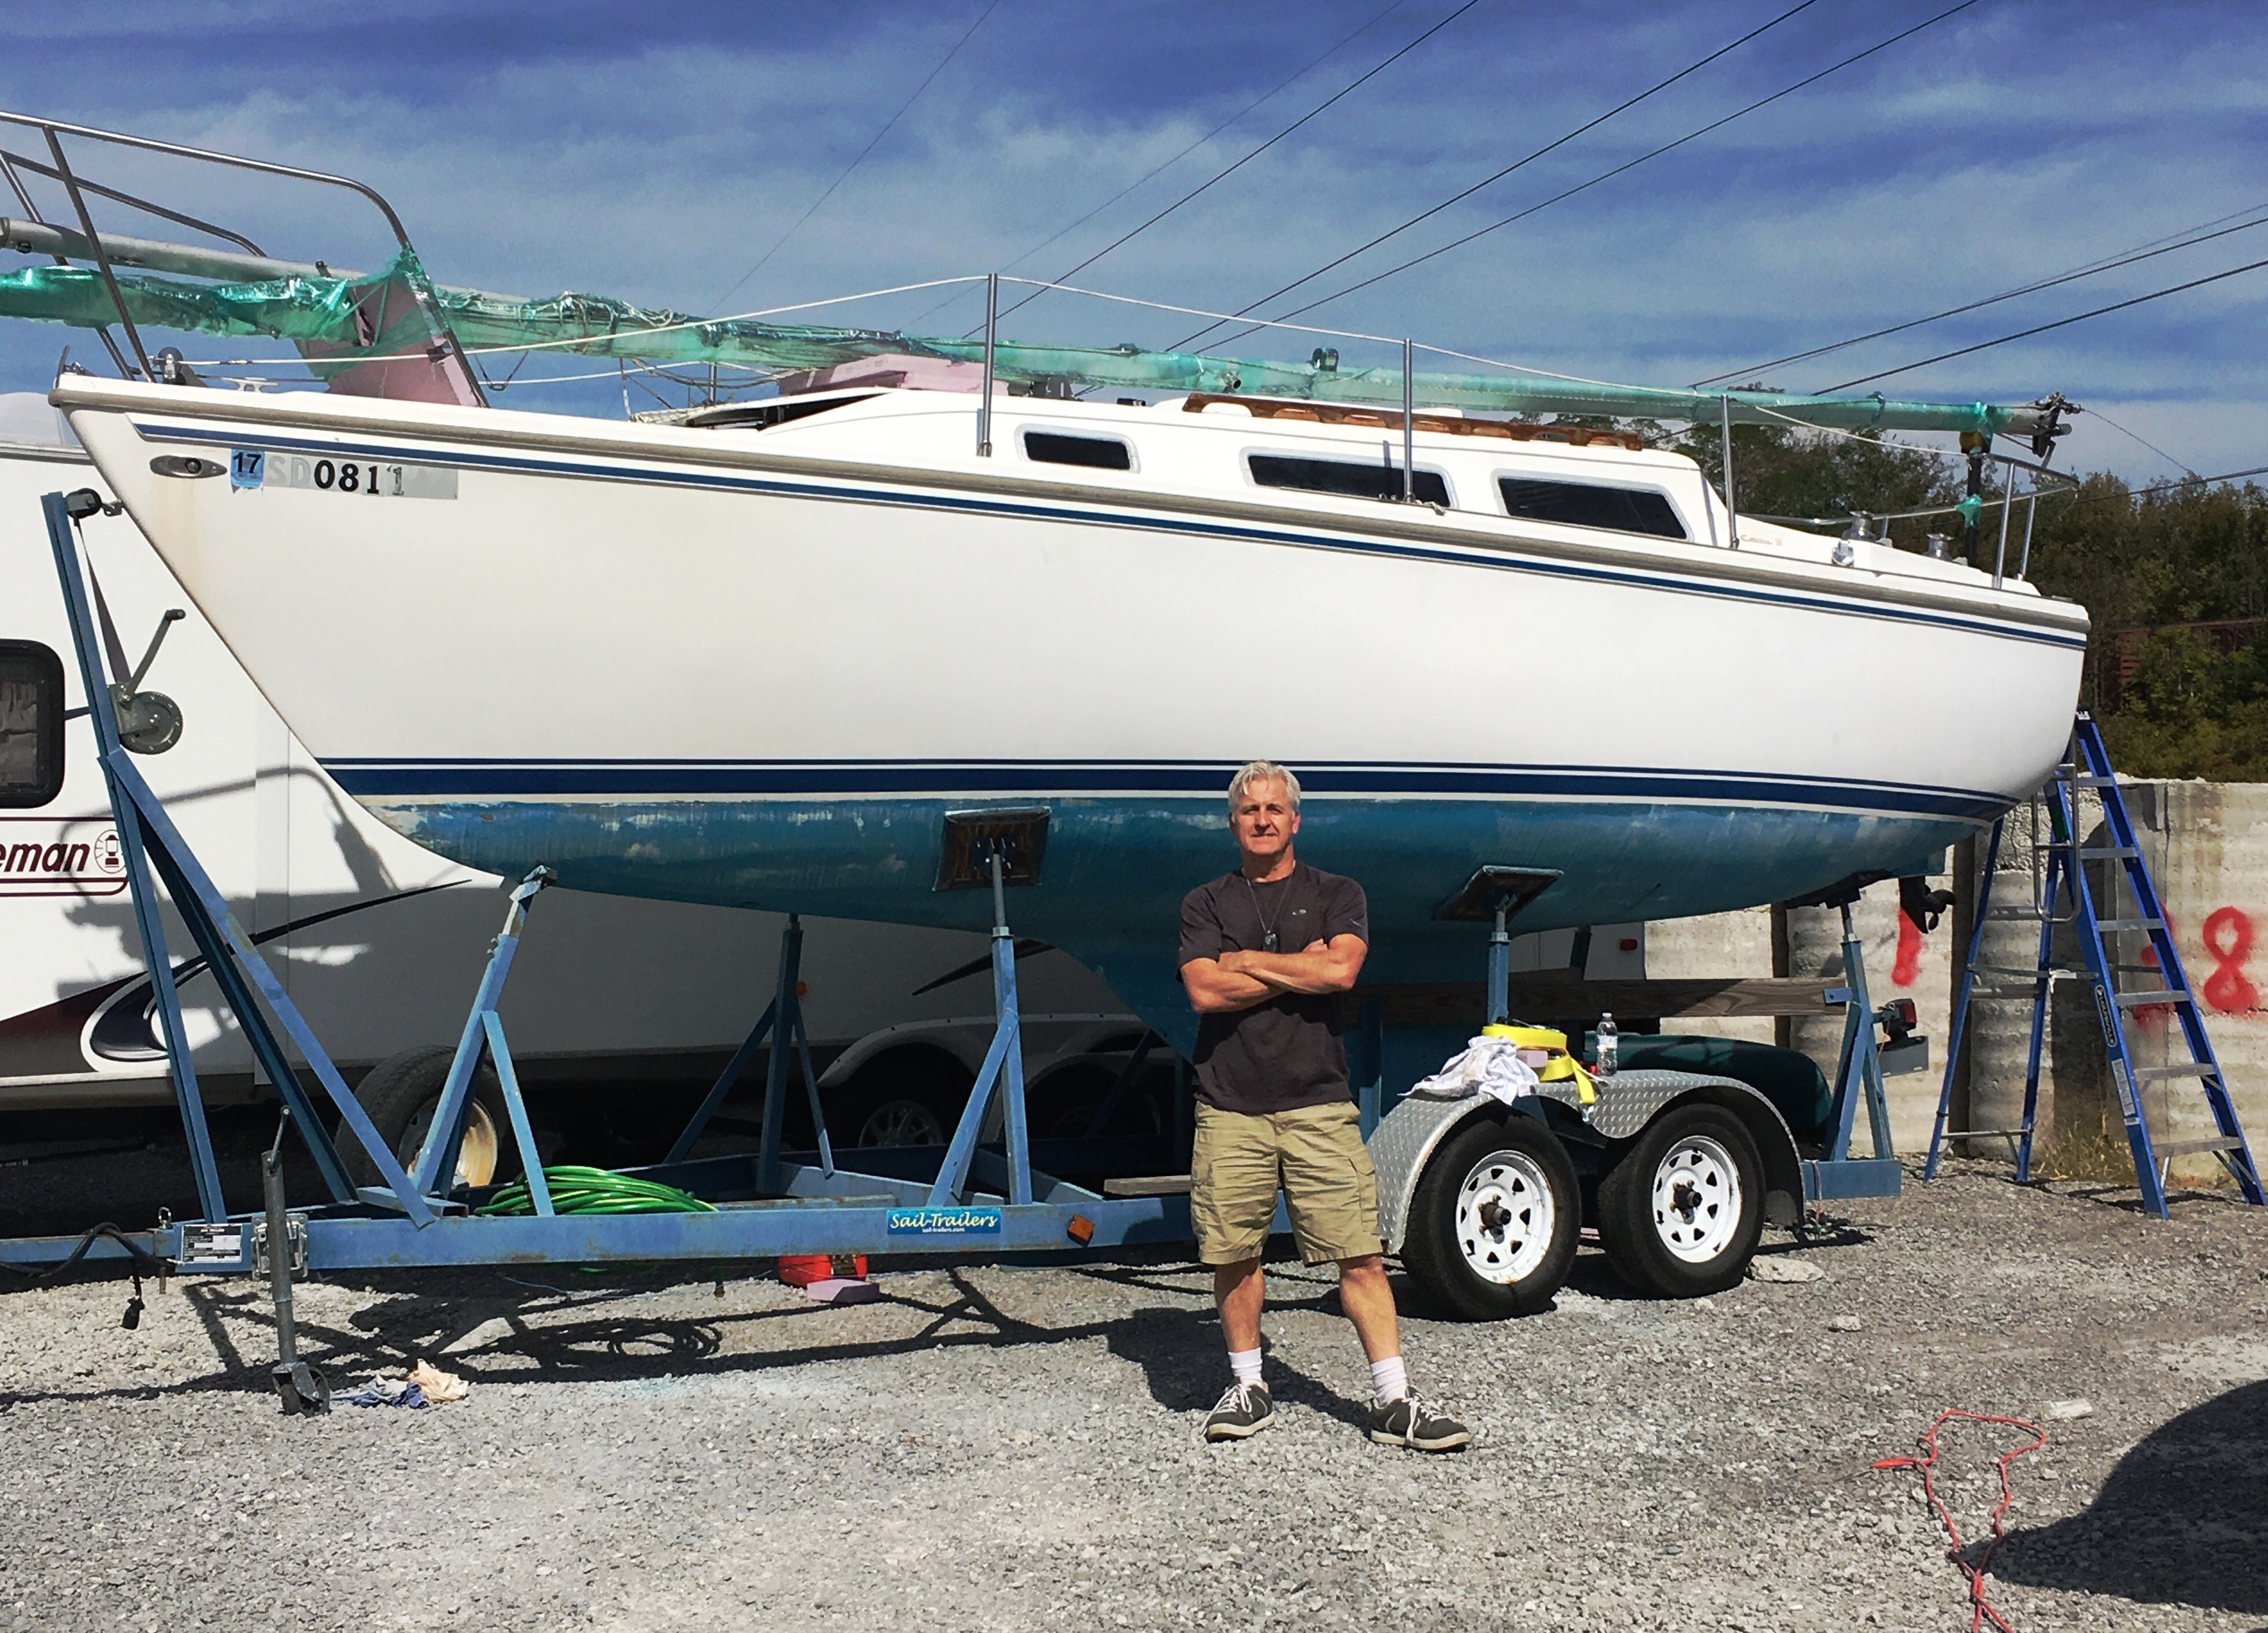
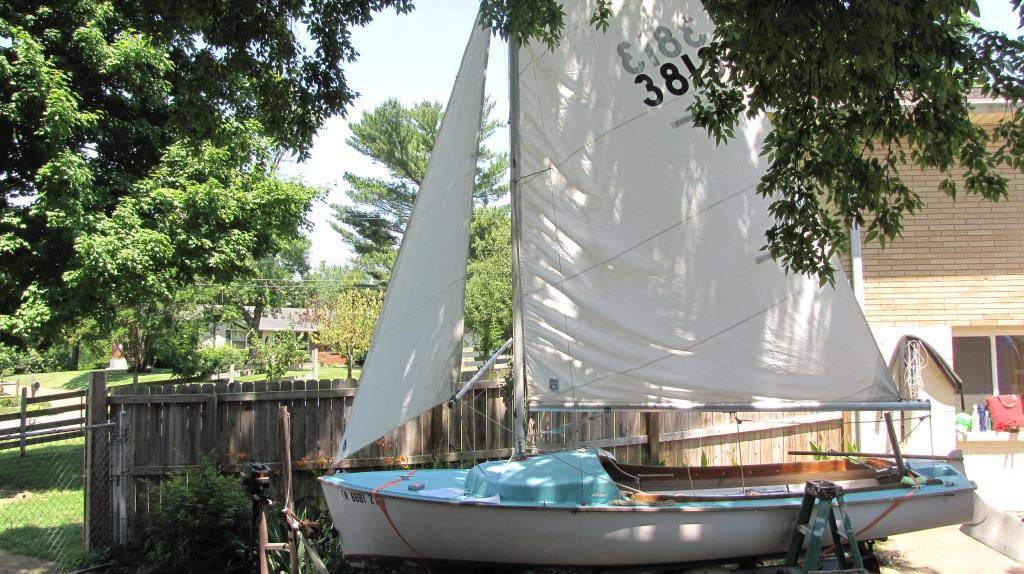
When I found my used sailboat, I looked her over, poked around and then decided to give her a go. Back in 1981, when Catalina produced this 25′ sloop, I had met my first wife and did pretty much the same thing with her. I married the woman, knowing little about who she was.

For the first six months of our ill-fated marriage, we barely saw much of each other. She lived in High Wycombe. I lived in Devon, almost two hundred miles away and yet later, in earnest, we moved in together. Sadly, fidelity did not. We both had issues. She cheated on me, and I on her. Our marriage ended in divorce.

In many relationships, familiarity either breeds contempt, or it reveals one’s capacity for love. My Catalina 25 also has issues, a multitude of small ones, which I viewed as a cluster of fun. However, when she moved home, a closer inspection revealed around twice as many issues than those observed at the storage facility/graveyard. Gradually, the reasons behind her owner’s dumping her on Craigslist materialized. Even I, at times, feel overwhelmed.

Faulty equipment, stains, and blemishes were the result of neglect and the lack of regular maintenance knocked-on for thirty-odd years. Every imperfection formed the character lines that attracted me to her from the start. So, just as I did with my current life partner and best friend of twenty-odd years, I surrendered to tolerance of her personality traits and loving my “new-to-me” boat.

DSCF2045
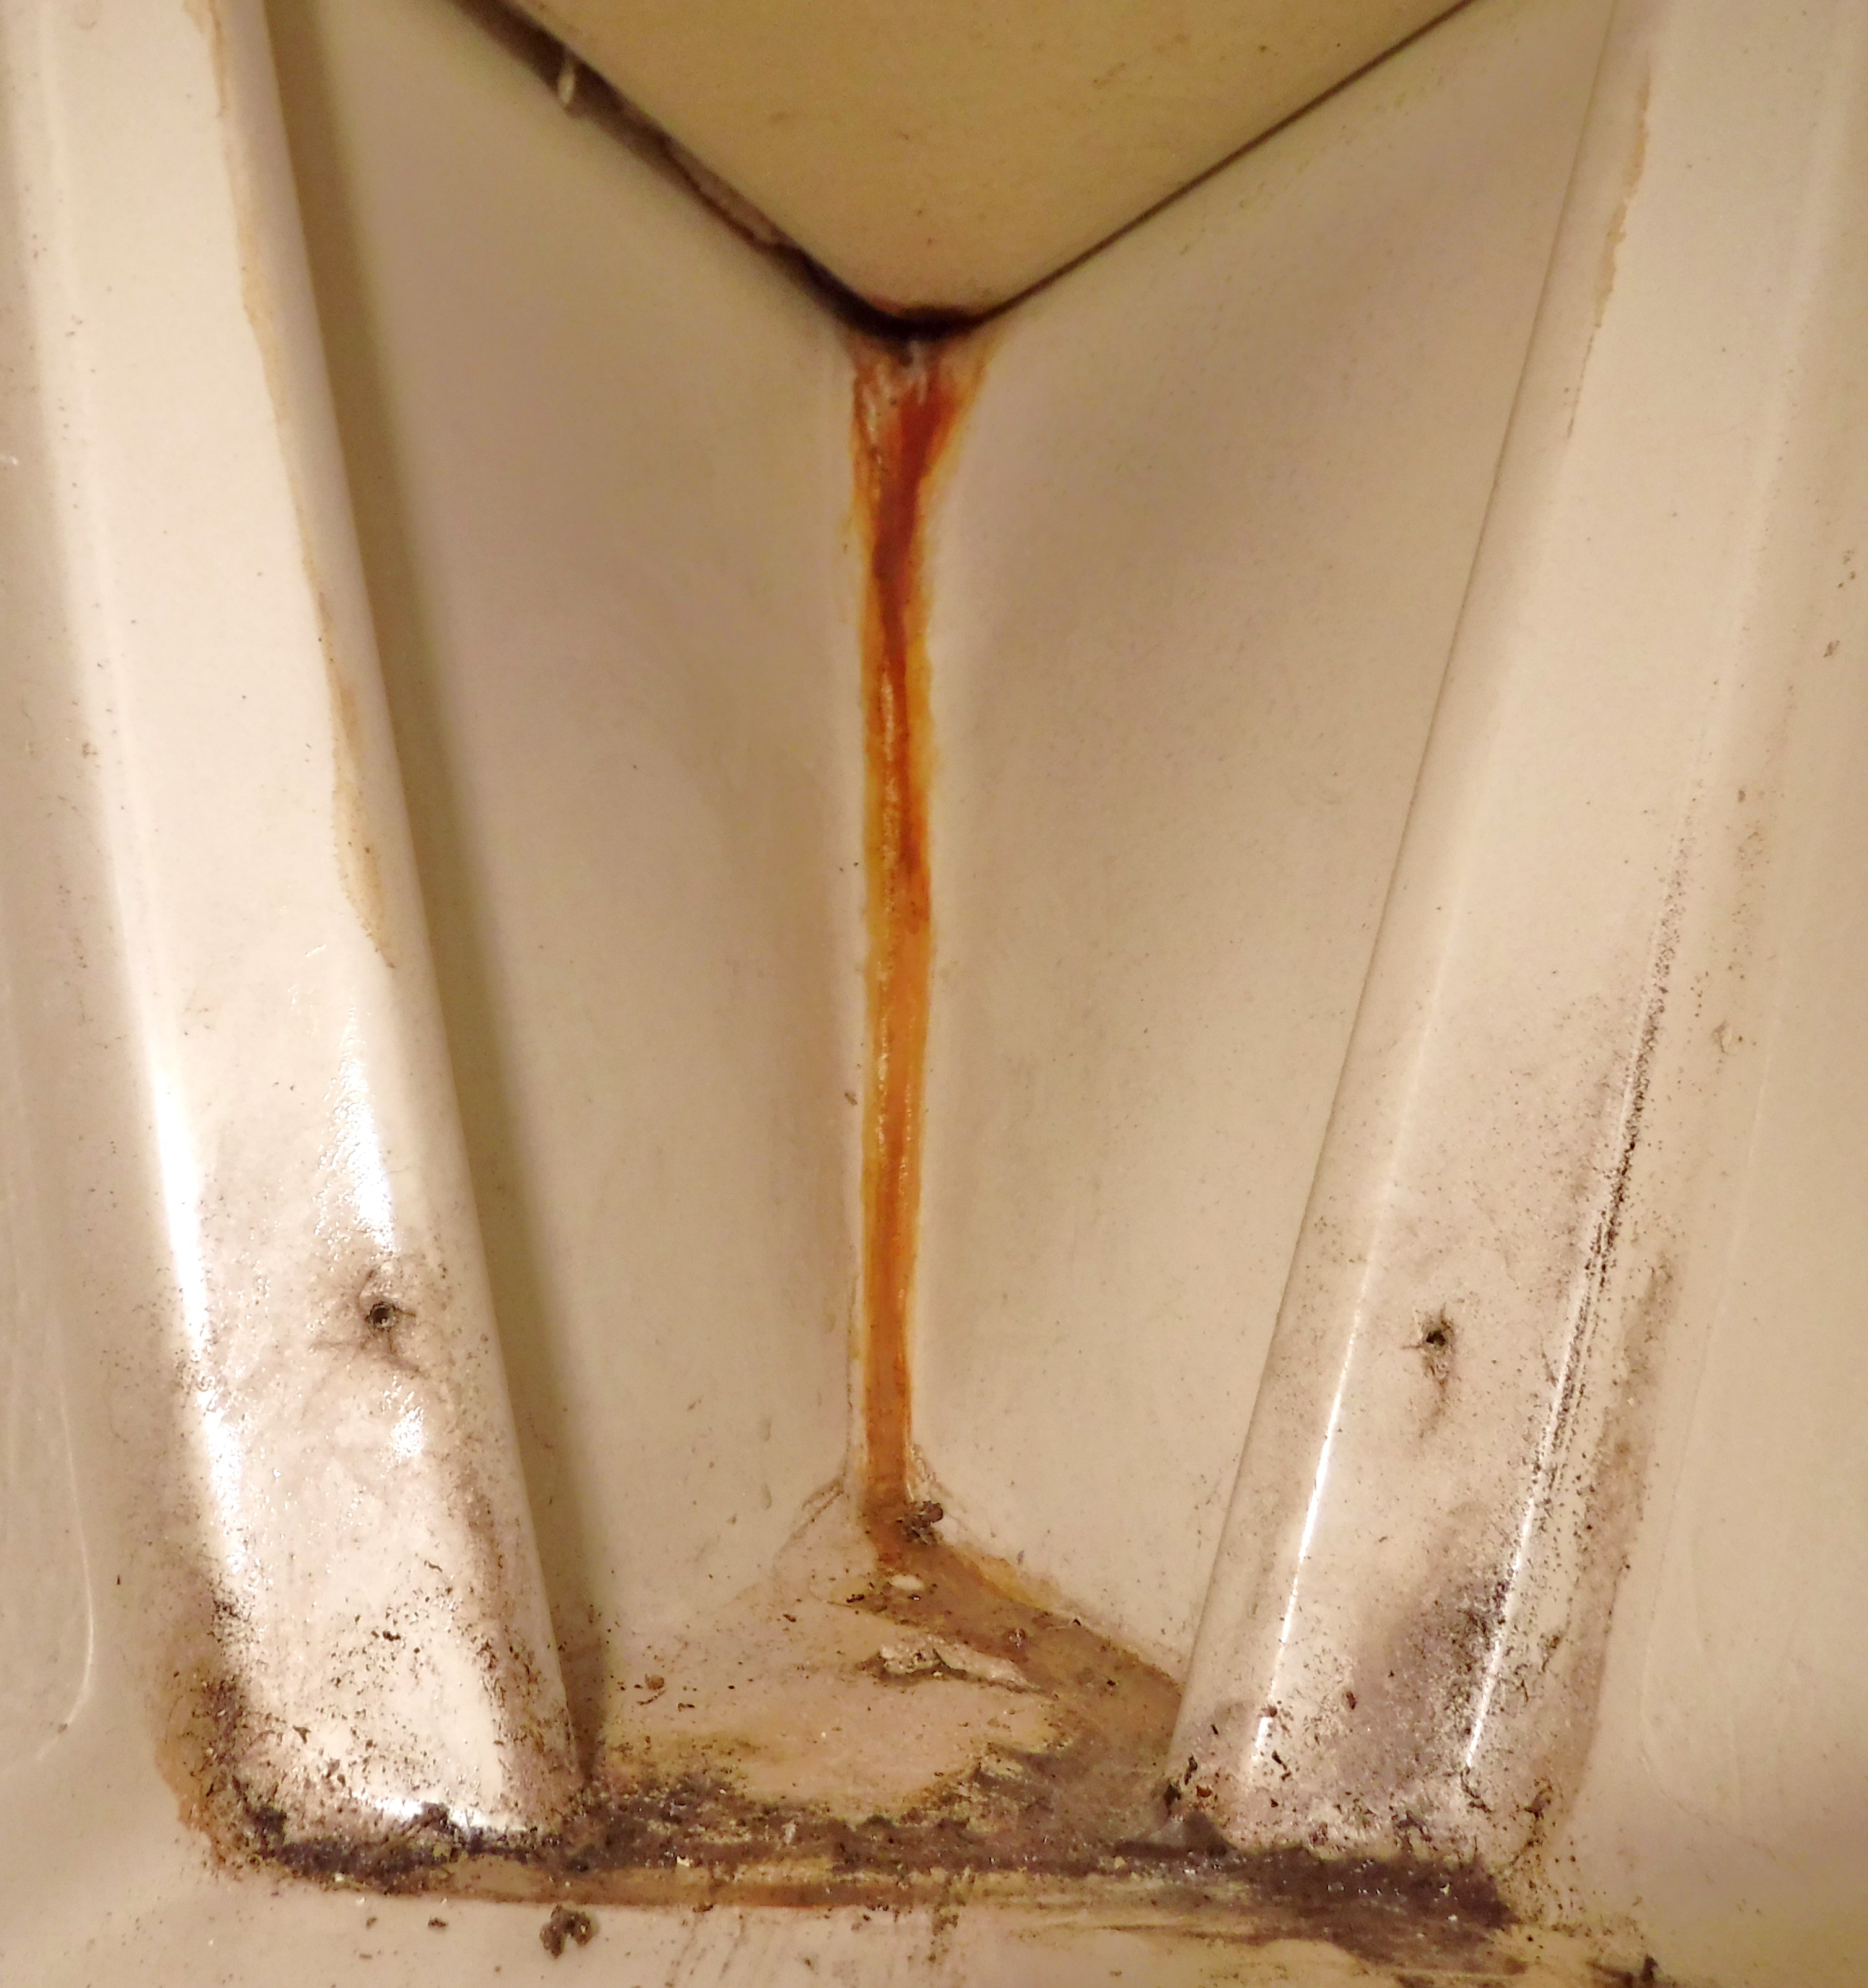
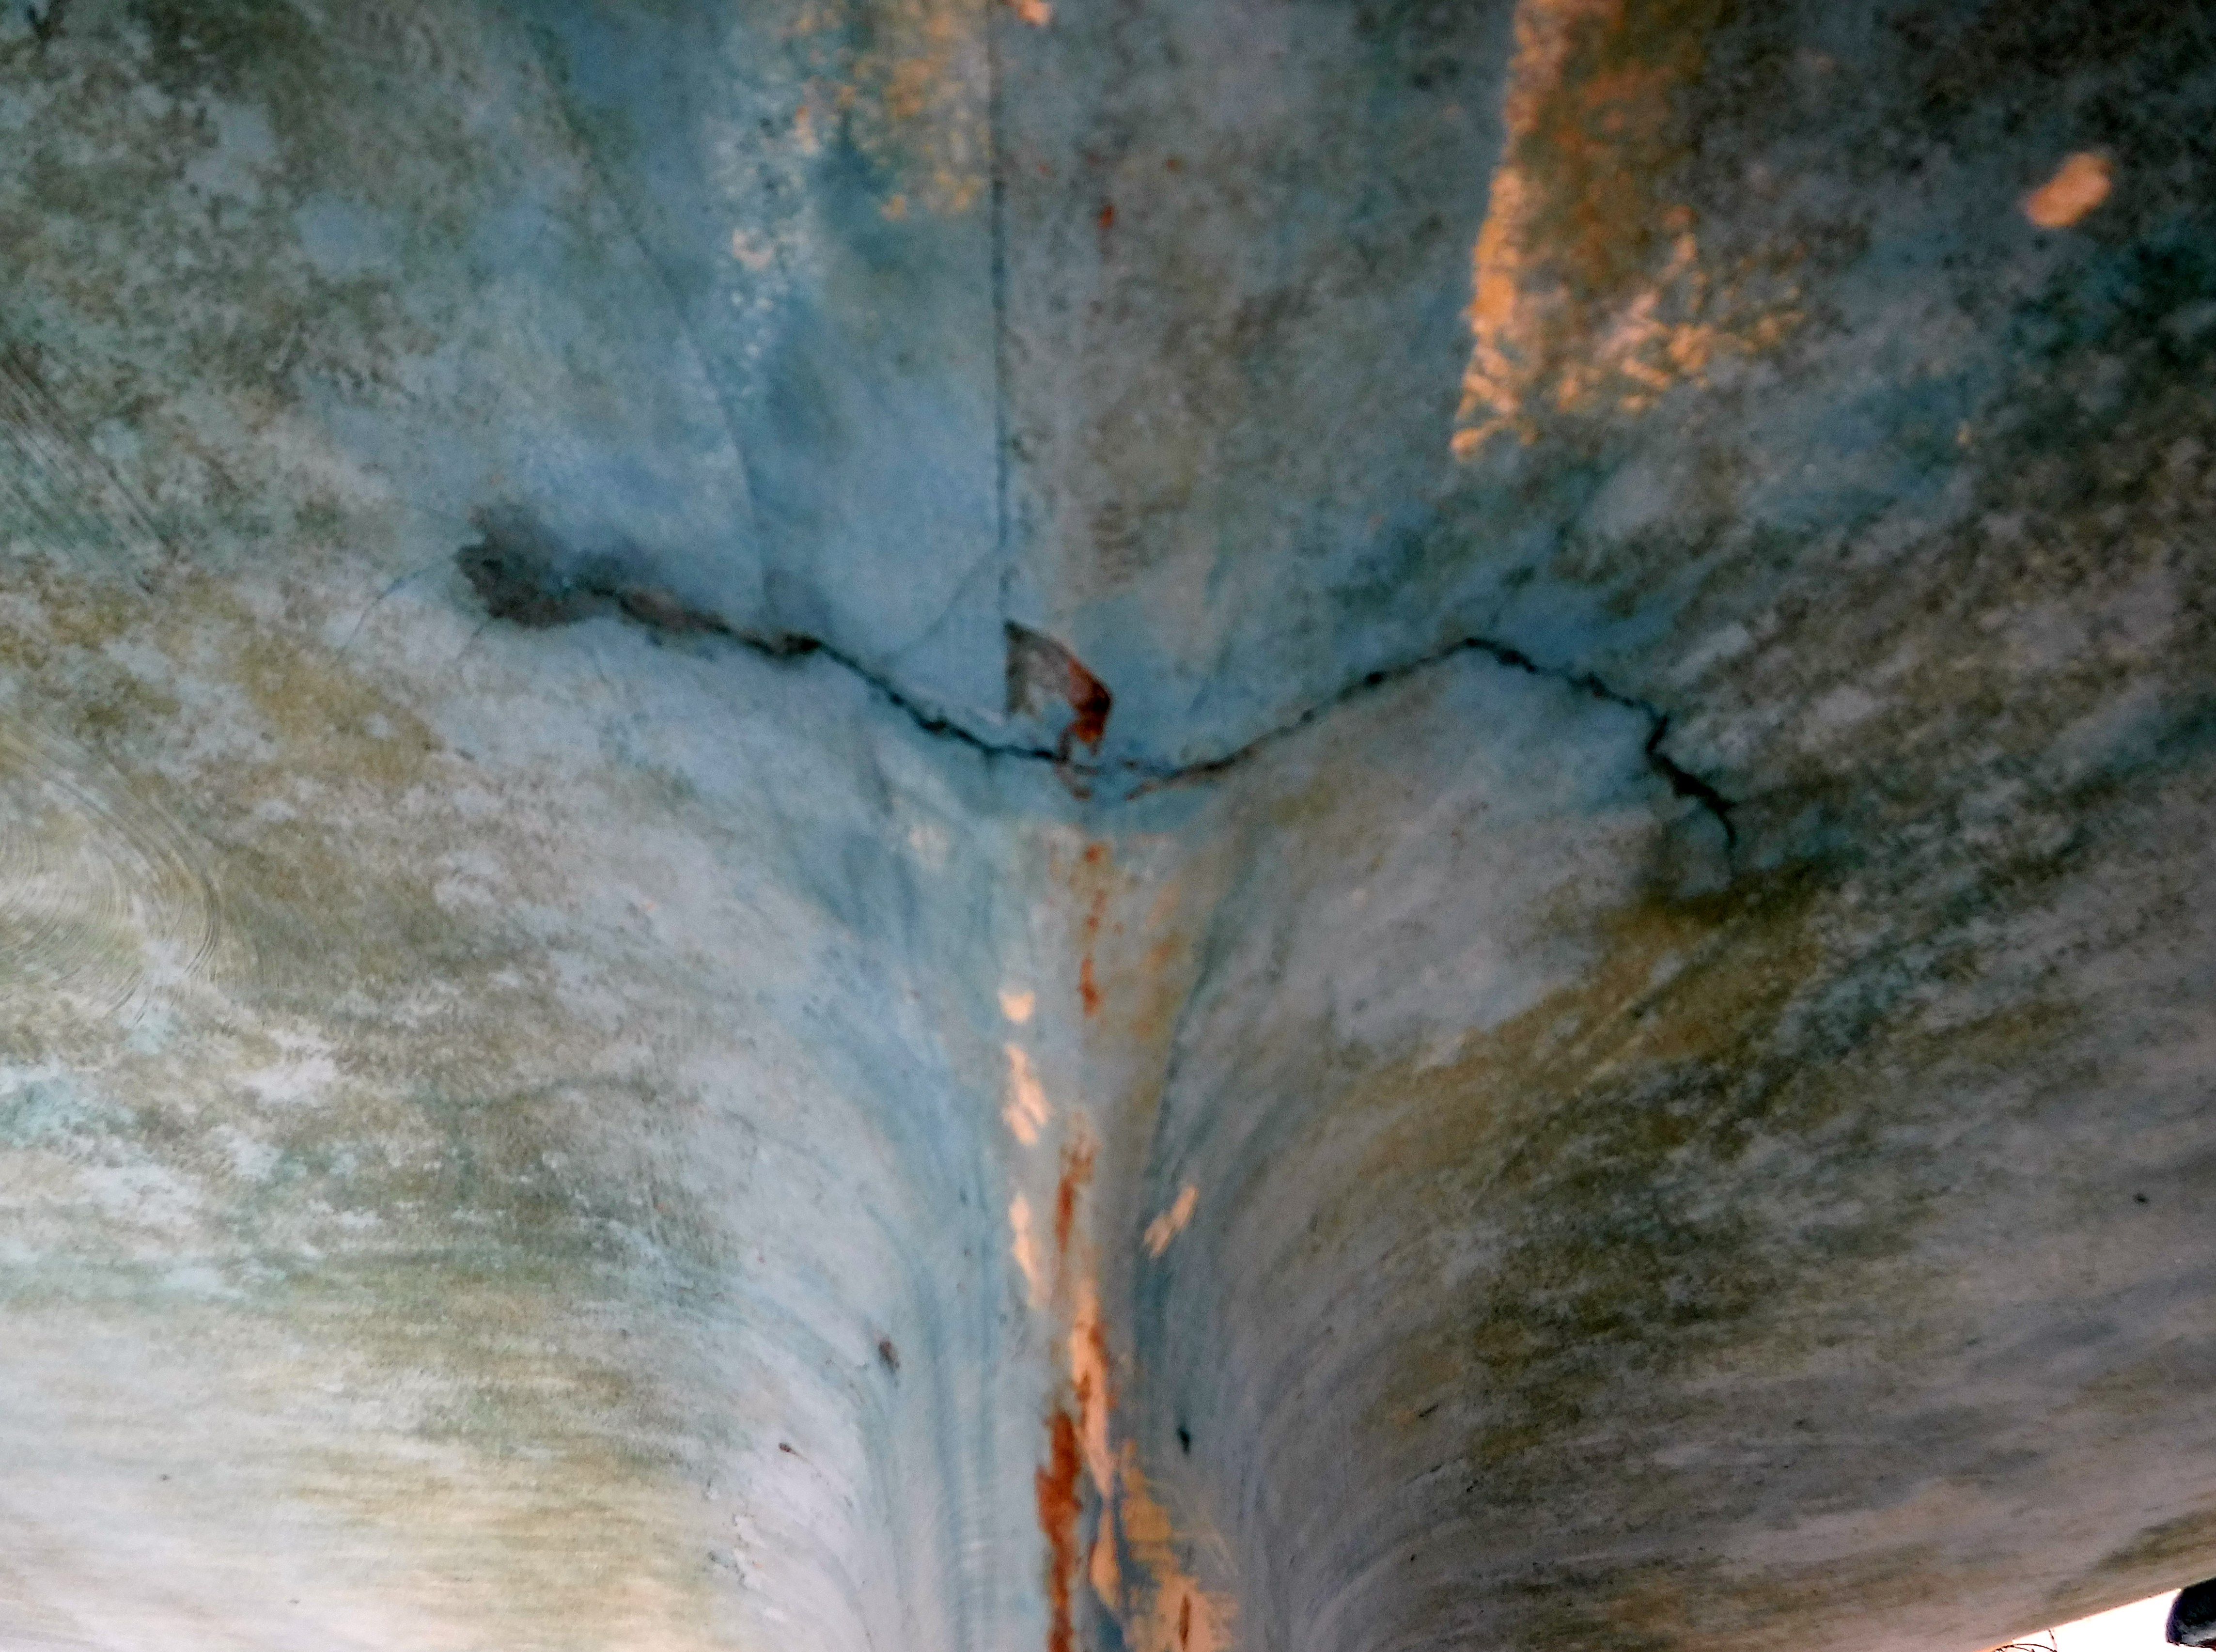
One example of a knock-on effect is the crack in the hull where the hull extends downward, forming the base of the keel joint. I knew what the “Catalina Smile” was, but this crack was not in the keel joint. I also discovered some damage on the forward tip of the fin and deduced that the boat must have run aground at some point. Absorbing the energy from the altercation, I imagined the rear of the keel flexing upward into the hull. The absence of a depth finder aboard the boat supported my sharp-witted theory. I added the gadget to my wish list.

For a while I left the Catalina uncovered, identifying leaks to the cabin. It was then that I noticed a phenomenal and otherwise unfathomable occurrence. Rain trickled down the outside of the hull from each side of the deck into the damaged gel coat. The winter’s freeze expanded the crack as the boat lay trailered and out in the open. The trauma manifests inside the boat, beneath the companionway, as a failed superficial joint where the floor liner attaches to the shell. While this is a substantial amount of fiber glass work, I don’t believe it’s a deal breaker. You can watch the video here.

During the last few months as I studied her condition more closely, I formed an imaginary, love-hate relationship with not only her previous owners but also the manufacturer. Some things weren’t right from the get go. I wondered if Catalina’s shoddy and haphazard workmanship plagued the original owner. If you are that person/s, the original owner/s of C-25, HIN# CTYK2620M81J, do let me know. Perhaps you have pictures or stories of great adventures. Including the history of this Catalina cruiser would certainly add value to this account.

DSCF2782
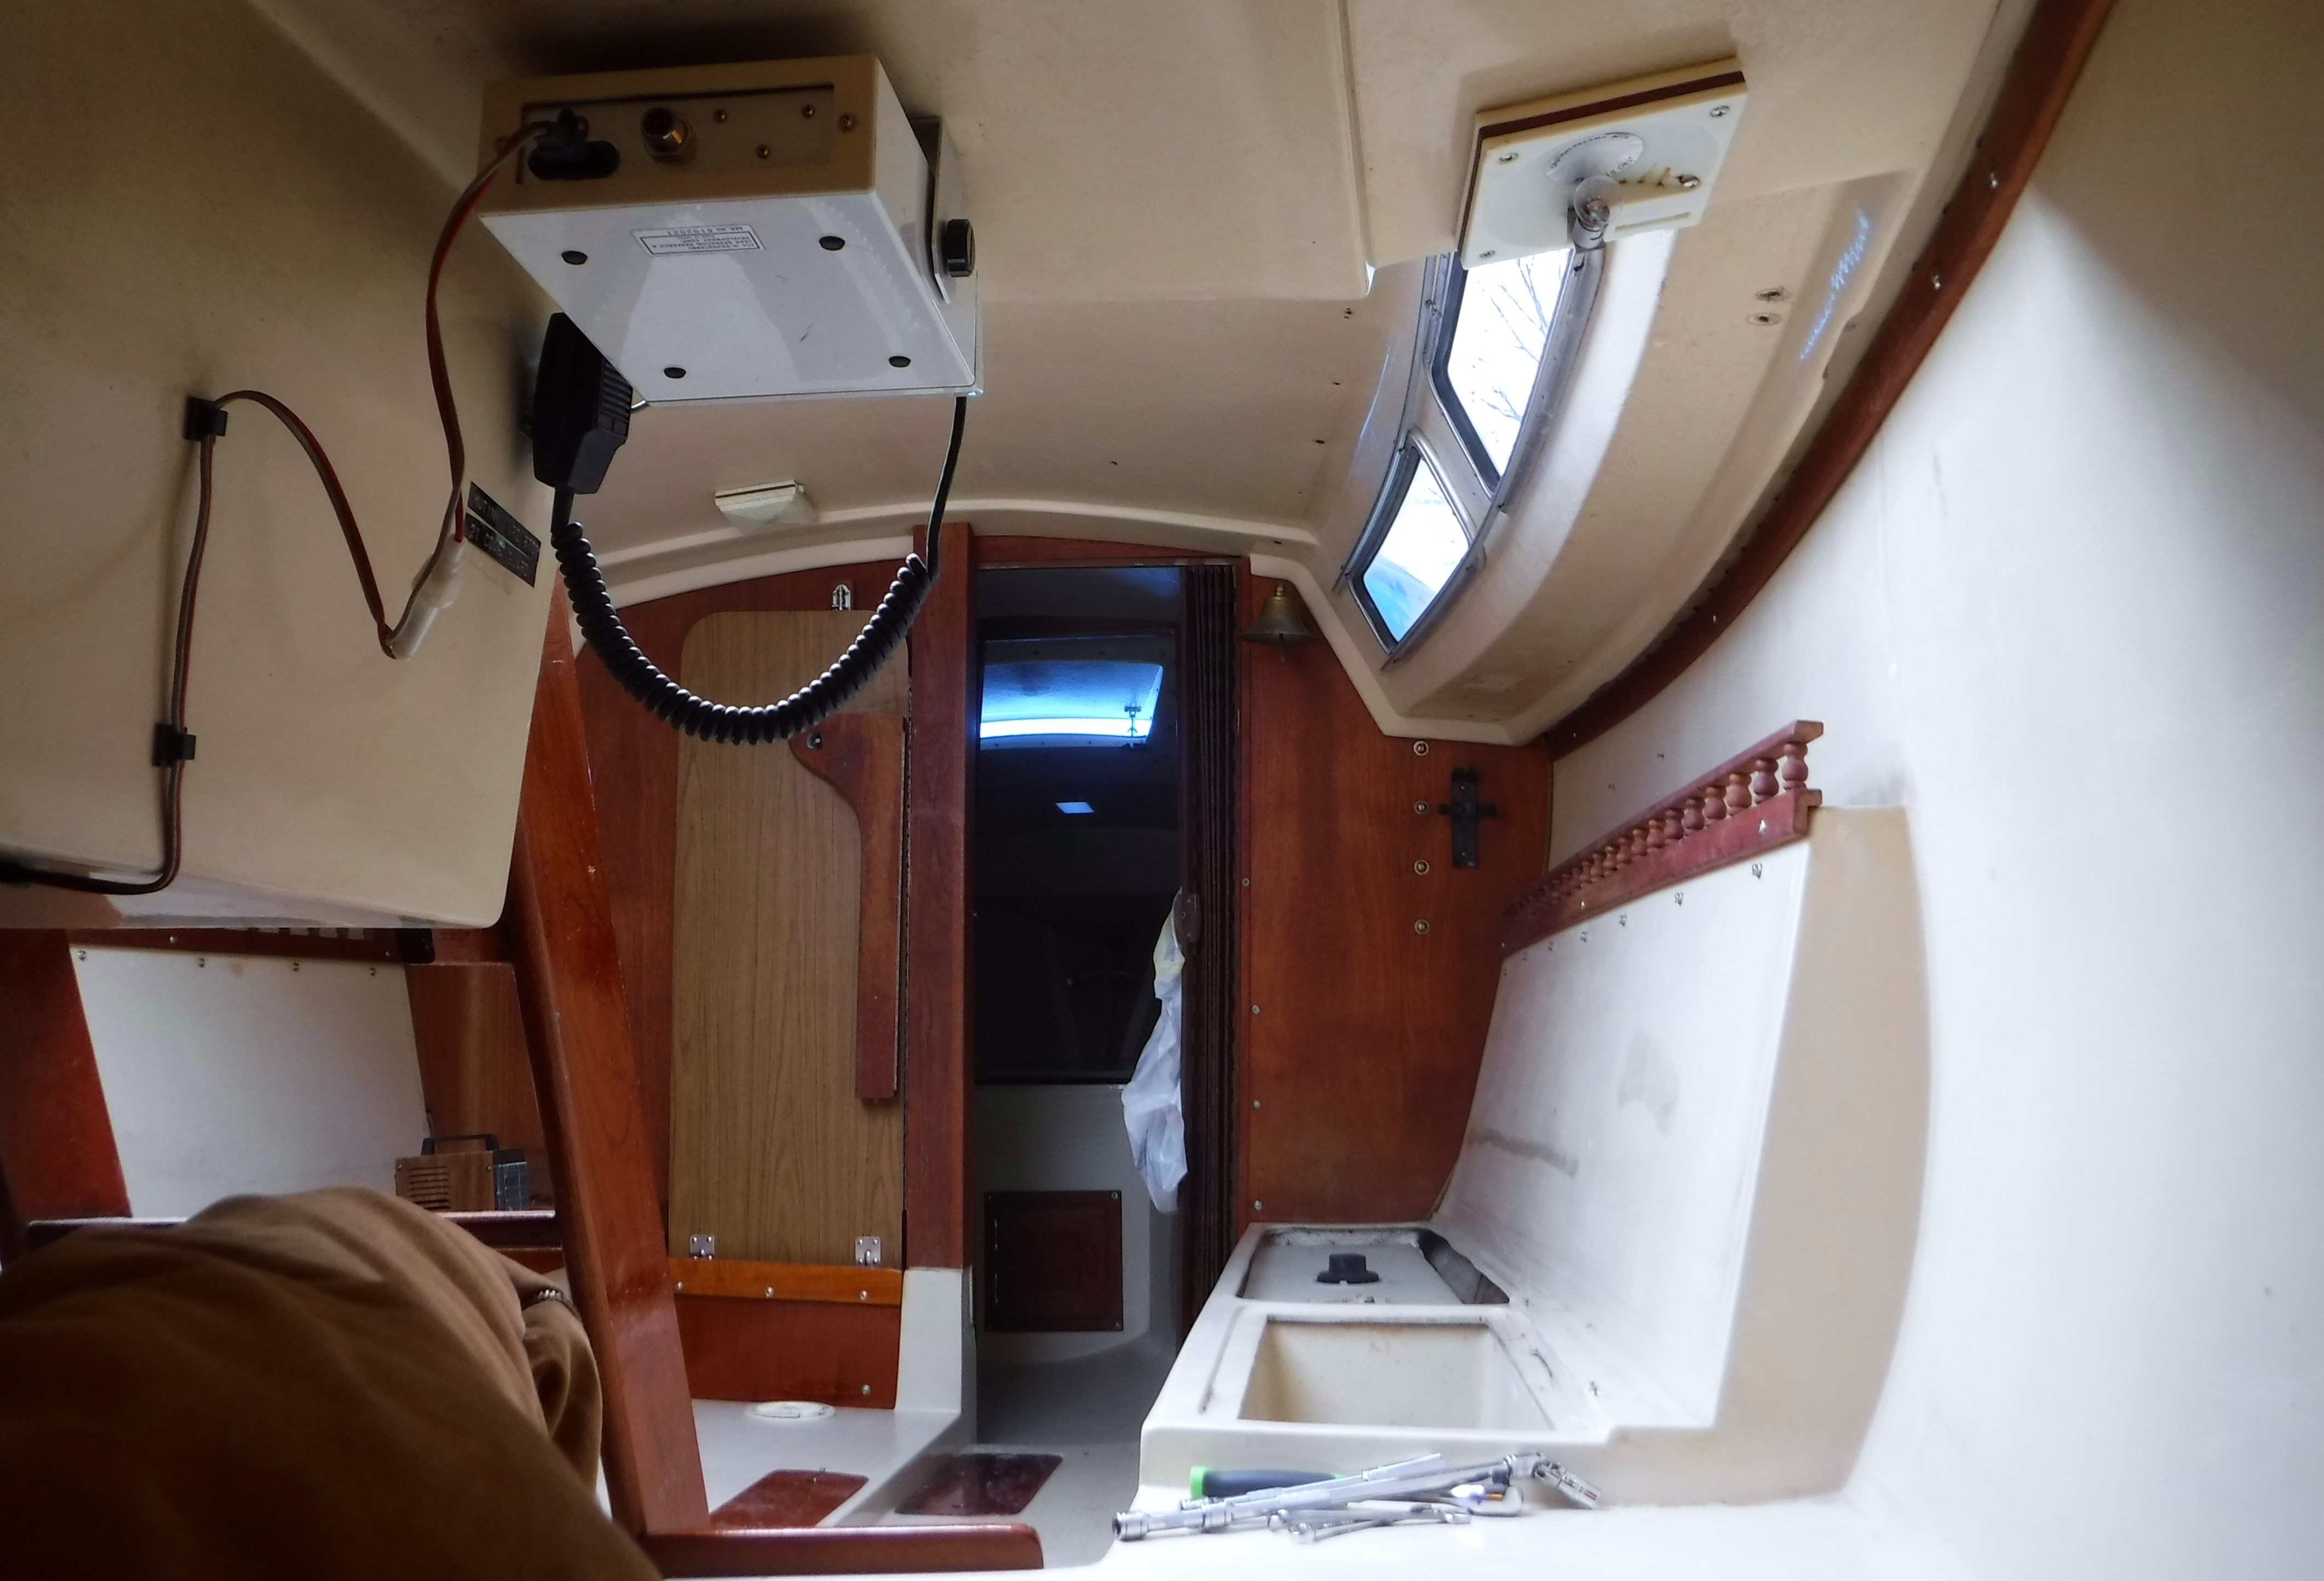
Overall, the most significant issue for me, I believe, was not knowing where to begin the renovation. Plagued by rain, then snow, and more bloody rain, I wondered, why did I ever leave England? Unusually, the sun here in Tennessee rarely shone during winter this year. Nor does it shine at the moment in the earliest part of spring.

Fortunately, though, a propane gas fire kept the new workshop warm, and the projects continued unhampered. I reconditioned winches, stripped varnish from the brightwork and covered the boat with a tarp. I also buffed her stanchions and chainplates and learned a lot of new skills. I look forward to sharing those soon.

However, the most beneficial aspect of all the recent work was cleaning her inside and out.  We took the advice of Andy Miller, an expert boat builder at boatworkstoday.com, who suggested taking the “least invasive approach” to restoring the original gel coat. The results surprised us all. Much of the inside came up like new once we removed the mold and a thin film of tobacco residue. Even the bilge came up nice. Although the boat still exhibits her age, scrubbing the deck and sanitizing the cabin made necessary decisions easier. Even the cushions look and feel new after we stripped off the covers and laundered them.

Next, a long list of questions arose. Here are just a few. Do I polish her up, re-spray the gel coat or roller/brush-paint both the deck and the hull? Should I leave her just as she is? Why is the outboard mounted on the starboard side of the stern? The 15′ control cables coil up in the quarter berth, creating an undesirable sleeping area. And what about the dreaded anchor locker? How do I make it watertight? Standing water within it rusted out the bolt for the bow eye, leaving a stubborn brown streak on the gel coat. To make matters worse, the fore-deck alone has three dozen holes in it, all of them letting in water.

DSCF2503Finally, it was in the late 1990’s that I met the love of my life. The last eighteen years of happily-ever-after taught much about valuable relationships. I discovered that true love is more about what you are willing to let go of than what you can give to each other.

This adage reflects in my boat renovation strategy. When I bought her, I dreamed of a bright, angelic form with immaculate sails drifting across a dazzling lake beneath a heavenly summer sky. Fortunately, I let go of that fantasy. Alas, she will never be perfect.  She wasn’t that perfect in the first place, and truthfully, neither was I. We are such a good match don’t you think?

I posted more pictures of the cleaning process. It was more work than I thought. My advice to any of you having a go, be patient and meticulous. Prepare to put in some time. Cleaning the boat up provided a freshened perspective. It lightened my anticipated work load and simplified my renovation strategy. So far, the latter looks like this.

Step 1: Strip her down.

Step 2: Clean her up.

Step 3: Make her water tight again.

Just click the link, “Clean Her Up” to view my latest gallery.

In the next post, some useful information about servicing winches. And yes, I wrote  winches NOT  wenches!

We Call Her “She”

Workbench 15
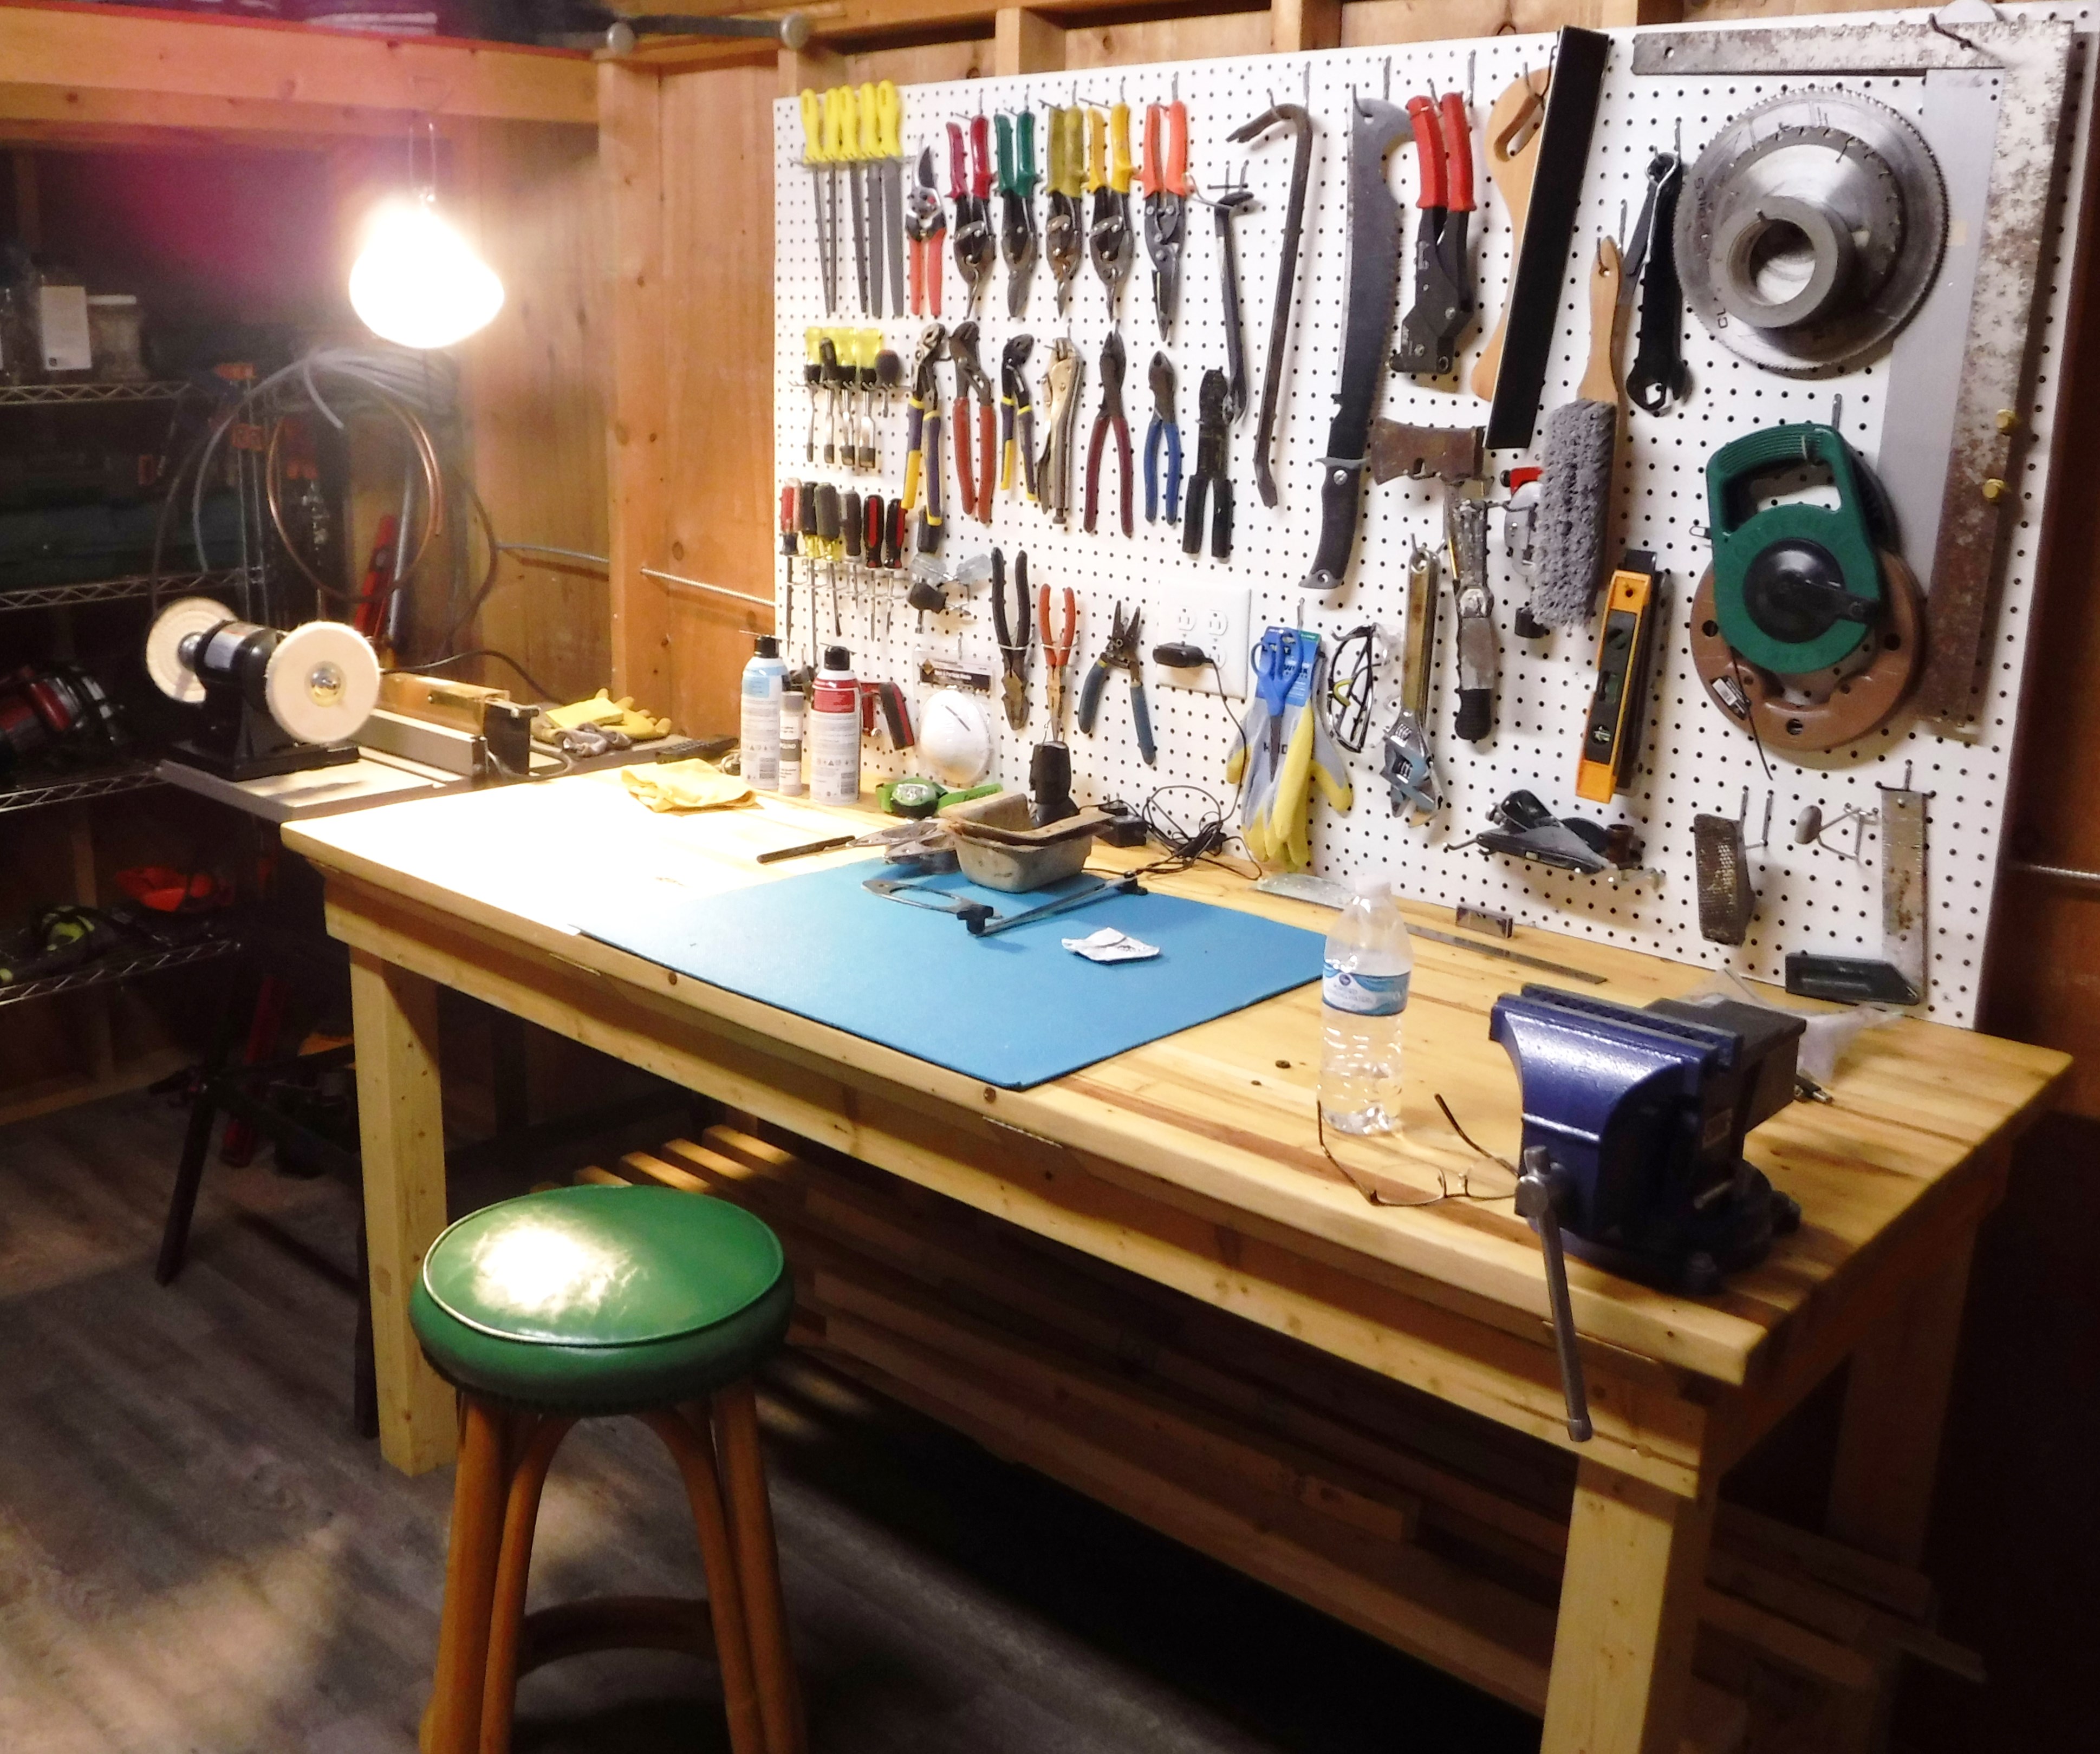
When I kayak-camped Old Hickory Lake in the fall of 2016, I learned that a broader view of my “ordinary life” created a matching horizon and that every adventure whether great or small sharpened a dull perspective.

Buying the Catalina 25′ was a precarious risk, but the benefits are already self-evident. My shed was a dump, my tools unrecognizable. Now, electricity, a coffee pot, beer fridge, roll-away tool-chest and wireless internet access embolden my determination. I created a space for design drawings and built an inexpensive workbench from lumber costing less than fifty dollars.

The Catalina’s previous owner had abandoned an assortment of useful and expensive accessories, including the additional winches and running rigging for single-handed sailing. I calculated the “used” or “second-hand” value of the equipment stowed in the sailboat’s cabin, along with the tandem-axle trailer. The exercise encouraged my optimism. I valued the property at more than double the price paid, and that excluded the value of the boat.

Cabin 14However, elation soon gave way to suspicion. Why did I get such a good deal? Did I overlook a potentially catastrophic fault as I carried out the preliminary inspection? After all, I studied Don Casey’s “Inspecting the Aging Sailboat.” What did I miss? What did the previous owner hide from me? I thought, noticing the shadow of a doubt. Believing I had mastered the art of the deal as an accomplished boat-buyer, the discovery of a costly repair would seriously mash my pride. Nevertheless, my growing attachment to the boat ensured that my dreams remained intact.

Not long after the Catalina’s arrival, I began using the feminine pronoun. I referred to the boat as “she” or “her,” a historical tradition for seamen yet without, so far anyway, a reasonable explanation. Rear Admiral Francis D. Foley’s satirical prose “Why We Call a Ship a She,” records how a “salty retired U.S. flag officer shuns the current trend toward political correctness.” Foley documents a series of derogatory female comparisons, including how, “some have a cute fantail, others are heavy in the stern”  When I read this, I questioned my use of the word.

Female or not, my relationship began with the Catalina 25 the minute I first laid eyes on her. In the days that followed her moving into my home, my infatuation only grew. I love her I thought as she towered above me, the tip of her bow nosed up in the air, her red and green side lights squinting from the hull. She drew my full attention. Boy, I couldn’t wait to climb into her cockpit and stake my claim as her captain.

DSCF2059
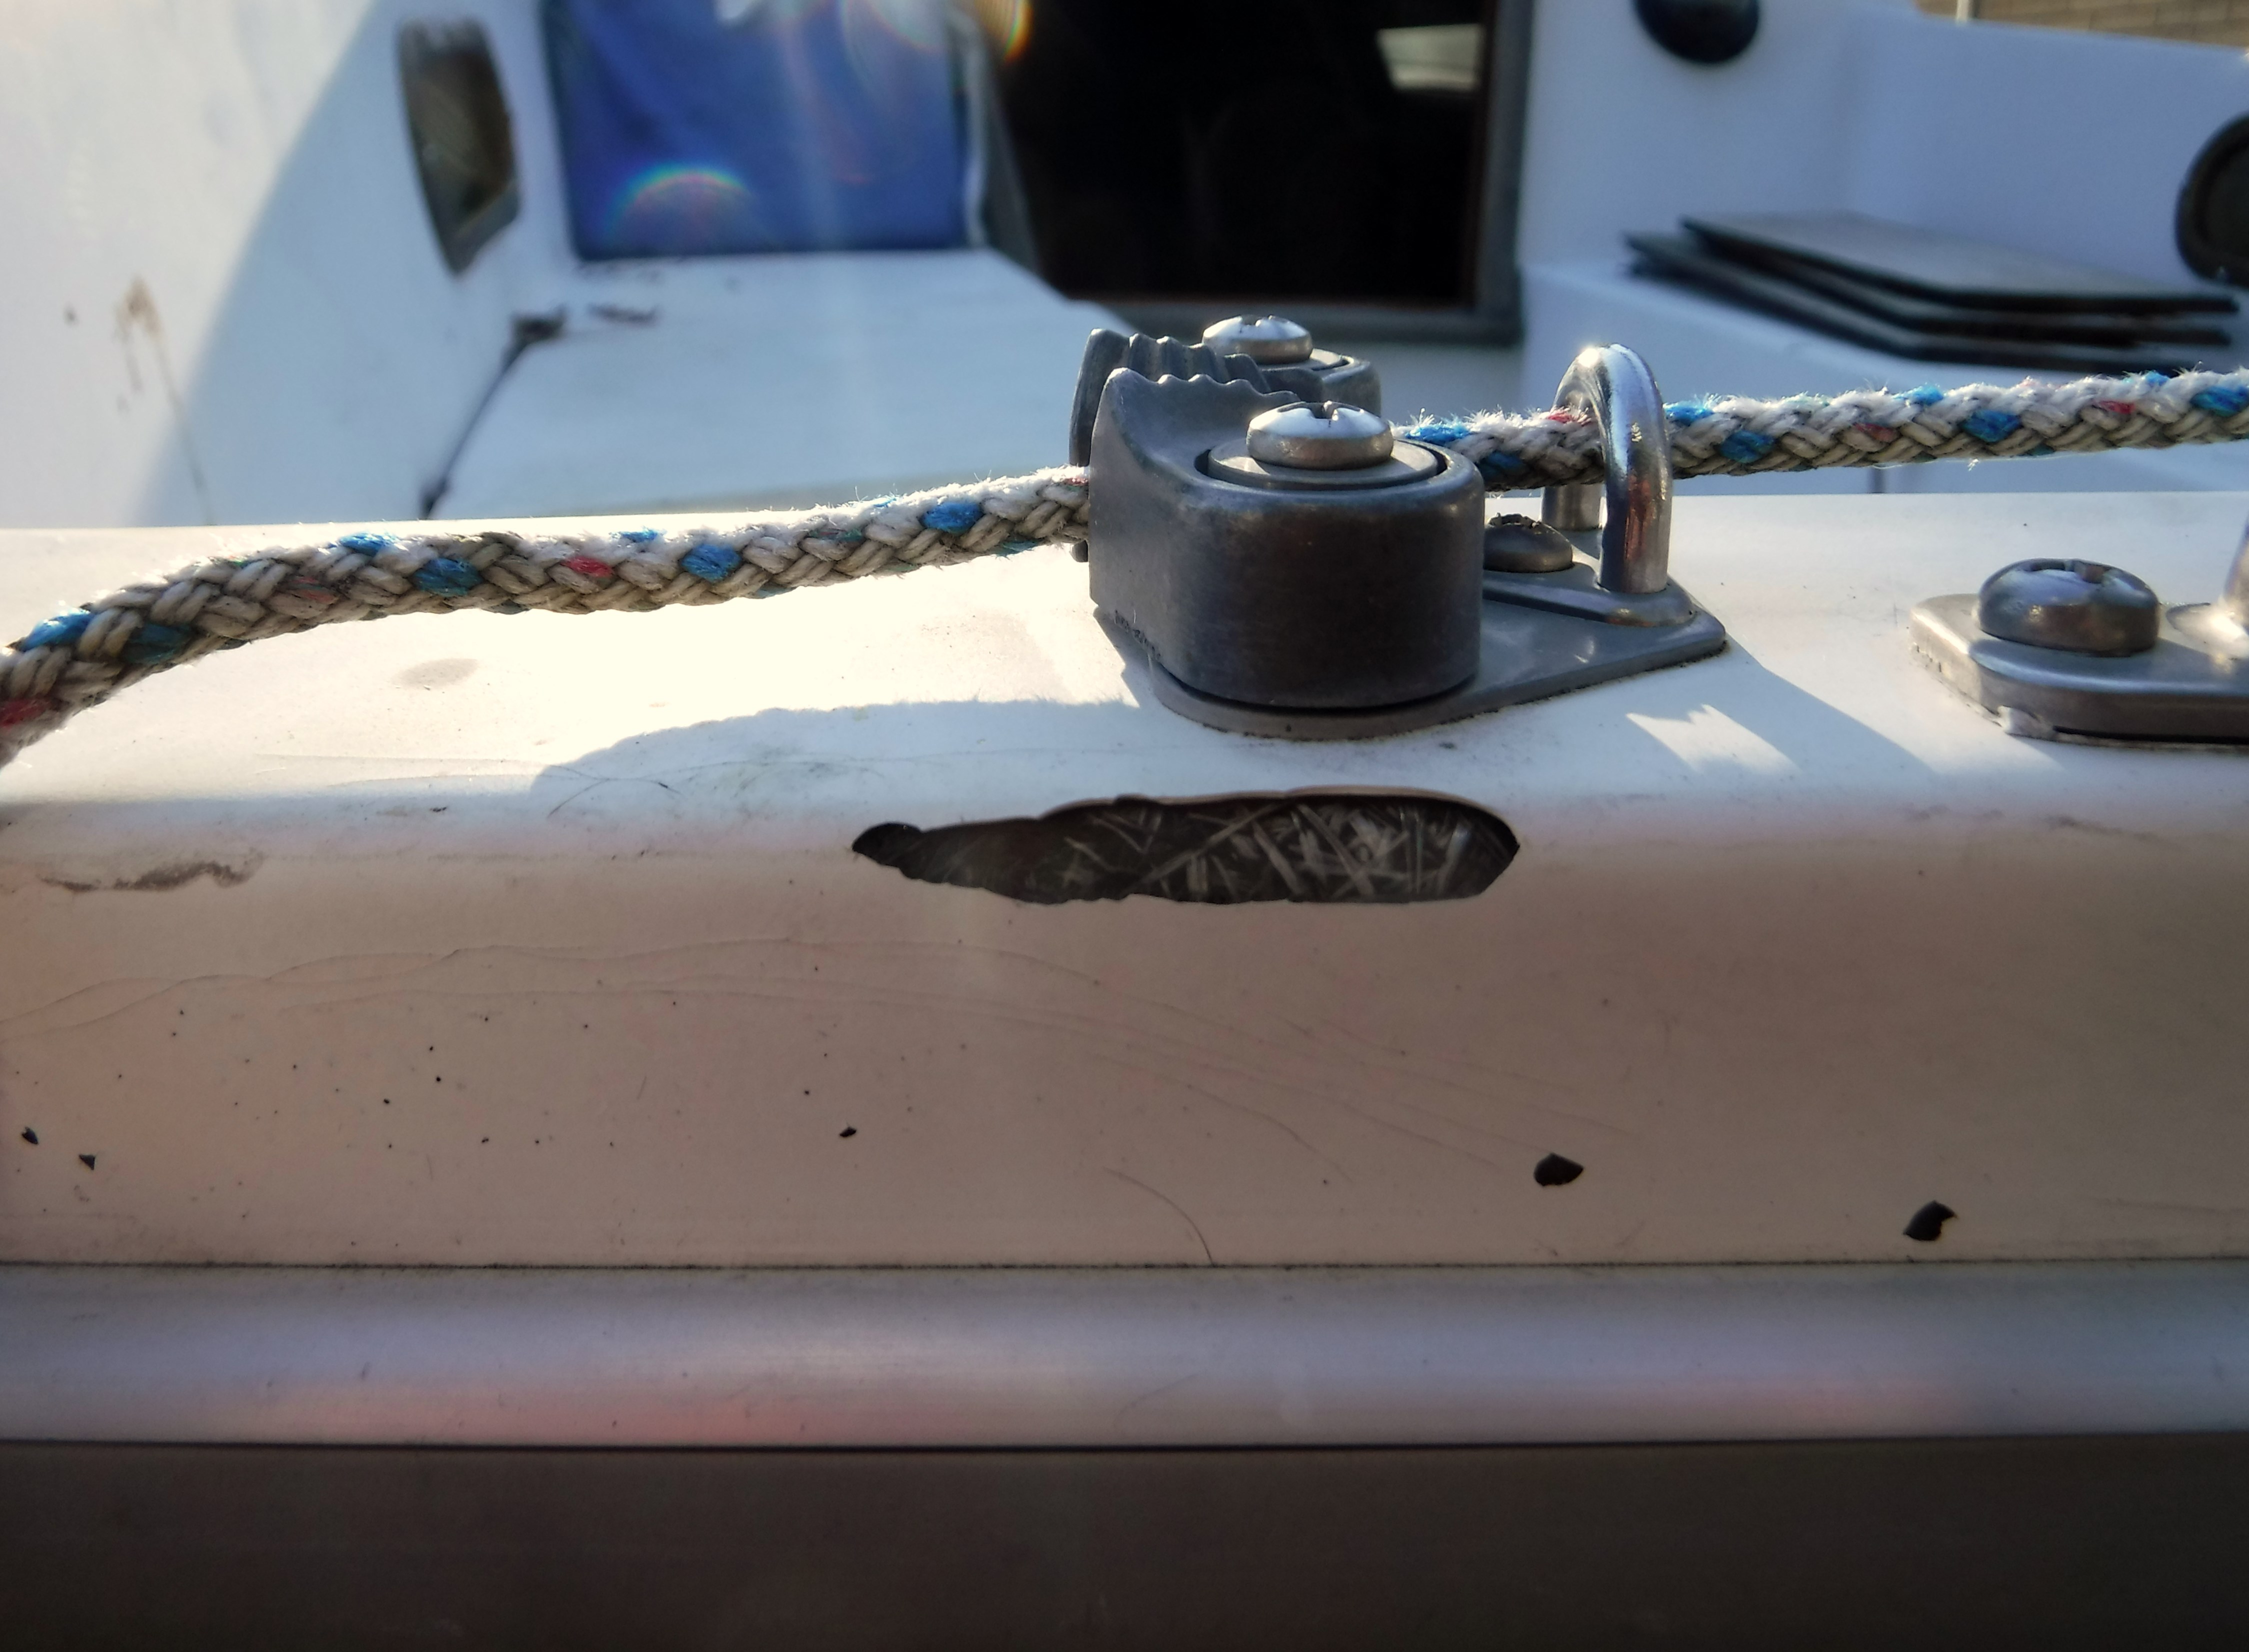
The dreamboat honeymoon lasted for weeks, but soon after, lovey-dovey gave way to practicality. The exact nature of our relationship clarified as I scrutinized her physical condition. I stripped her down and took photographs. I considered her past, her excellent reputation as I picked at her many blemishes. “Who could have done this to you?” I asked and finally deduced that for several years others had mistreated her. Used and abused, my Catalina 25 bore the scars of macho neglect. “She” is the worn out residue of her previous relationships. I desperately wanted to fix her, a scenario I frequently encountered during my twenties and thirties.

Without a doubt, renovating a sailboat is an enormous commitment that emulates a human connection. This similarity supported my use of the feminine personal pronoun. For me, fixing up this sailboat is indeed a romantic adventure, and so she deserves the highest esteem.

Don’t forget to visit the gallery depicting the Catalina’s current condition. Click here on “Catalina 25 pics.” Next time, I’ll post a new gallery illustrating the workbench construction and other embarrassing workshop sights. “Setting up Shop” will be accessible in the next couple of days.

Until then, and for an elaborate carpentry tutorial, I recommend a visit to YouTube where an increasing number of master craftsmen inspire humanity for zero dollars down, thus, usurping traditional education. Click on the following link and discover my dream workbench”  posted by the KingPost TimberWorks.

Workspace

Shitty Shed 3     
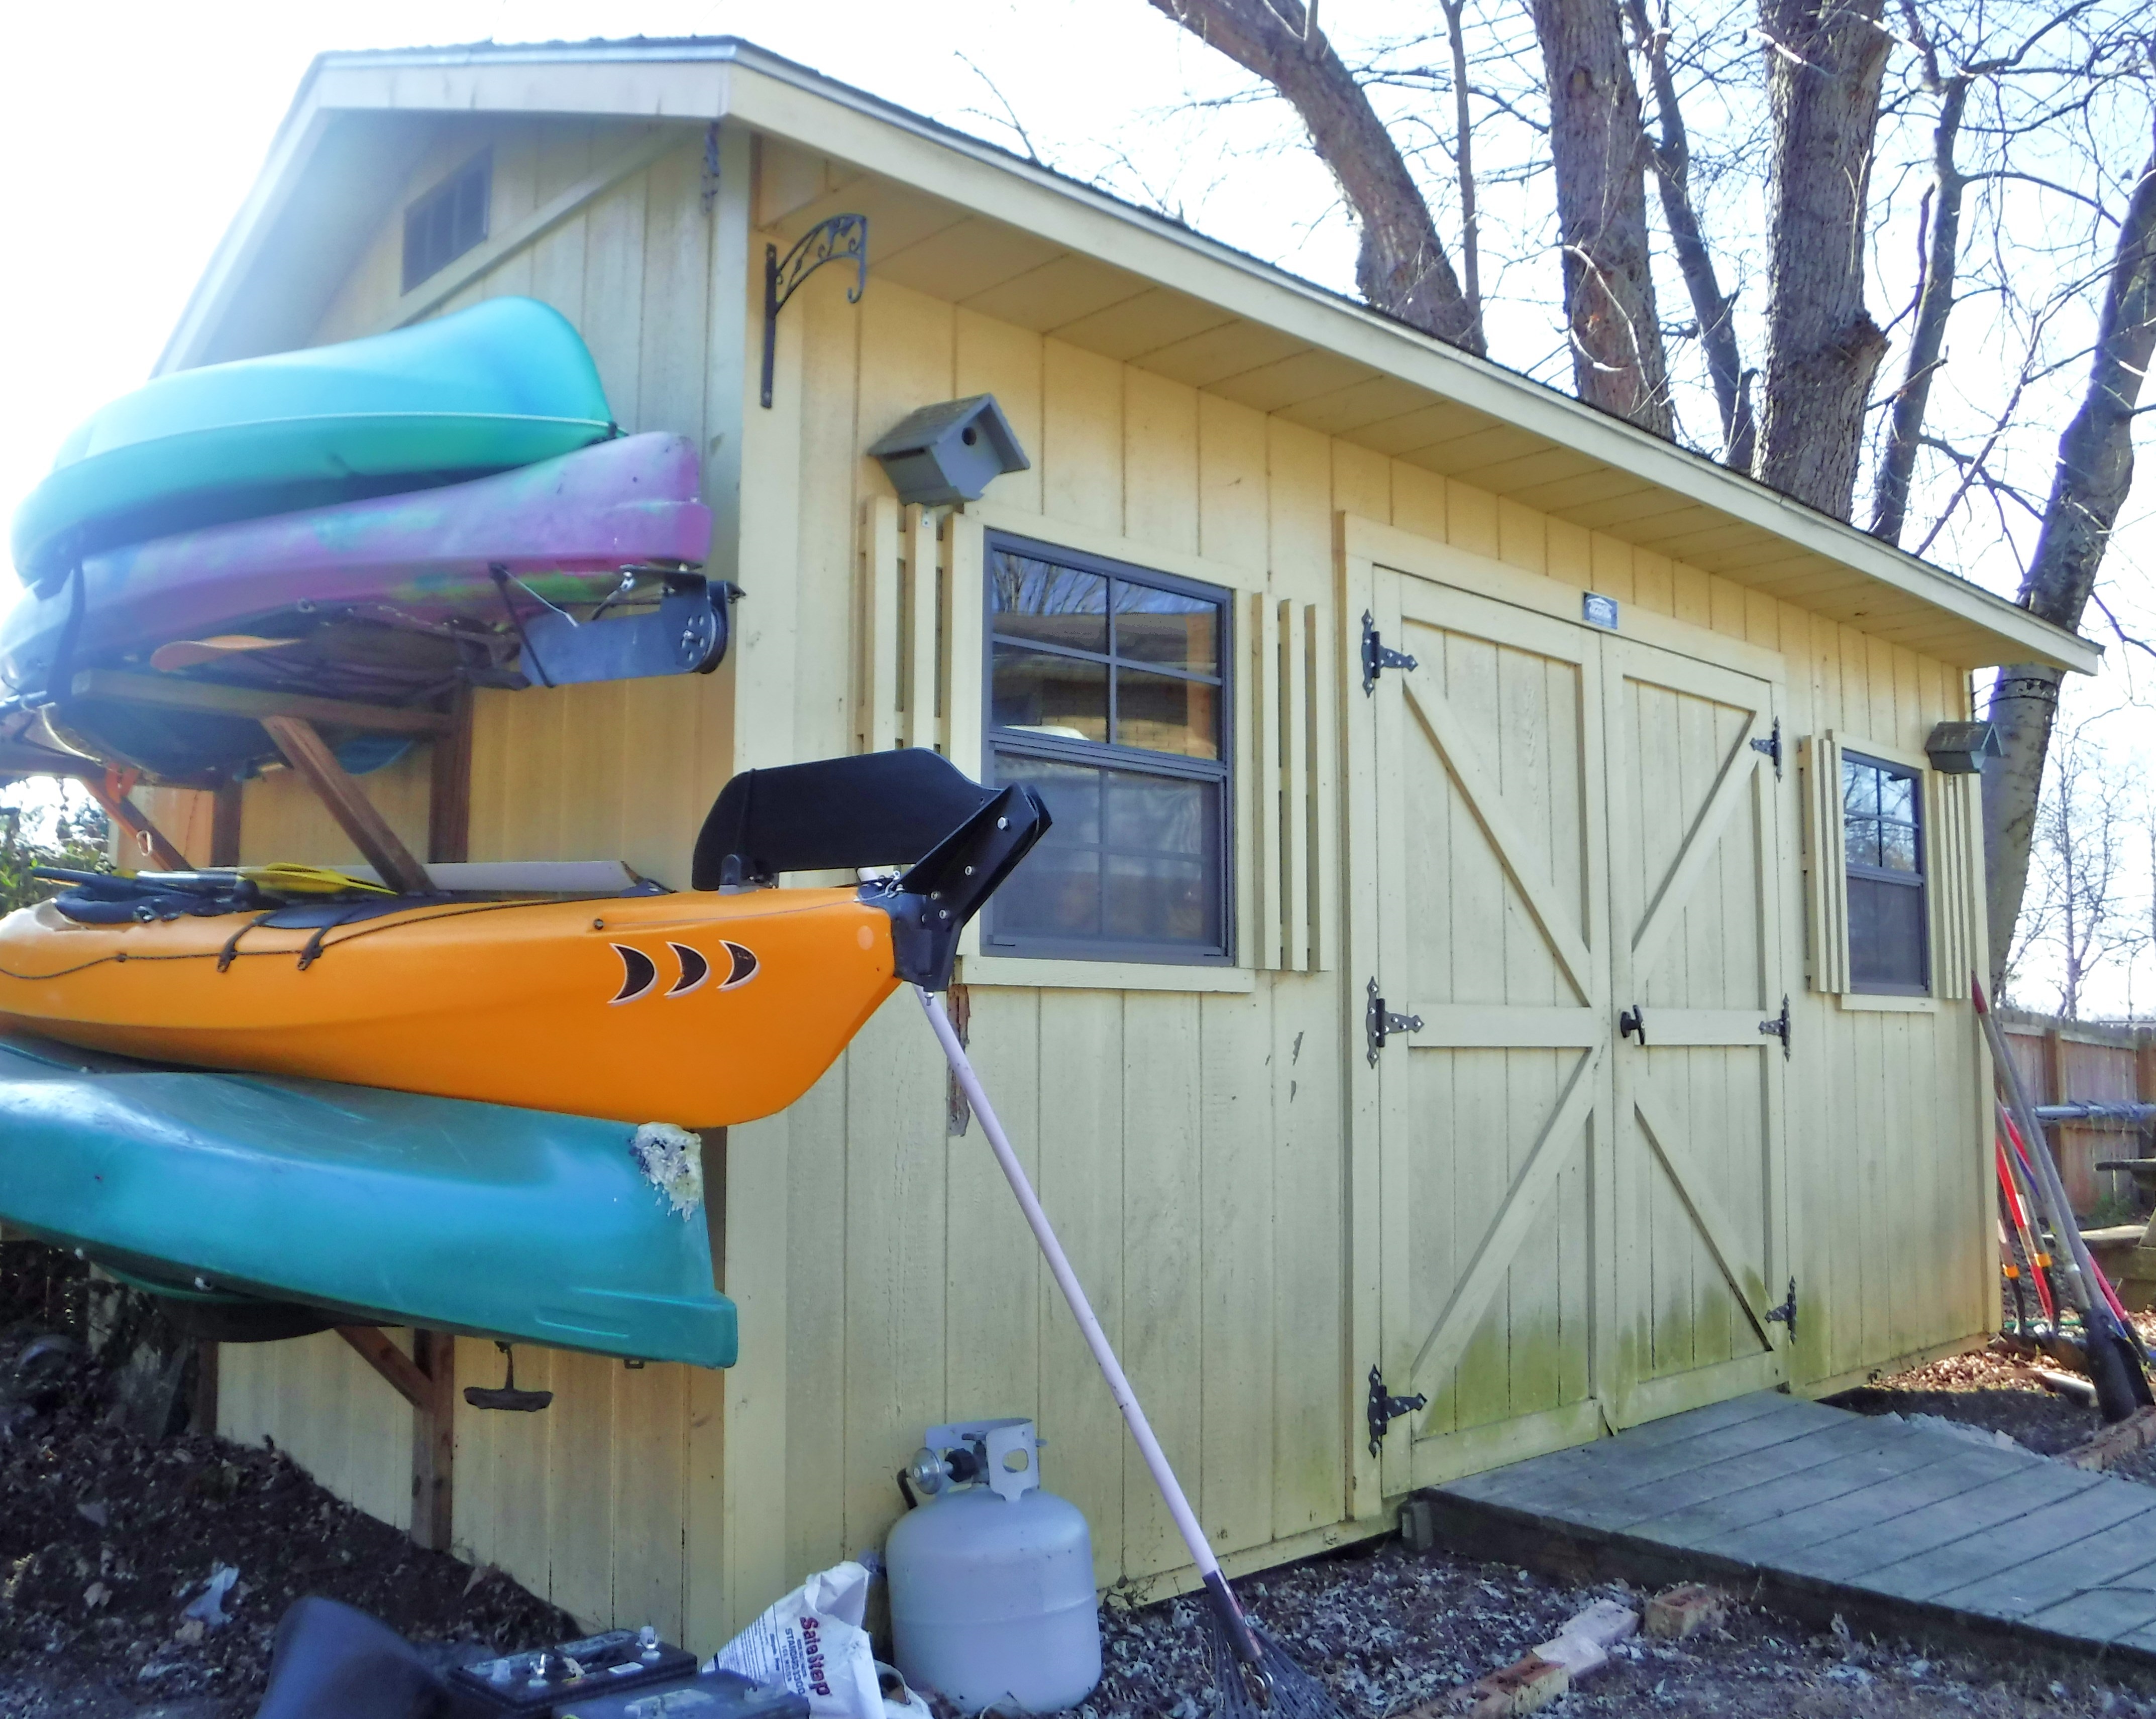
For almost ten years, our 16 X 10 feet Spacemaker shed housed the junk that I cleared out of our basement when I converted the space into a yoga room, an office and a studio. Although I referred to the outbuilding as the garden shed, it became, over time, a storage room for all of those “rainy day” items. Now, more than one thousand rainy days later, I decided to empty the shed. When I opened the doors, I couldn’t step inside without pulling things out of the way. I didn’t take a picture, but even if I had, I still wouldn’t post it here. The place was a shambles, an overwhelming sight and sharing it would cause such embarrassment.

Allowing the space to evolve in that way was a personal trait that I hadn’t noticed before. How could I be such a clutter-bug? Nevertheless, with a 12ft. tall sailboat on a 30ft. trailer parked in the yard, and a gutsy, determined attitude, I took a deep breath…and begged my wife for her help. We went through the stuff and voted on whether to ditch it or gift it. Most of it was useless and went to the city dump. Hoarding the items, a decision we made a long time ago, no longer made any sense. Workshop or not, going through the shed was cathartic. I wished we had done so earlier.

Bledsoe Creek 2     Back in 2014, we renovated a 1967 Yellowstone Camper.  I mentioned the project because the garden shed at that time was the bane of my every day. Inundated shelves, cranky old tools and a tangle of overloaded extension cords intensified frustration and often led to a tantrum. One day, my questionable behavior came up in conversation. My wife pointed out that if I repeated the hurling of objects and expletives, the Yellowstone camper would become my new home. “You’ll be out on your ear,” she said. With that freshened perspective, converting the shed into a well-organized workshop garnered every ounce of my enthusiasm.

Before long, I drilled out the studs, pulled all the cables and installed my outlet devices. I used 20 amp, #12 gauge Metal Clad Cable (12/2 MC) which provided one 20 amp circuit for the workshop. Mechanics, welders and carpenters’ wood-shops demand much higher amperage, but for my solitary work as a sailboat enthusiast, a 20-amp circuit is adequate. 12/2 MC is easy to work with, and impervious to inquisitive squirrels. The materials for the 20-amp circuit, including a dozen receptacles and a fluorescent light fixture, cost less than $100.

Wiring 1     
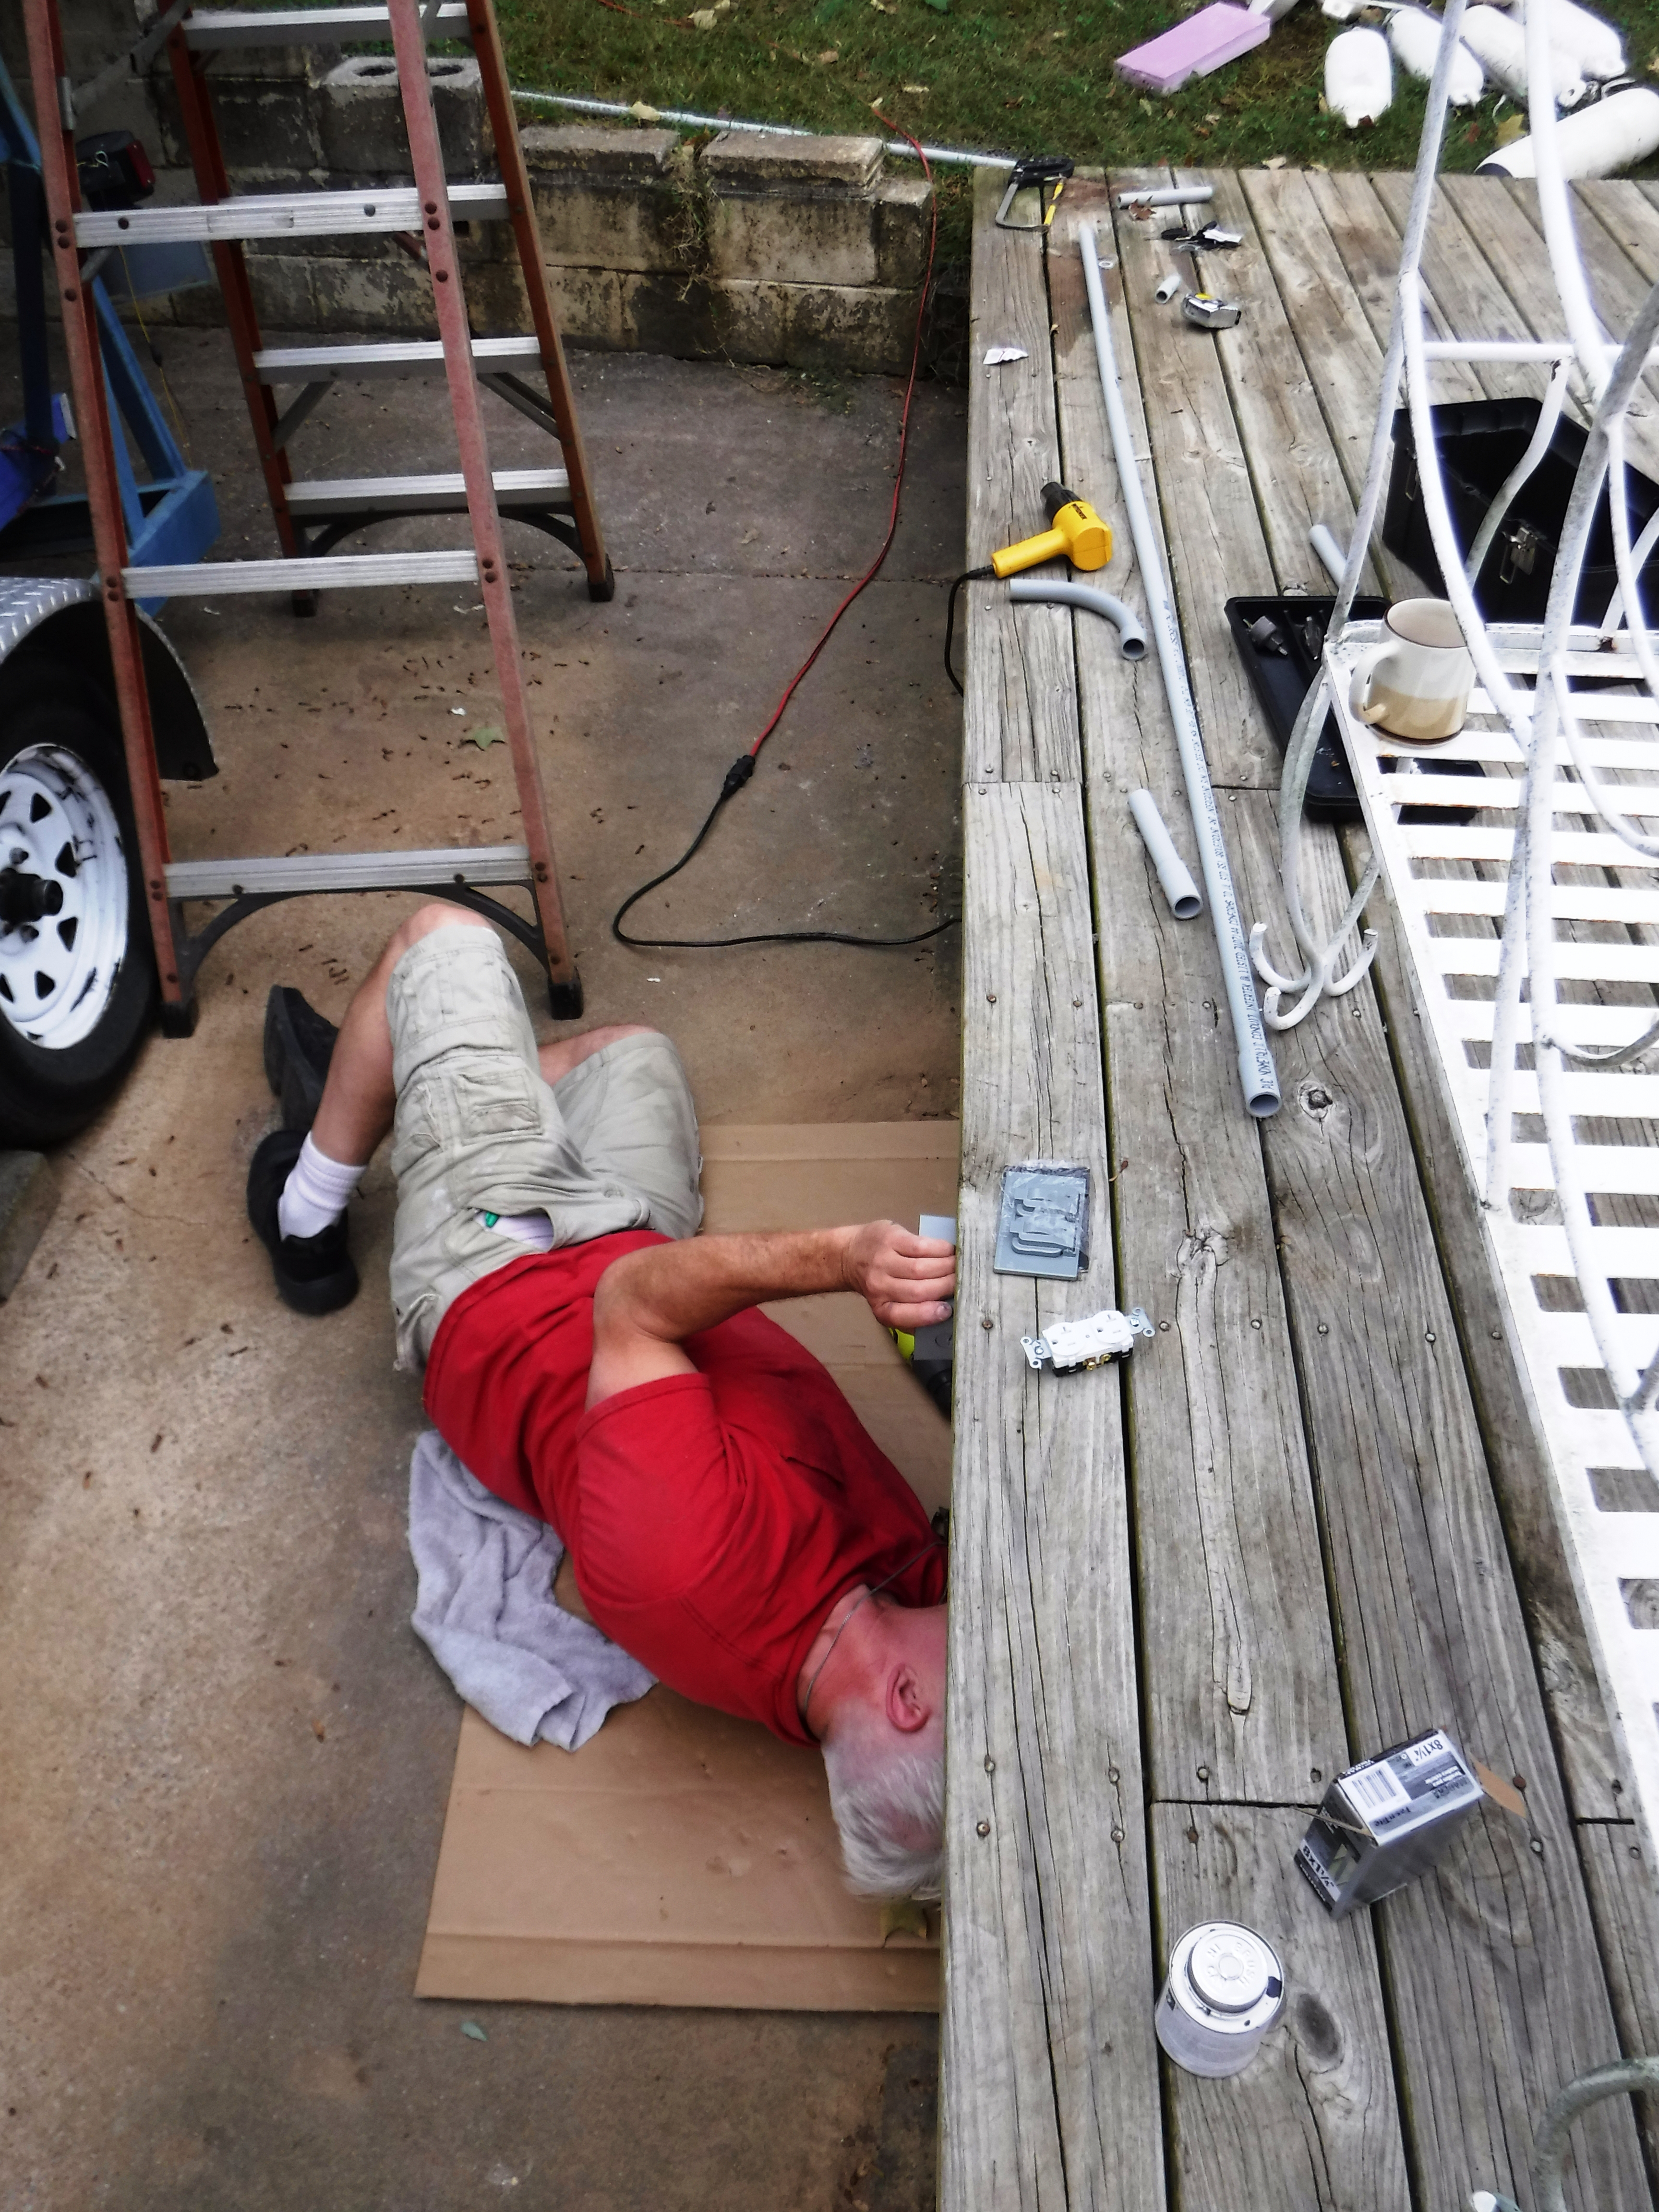
As a licensed electrician, I always make sure that my work follows the N.E.C. standards for both indoor and outdoor installations. Please check with a licensed professional before carrying out electrical work. While installing the equipment yourself will save money, it should not cost you your life.

After completing so many projects; the yoga room, home office, jeweler’s bench, recording studio, artist’s retreat, model mountain railroad, raised-bed veggie garden, chicken coop, decks, fences, and a camper renovation, I discovered that walking around on a grimy surface distracted my untapped genius. In my brilliant mind, stepping in filth diminished me. Okay, I’m joking. At least, it grated my nerves.

For the workshop, I needed a project-resistant floor covering that cleaned up easily, and yet wouldn’t devour my budget. Fortunately, I found some “peel and stick” floor tile, or “luxury vinyl plank” in a clearance sale at our local hardware store. At 98 cents per square foot, it converted the grubby, chipped plywood shed floor into an attractive and durable work-space. Even with the purchase of the plywood underlay, which comes already primed for the vinyl tiles’ adhesive, the new workshop floor cost less than $250, including the screws for the underlay.

Flooring 2One helpful tip: If you decide on a similar product as the one I selected on price, here is something to bear in mind. The vinyl plank system relies on an almost invisible “tongue and groove” structure and only fits together if laid in one direction. An arrow printed on the adhesive shield directs the correct installation. In my case, however, seeing the new tiles transforming the grotty old floor excited me. Occasionally, I rushed the job, and installed a piece the wrong way. A few hours later, without the support of an adjacent member, the improperly laid tile became partially unstuck and consequently needed replacing.

Finally, getting rid of old stuff isn’t easy. Who knows why we hold on to past acquisitions that no longer enhance our lives. Objects, habits, memories, and emotions color each precious moment. I hated the shed. Its contents reinforced my fear of scarcity and yet owning each valueless object increased my idea of self-worth. I believed I couldn’t live without them. Now, the Catalina 25′ dominates my yard, her potential invigorates my life just as her renovation transformed our old garden shed. Already, I wish I had a name for my boat. Perhaps you have a good idea. I look forward to reading your comments, and I thank you for reading my blog.

Next time, I’ll open the doors to my workshop and introduce my $50 workbench. You’ll be amazed what you can do with fifty bucks! I hope you enjoy the gallery I posted displaying an overview of the Catalina 25’s current condition. Find it here on my website or click on the link, “Catalina 25 Pics.”

Until next time, have a great week!

Accomodation

Catalina's New Home

     A functional sailboat comprises of several integrated systems. Their efficiency enables the flotation and transport of a comfortable living space across the water’s surface. System maintenance requires a wide range of skill-sets and a variety of tools.

     In his book, “Fix it and Sail,” Brian Gilbert details the renovation of a 1972 MacGregor 222, and recommends preparing an alternative work-space. Working in the boat’s cockpit, on deck, or down below is not always a viable option.I understood the necessity for a workshop.

     First, I considered our basement, which is warm in the winter and stays cool in the summer. With a 7 ft. high ceiling and floor space of around 1,100 sq ft. (the size of a decently sized bungalow), it satisfied my self-inflated ego. However, we currently use 300 sq ft. as a home office. We have a small laundry area, a 20 ft. x 12 ft. yoga and exercise room complete with a kick bag, martial arts equipment and a flat-screen TV on the wall. My wife uses the rest of the space as a multi-media artist’s studio. A lot goes on in our basement. I thought better of sharing my latest idea.

Chickens     For several years we kept chickens in a coop. Since all six of the birds stopped laying about a year ago,  I mulled the idea of re-purposing their home.  Within the structure’s 24′ run I could store the Catalina’s mast, keeping it mostly under cover. Then, similar to a kitchen on a teardrop camper-trailer, I imagined a drop-down, pull-out workbench for the side of the coop. The chickens would have to go, I decided. However, I didn’t have the heart for butchering the “girls,” so the structure remains as it is: an assisted-living facility for old hens. We nicknamed the chicken coop, “Government House.”

     Finally, I addressed the possible remodeling of our neglected, and over-filled Spacemaker  shed. Almost every year, we speculated upon its fate. “It would make a great tiny house,” my wife said. Situated a little more than fifty feet from our house beyond a large wooden deck with a fire pit, converting the shed into a human habitat required more work than I could imagine. Besides, my “tiny house” was a sailboat now, and a workshop only needs electricity. This time, necessity moderated our high expectations, and with 160 sq ft available the shed matched my new-found modesty. 

     Buying the Catalina 25 was ambitious, but then so were many other things I enjoyed in my life. I made a living from writing music and settled here in the United States. I married an Irish-American woman and love her unconditionally. I fathered my son and encouraged my step-son, both of whom became exceptional young men. Each experience enriched my life beyond my imagination. When I took on a challenge, it altered my perspective and many times resulted in success.

DSCF1484 (2)

     Admittedly, a few of my quests didn’t go as expected and the odd one brought me to tears, but at this stage of the game, accommodating the boat and converting the shed was a win-win opportunity for everyone. I designed two new electrical circuits, one for the deck and another for the new workshop. In my view, the wiring project killed two birds with one stone; much better I thought than lopping off the heads of six aging hens with an axFor now, at least, the chickens are safe, and according to my wife, since I started this project I am “much easier to live with.” So, I wondered. Am I fixing the Catalina or is “she” fixing me? I look forward to reading your comments.

Until then, have a great week!

Welcome Aboard my Catalina 25

The Boat

Hi, my name is Martin. I live in the sun-drenched state of Tennessee, land-locked among the mid-southern forests of the United States. Although I grew up in the U.K., that gnarly old island on the other side of the Atlantic, I know little about sailing, even less about sailboats or “yachts” as we called them back home.

My work brought me to Tennessee many years ago, but my lifetime profession gradually lost its allure. Late last year, in search of a more noble purpose, I took to the lake on a kayak and camping adventure. On my return, I wrote my first non-fiction book, “One Sumner Tale” and worked as a writer almost every day since.

Earlier this year, I bought a Falcon kayak sail for my 15′ Prijon kayak. From the moment the sail billowed out against the backdrop of an infinite blue sky and carried me across the water, my passion for sailing ignited. Owning and piloting a full size yacht became a new and tremendous ambition that quickly turned into an obsession.

With limited funds, I bought a 1981 Catalina 25′ sailboat. Anyone who has acted upon a similar impulse will know that when she, my boat, arrived in the back yard, I became the happiest man alive. The question is though, will she and I make it to the lake by the spring of 2018 or will she just sit there on her trailer, blocking the sun from my window? That we shall see.

After watching countless videos and reading informative blogs, I recognized that every situation is unique. Very few sailboats are identical. During thirty odd years of use and neglect, each boat develops a unique personality. Not only that but every project-boat owner has their own perspective on repair methods, tools, and supplies. Often, personal expectations and available finances determine a renovation strategy, practical goals and ultimately results. Every renovation is different.

Although my Catalina is in fair to good shape for her age, there is a multitude of smaller issues due to either the lack of maintenance or years of neglect that require an upgrade, replacement or repair. The work demands a broad skill-set including plumbing, electrical, fiberglass laminating, mechanical engineering and an understanding of sailor-speak. The Halyards, sheets, boom vang, and spreaders are names that amuse me every time I use them in conversation.
Fortunately, the joy of discovery evaporates the fog of ignorance. So, with a limited budget, I’ll fix the old girl up and sail her in the spring of this year, 2018. My family expects a safe, casual cruise with a comfortable cabin stocked with food and drinks. The challenge excites my core. So, welcome aboard my 1981 Catalina 25’ yacht renovation adventure.

Follow my progress by clicking the following link: Rehab Catalina 25′ Blog