It’s Great to Be Back!
Hi, everyone. I am back on the blog. Sorry, it has been so long. Life happens, as I am sure you can appreciate, and blogging got shoved down the list. While the work on Felicity continues to progress, writing about it fell by the wayside.
Still, I am pleased to be back and announce that I’ve become passionate about making short videos. Not only about boat work but also about everyday life.
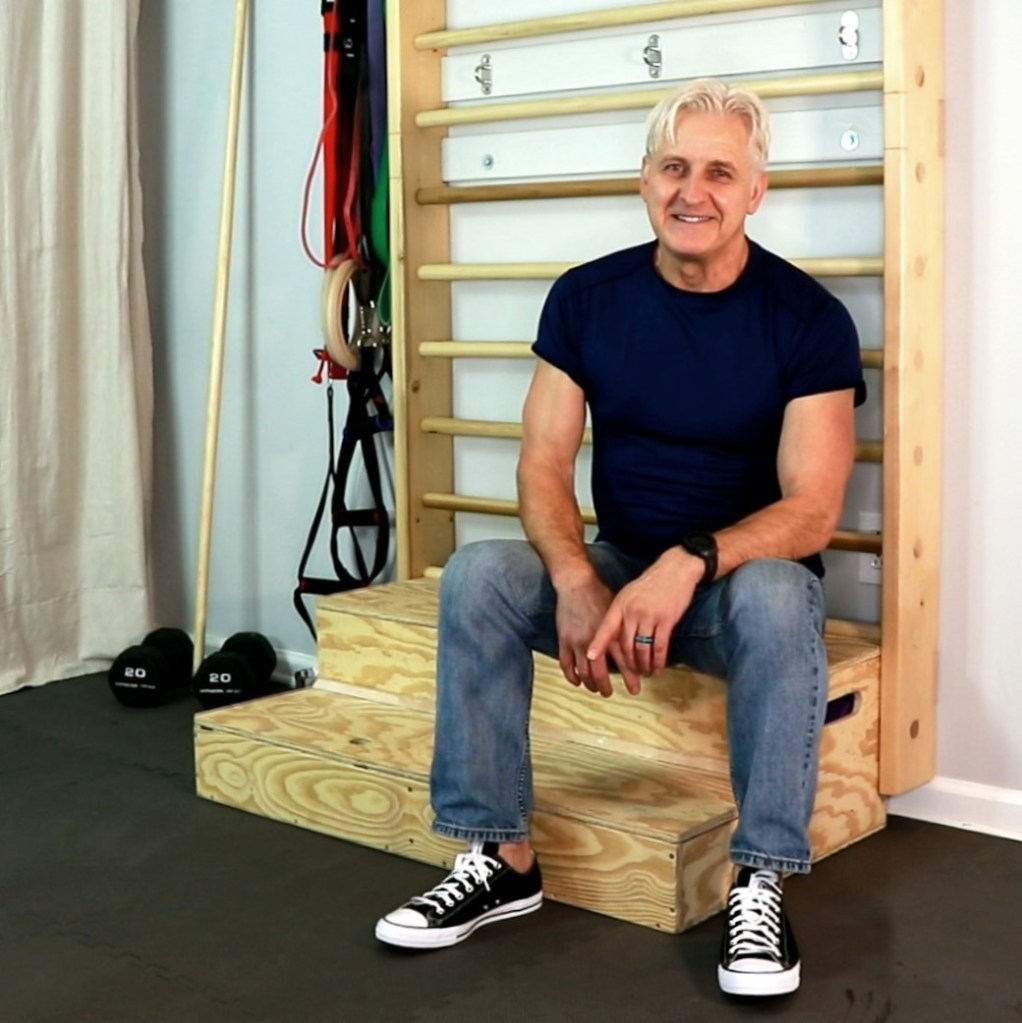
Like so many other sailors, Rhonda and I want to sail Felicity for as many years as possible. But it goes without saying that sailing a boat and keeping her ship shape is mentally and physically demanding. So, naturally, as we approached sixty years of age, our interest in our physical fitness and nutritional health grew because we’ll have to stay in shape too.
For that reason, I certified as a Personal Trainer, specializing in senior fitness, and became a credentialed advocate for Exercise is Medicine. Rhonda gained certification as a Holistic Nutritionist to complete our arsenal of weaponry in defense of the furrows and sags of aging.
We call this time in our life our second act. We’ll be launching our new YouTube channel, “Act 2 For Life,” and a new page on Facebook very soon. So we hope you enjoy following our adventure, and I promise to do better at maintaining a regular post in the future. Now, enjoy reading about our keel work project below OR, if you prefer watching videos click here.
Felicity the Cat EP1. Keel Work

Hi, Everyone.
You know, while fixing Felicity has been a whole lot of fun, especially for one of us in particular (Miss Rhonda) it hasn’t been without frustration. Because at times, the to-do list seems to get longer instead of shorter, and prioritizing the repairs is a challenge in itself. Nevertheless, we want to ensure that we are safe on the water to relax and enjoy our family adventures.
Of course, we would all much rather be sailing. So one year, we bought a nineteen-sixties O’Day, Daysailer, off Craigslist just so that we could get out on the lake for a sail. We named her Dolly after her dolphin-like bow and had an absolute blast. Unfortunately, Dolly also needed some work done. So a conflict of interest developed between her and Felicity. We couldn’t find the time for both of them.
Happily, we sold Dolly on to a guy who taught sailing skills to young people. . She was a dream to sail, and many of these vessels come equipped with a boom tent for overnight stays. If you’d like to see pictures of Dolly the Daysailer, click on the following link and visit the ‘Dolly the Daysailer’ gallery.
And although we are unable to sail Felicity just yet, we can still take in a sunset over her port bow while she languishes here in the yard.
Now, when it comes to fixing up a sailboat, I am definitely not an expert. Together, Rhonda & I have learned many new skills from the Youtube sailing community and other internet-based groups.
It’s just amazing how many folks are willing to chip in with ideas and suggestions. And as challenging as fixing Felicity can be, it is the sailing adventure and boat project videos that keep our eyes on the horizon. So a massive great thank you to all!

And now, back to business. In this post, I’ll show you how I went about fixing Felicity’s Catalina Smile and sprucing up her neglected keel.
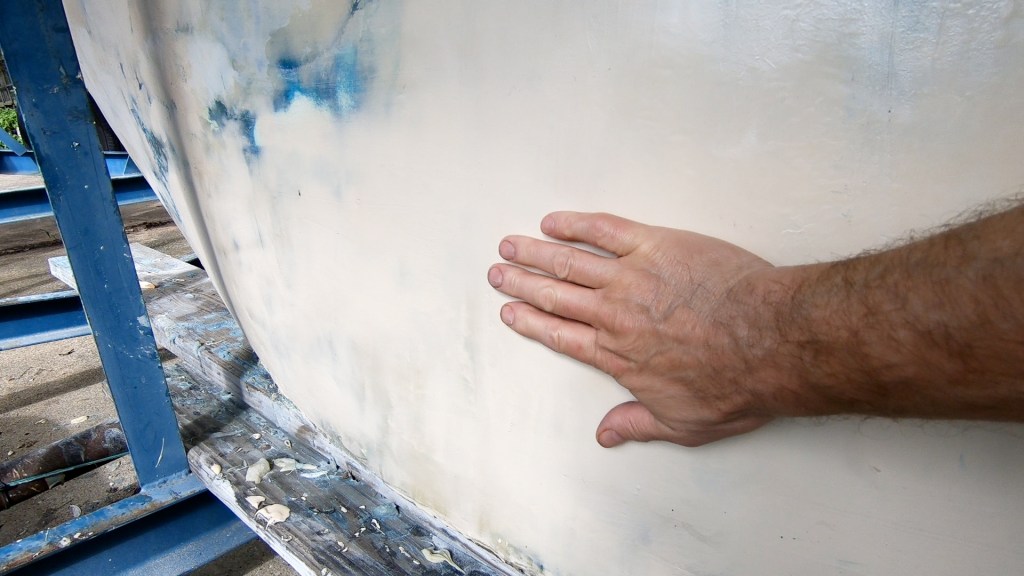
First, I had to find out just how badly the keel joint was damaged. Much of the gel coat was still intact, but the fore and aft sections definitely needed attention. So too did the keel. Blisters had formed and compromised the fairing, exposing the cast-iron keel to the elements.
It took a lot of courage to grind out the damage, but I knew it had to be done. So, I wrapped the trailer in plastic to limit the dust and suited up with the appropriate fashionwear. I can’t emphasize enough how vital wearing protective gear is while working on a fiberglass boat.
Grinding the hull really isn’t nice work. So, if you try this at home, make sure you have the right gear and that you are covered from head to toe.
On one occasion, I didn’t have the filters installed on my respirator. Fortunately, I noticed the smell of the gel coat and realized something was wrong.
I scarfed or feathered the damaged areas of the keel and used a wire brush to remove any rust. By the time I ground out the damaged joint and stripped back the surface of the keel, I couldn’t wait to get out of that suit and into the shower.
Before I applied any sealant, I used an evaporative solvent to clean the exposed keel joint. It’s essential to make sure the area is clean and, in particular, nice and dry. Then, to seal the joint, I used 3M’s 5200 and then let it cure for a couple of days.
I used a combination of epoxy and chopped strand matting (CSM) on the keel’s larger areas, followed by a mix of epoxy and West System 410 microlite filler. It sands down quickly and makes for a super smooth finish.
Now Felicity’s keel is beginning to look like a professional job, and I’m really pleased with it so far.
You know, apart from having to dodge the weather, I probably spent more time thinking about doing the keel work than it took to actually do it.
So, here’s a little tip from a novice. If you’re still thinking about doing that project on your beloved boat, just get on, and ruddy well do it!
And remember, if you’d still like to watch my first boat video, just click on this link, “Felicity the Cat EP1. Keel Work.”
Thank you for reading about Felicity the Cat. How is your boat project going? We’d love to hear from you, so please leave a comment, like, subscribe, and share it with someone you love.
Until next time, dear readers, Jibe on y’all!
